A summarization baseline model in Agent Assist enables users to customize the content of the summary by selecting from the following predefined sections:
Situation: What the customer needs help with or has question about.
Action: What the agent does to help the customer.
Resolution: Result of the customer service.
Customer satisfaction: "Unsatisfied" if the customer is unsatisfied at the end of the conversation and "Satisfied" otherwise.
Reason for cancellation: If the customer requests to cancel service. N/A otherwise.
Entities: The key-value pairs of important entities extracted from the conversation.
In this lab, you will configure a summarization baseline model and use it to summarize examples of customer chat.
Objectives
In this lab, you learn how to
Configure a conversation profile in Agent Assist
Run PII redaction on chat transcripts using the Data Loss Prevention API
Generate summaries from Baseline Summarization Model
Setup
Before you click the Start Lab button
Read these instructions. Labs are timed and you cannot pause them. The timer, which starts when you click Start Lab, shows how long Google Cloud resources will be made available to you.
This Qwiklabs hands-on lab lets you do the lab activities yourself in a real cloud environment, not in a simulation or demo environment. It does so by giving you new, temporary credentials that you use to sign in and access Google Cloud for the duration of the lab.
What you need
To complete this lab, you need:
Access to a standard internet browser (Chrome browser recommended).
Time to complete the lab.
Note: If you already have your own personal Google Cloud account or project, do not use it for this lab.
Note: If you are using a Pixelbook, open an Incognito window to run this lab.
How to start your lab and sign in to the Google Cloud Console
1. Click the Start Lab button. If you need to pay for the lab, a pop-up opens for you to select your payment method. On the left is a panel populated with the temporary
credentials that you must use for this lab.
2. Copy the username, and then click Open Google Console. The lab spins up resources, and then opens another tab that shows the Sign in page.
Tip: Open the tabs in separate windows, side-by-side.
If you see the Choose an account page, click Use Another Account.
3. In the Sign in page, paste the username that you copied from the Connection Details panel. Then copy and paste the password.
Important: You must use the credentials from the Connection Details panel. Do not use your Qwiklabs credentials. If you have your own Google Cloud account, do not use it for this lab (avoids incurring charges).
4. Click through the subsequent pages:
Accept the terms and conditions.
Do not add recovery options or two-factor authentication (because this is a temporary account).
Do not sign up for free trials.
After a few moments, the Cloud Console opens in this tab.
Task 1. Create a conversation profile.
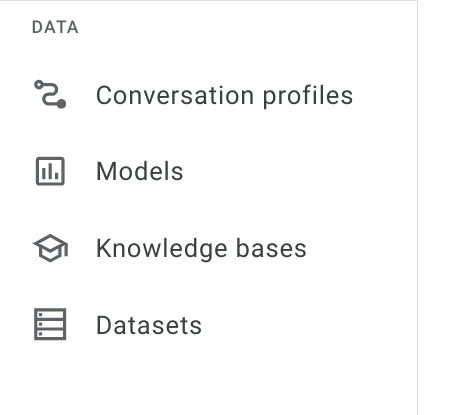
Navigate to Agent Assist. In the navigation menu, under Data, click on Conversation profiles. If asked, select the project and enable APIs as requested.
At the top of the page, click the + Create button to create a new conversation profile.
Input lab-conv-profile for the conversation profile Display name.
Ensure that en - English is set as the value in the Language dropdown.
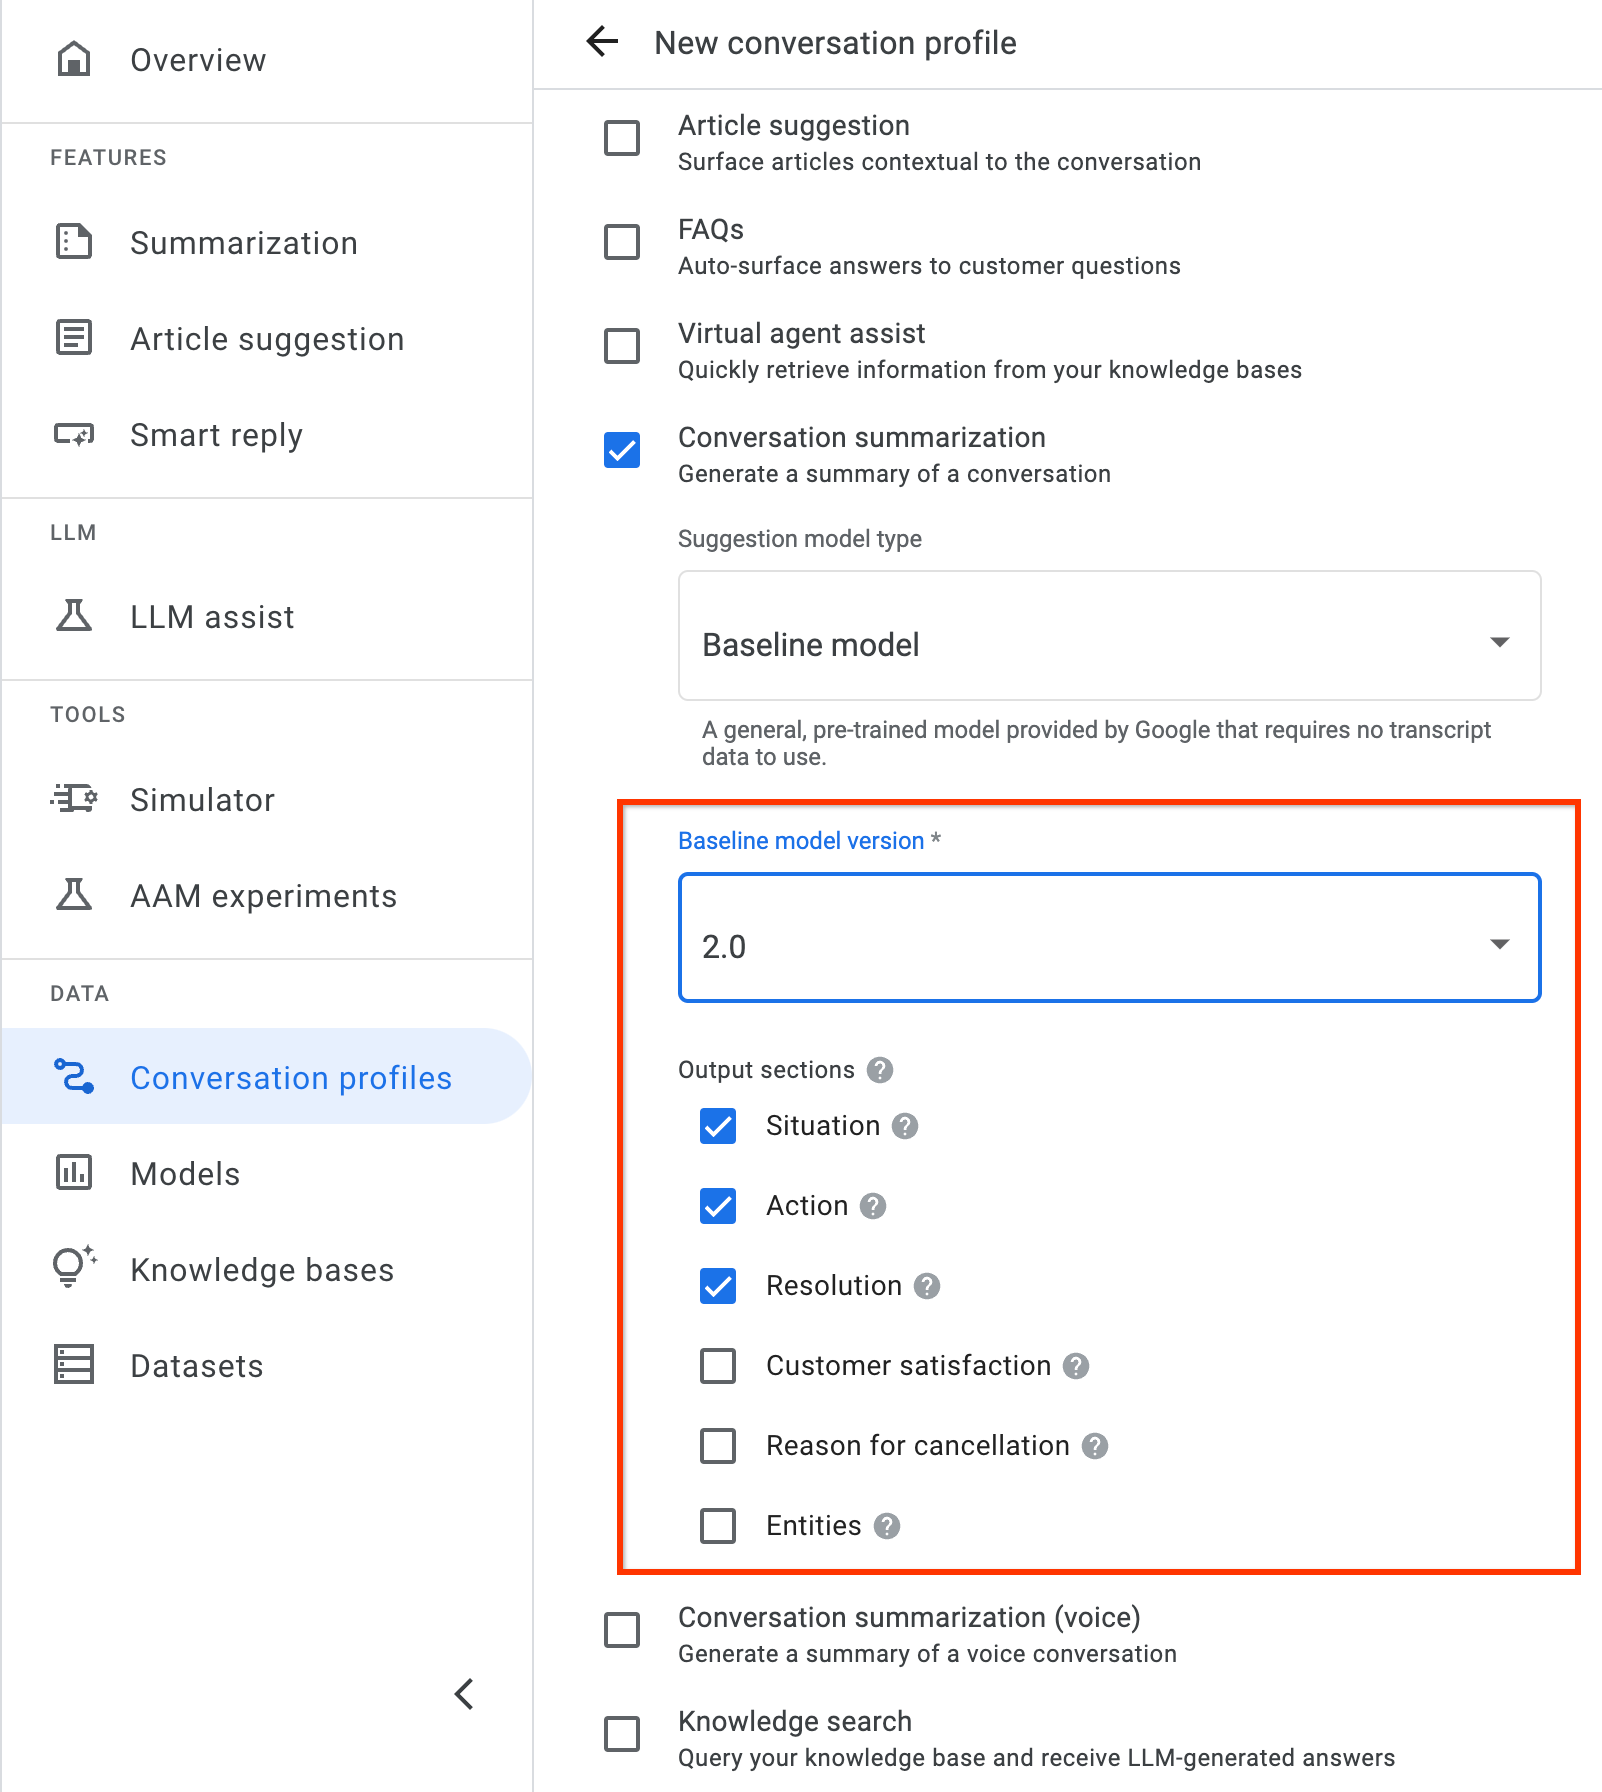
Select suggestion type Conversation summarization (legacy).
Set Suggestion model type to Baseline model.
Set Baseline model version to 2.0.
Leave the Output sections as their default values.
Click Create at the bottom of the page to create your conversation profile.
Click on the copy button to the right of the Integration ID column and record the integration ID somewhere you can reference later. Your integration ID should be similar in from to the following
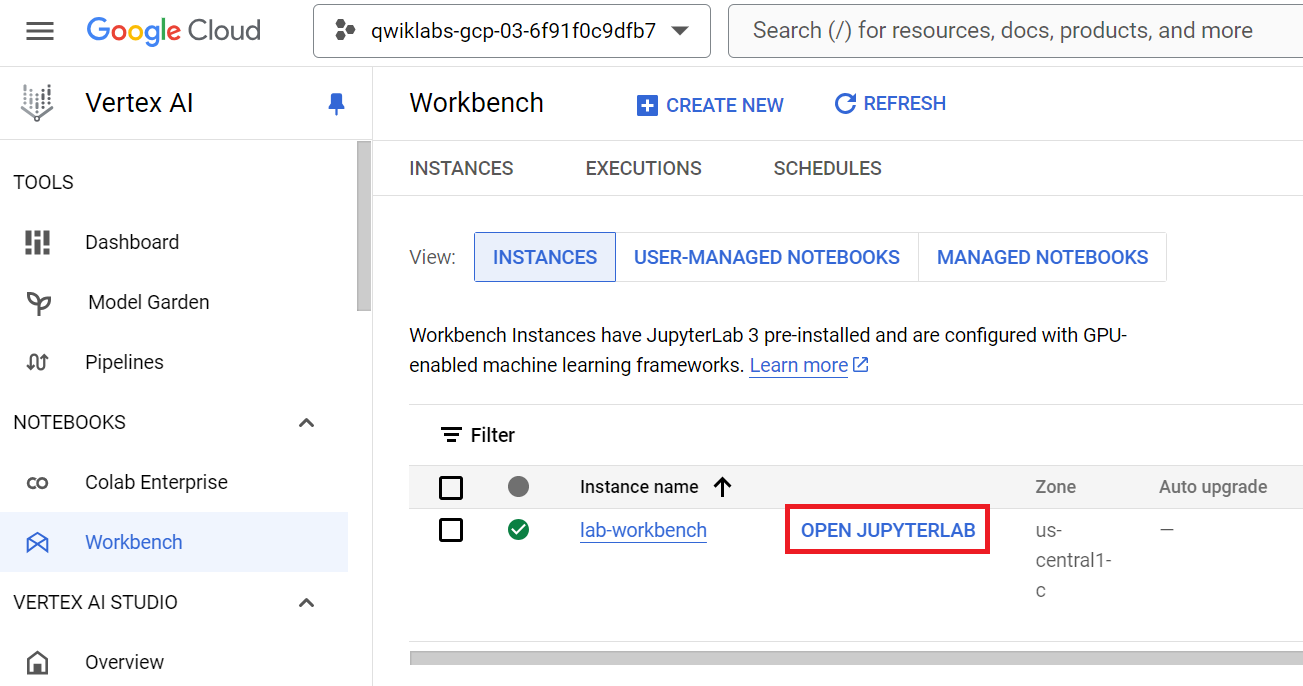
Return to the Google Cloud Console and type "Vertex AI Workbench" in the search bar, and then click Workbench Vertex AI in the resulting options.
Click on the Open JupyterLab button beside lab-workbench instance. You may need to wait a few minutes while the instance is being provisioned before being able to click the button.
Once the JupyterLab opens in a new browser tab, click on the Terminal icon from Launcher. This will open up a new Terminal window.
Clone the repository containing the lab notebook by running the following command in the Terminal window:
Navigate to specialized-training-content > courses > agent_assist and open the baseline_summarization_chat.ipynb notebook.
Task 3. Generate redacted summaries from the baseline summarization model
Click Kernel > Restart kernel and clear all outputs.
Follow the instructions in the notebook file, running the notebook one cell at a time. Be sure to keep an eye out for directions that ask you to update code in the cells.
Congratulations!
In this lab you configured a summarization baseline model, redacted sensitive information using the Data Loss Prevention API, and used the conversation profile to summarize examples of customer chat.
End your lab
When you have completed your lab, click End Lab. Qwiklabs removes the resources you’ve used and cleans the account for you.
You will be given an opportunity to rate the lab experience. Select the applicable number of stars, type a comment, and then click Submit.
The number of stars indicates the following:
1 star = Very dissatisfied
2 stars = Dissatisfied
3 stars = Neutral
4 stars = Satisfied
5 stars = Very satisfied
You can close the dialog box if you don't want to provide feedback.
For feedback, suggestions, or corrections, please use the Support tab.
Copyright 2023 Google LLC All rights reserved. Google and the Google logo are trademarks of Google LLC. All other company and product names may be trademarks of the respective companies with which they are associated.
I lab creano un progetto e risorse Google Cloud per un periodo di tempo prestabilito
I lab hanno un limite di tempo e non possono essere messi in pausa. Se termini il lab, dovrai ricominciare dall'inizio.
In alto a sinistra dello schermo, fai clic su Inizia il lab per iniziare
Utilizza la navigazione privata
Copia il nome utente e la password forniti per il lab
Fai clic su Apri console in modalità privata
Accedi alla console
Accedi utilizzando le tue credenziali del lab. L'utilizzo di altre credenziali potrebbe causare errori oppure l'addebito di costi.
Accetta i termini e salta la pagina di ripristino delle risorse
Non fare clic su Termina lab a meno che tu non abbia terminato il lab o non voglia riavviarlo, perché il tuo lavoro verrà eliminato e il progetto verrà rimosso
Questi contenuti non sono al momento disponibili
Ti invieremo una notifica via email quando sarà disponibile
Bene.
Ti contatteremo via email non appena sarà disponibile
Un lab alla volta
Conferma per terminare tutti i lab esistenti e iniziare questo
Utilizza la navigazione privata per eseguire il lab
Utilizza una finestra del browser in incognito o privata per eseguire questo lab. In questo modo eviterai eventuali conflitti tra il tuo account personale e l'account Studente, che potrebbero causare addebiti aggiuntivi sul tuo account personale.
In this lab, you build a end to end Baseline Chat Summarisation pipeline.
Durata:
Configurazione in 4 m
·
Accesso da 90 m
·
Completamento in 90 m