


Before you begin
- Labs create a Google Cloud project and resources for a fixed time
- Labs have a time limit and no pause feature. If you end the lab, you'll have to restart from the beginning.
- On the top left of your screen, click Start lab to begin
A summarization baseline model in Agent Assist enables users to customize the content of the summary by selecting from the following predefined sections:
In this lab, you will configure a summarization baseline model and use it to summarize examples of customer chat.
In this lab, you learn how to
Read these instructions. Labs are timed and you cannot pause them. The timer, which starts when you click Start Lab, shows how long Google Cloud resources will be made available to you.
This Qwiklabs hands-on lab lets you do the lab activities yourself in a real cloud environment, not in a simulation or demo environment. It does so by giving you new, temporary credentials that you use to sign in and access Google Cloud for the duration of the lab.
To complete this lab, you need:
Note: If you already have your own personal Google Cloud account or project, do not use it for this lab.
Note: If you are using a Pixelbook, open an Incognito window to run this lab.
1. Click the Start Lab button. If you need to pay for the lab, a pop-up opens for you to select your payment method. On the left is a panel populated with the temporary credentials that you must use for this lab.
2. Copy the username, and then click Open Google Console. The lab spins up resources, and then opens another tab that shows the Sign in page.
Tip: Open the tabs in separate windows, side-by-side.
If you see the Choose an account page, click Use Another Account.
3. In the Sign in page, paste the username that you copied from the Connection Details panel. Then copy and paste the password.
Important: You must use the credentials from the Connection Details panel. Do not use your Qwiklabs credentials. If you have your own Google Cloud account, do not use it for this lab (avoids incurring charges).
4. Click through the subsequent pages:
After a few moments, the Cloud Console opens in this tab.
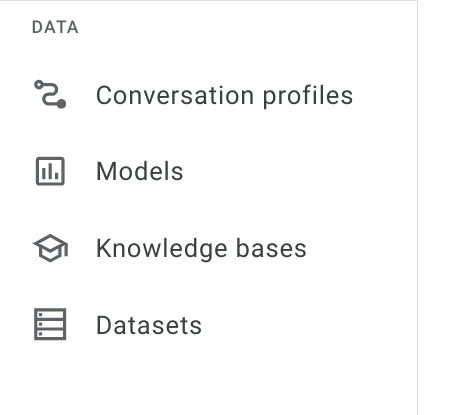
Navigate to Agent Assist. In the navigation menu, under Data, click on Conversation profiles. If asked, select the
At the top of the page, click the + Create button to create a new conversation profile.
Input lab-conv-profile for the conversation profile Display name.
Ensure that en - English is set as the value in the Language dropdown.
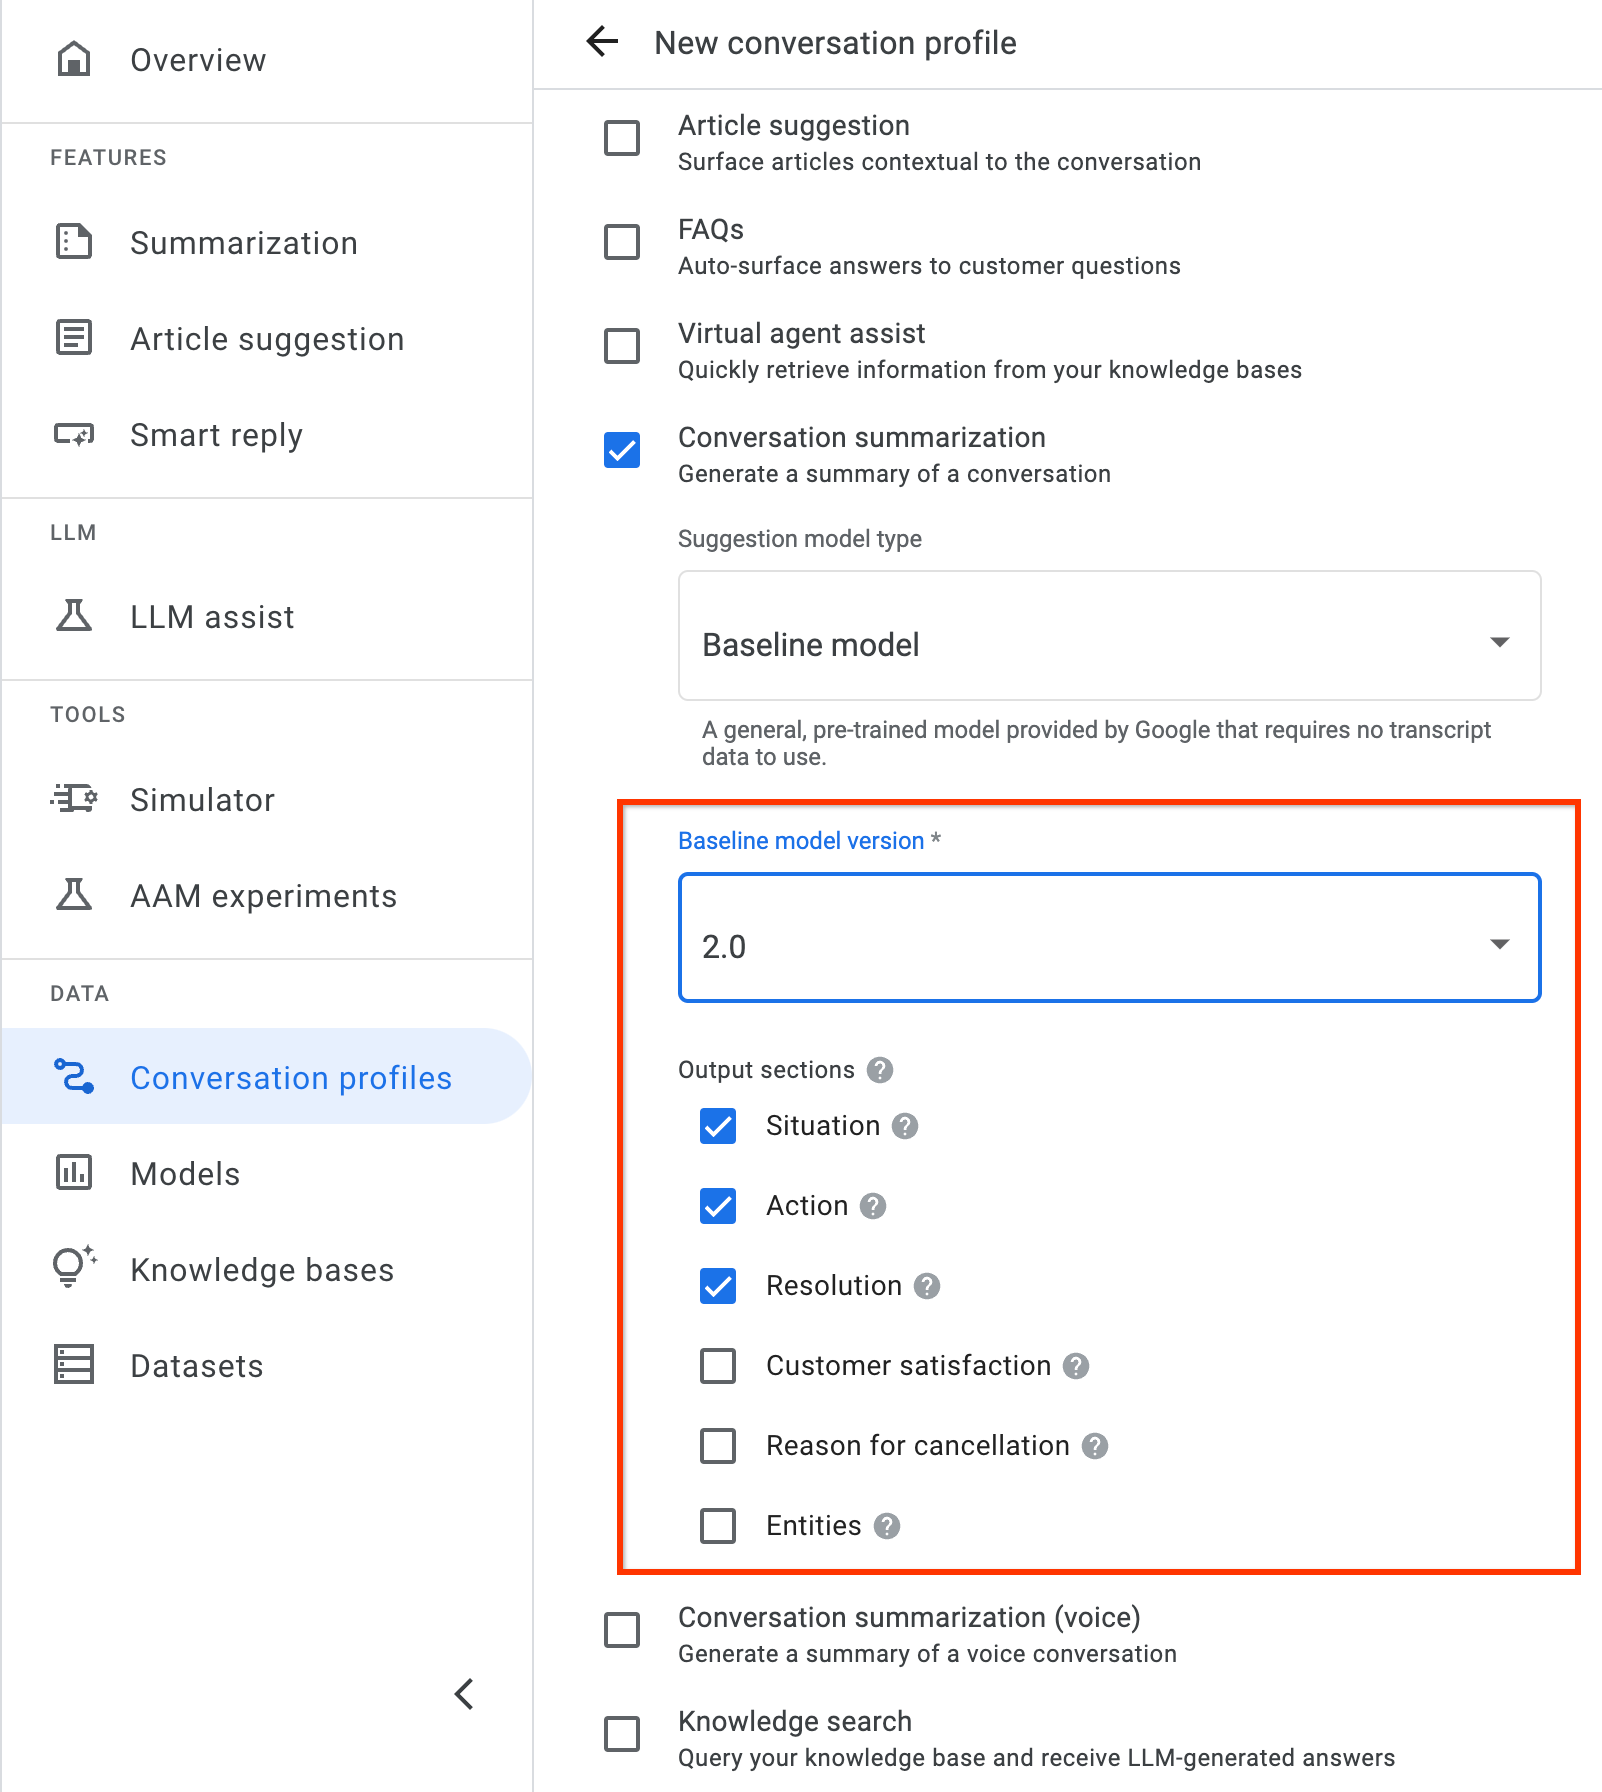
Select suggestion type Conversation summarization (legacy).
Set Suggestion model type to Baseline model.
Set Baseline model version to 2.0.
Leave the Output sections as their default values.
Click Create at the bottom of the page to create your conversation profile.
Click on the copy button to the right of the Integration ID column and record the integration ID somewhere you can reference later. Your integration ID should be similar in from to the following
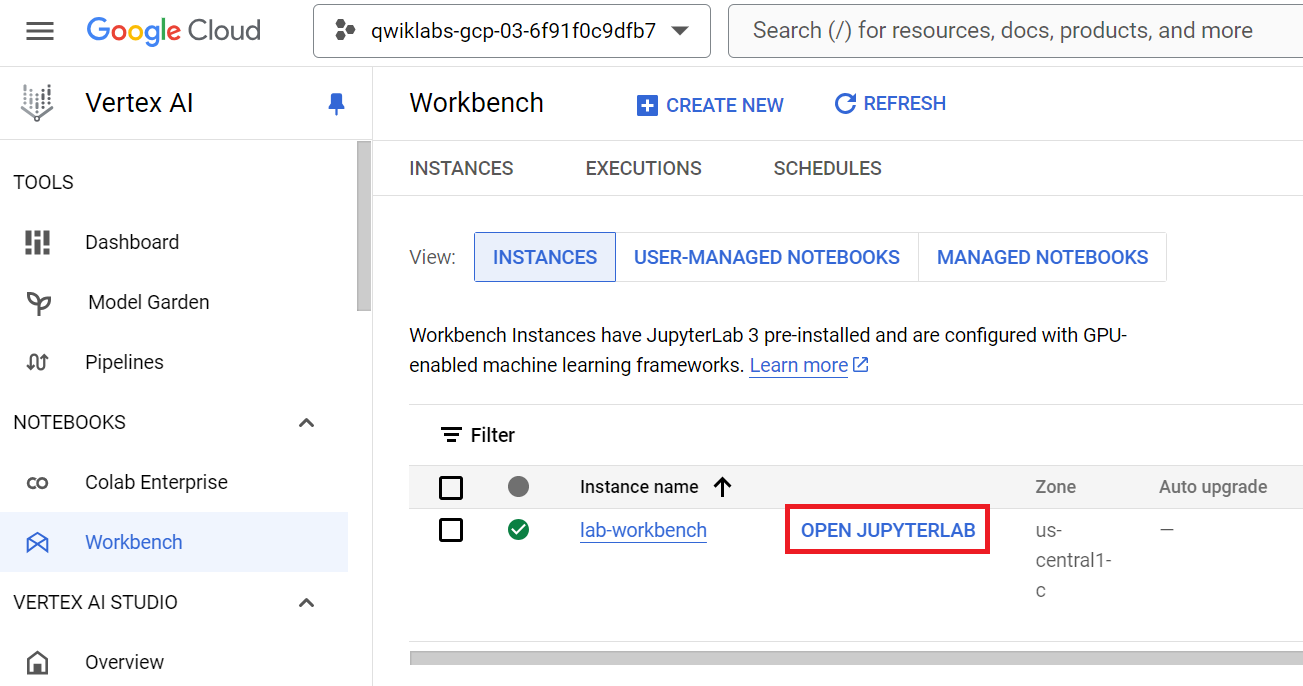
Return to the Google Cloud Console and type "Vertex AI Workbench" in the search bar, and then click Workbench Vertex AI in the resulting options.
Click on the Open JupyterLab button beside lab-workbench instance. You may need to wait a few minutes while the instance is being provisioned before being able to click the button.
Once the JupyterLab opens in a new browser tab, click on the Terminal icon from Launcher. This will open up a new Terminal window.
Clone the repository containing the lab notebook by running the following command in the Terminal window:
Navigate to specialized-training-content > courses > agent_assist and open the baseline_summarization_chat.ipynb notebook.
Click Kernel > Restart kernel and clear all outputs.
Follow the instructions in the notebook file, running the notebook one cell at a time. Be sure to keep an eye out for directions that ask you to update code in the cells.
In this lab you configured a summarization baseline model, redacted sensitive information using the Data Loss Prevention API, and used the conversation profile to summarize examples of customer chat.
When you have completed your lab, click End Lab. Qwiklabs removes the resources you’ve used and cleans the account for you.
You will be given an opportunity to rate the lab experience. Select the applicable number of stars, type a comment, and then click Submit.
The number of stars indicates the following:
You can close the dialog box if you don't want to provide feedback.
For feedback, suggestions, or corrections, please use the Support tab.
Copyright 2023 Google LLC All rights reserved. Google and the Google logo are trademarks of Google LLC. All other company and product names may be trademarks of the respective companies with which they are associated.


This content is not currently available
We will notify you via email when it becomes available

Great!
We will contact you via email if it becomes available

One lab at a time
Confirm to end all existing labs and start this one