

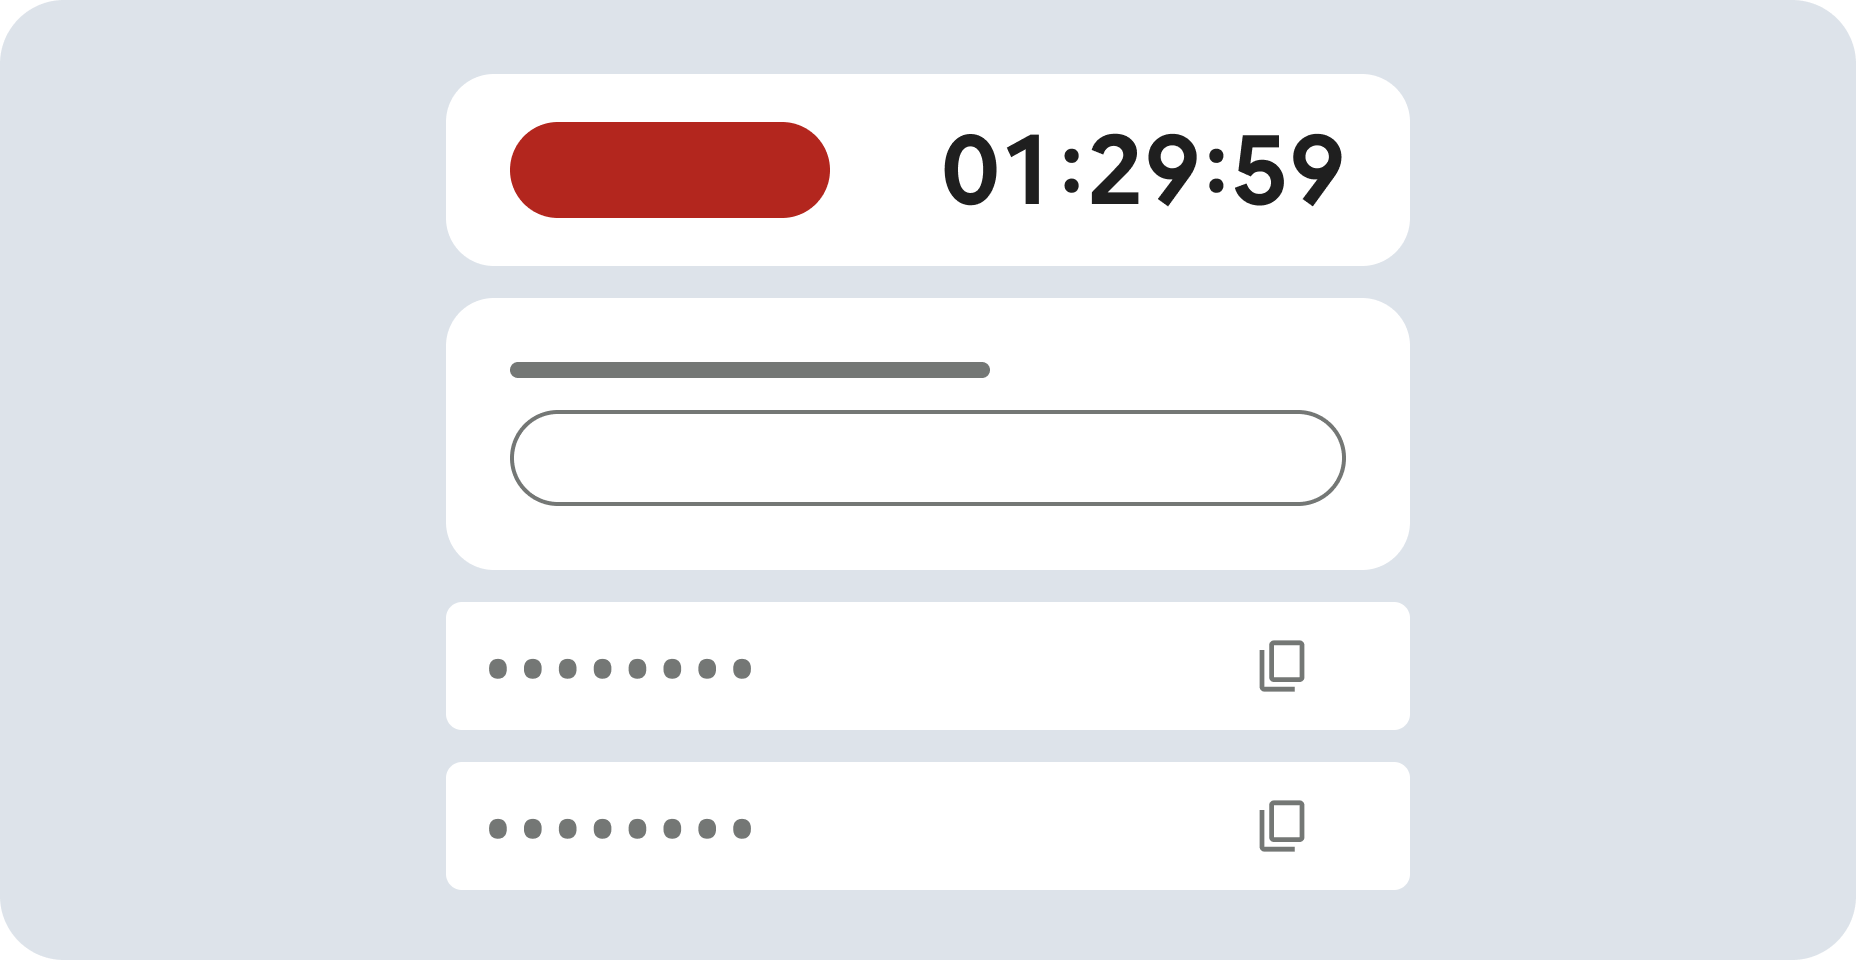
Before you begin
- Labs create a Google Cloud project and resources for a fixed time
- Labs have a time limit and no pause feature. If you end the lab, you'll have to restart from the beginning.
- On the top left of your screen, click Start lab to begin
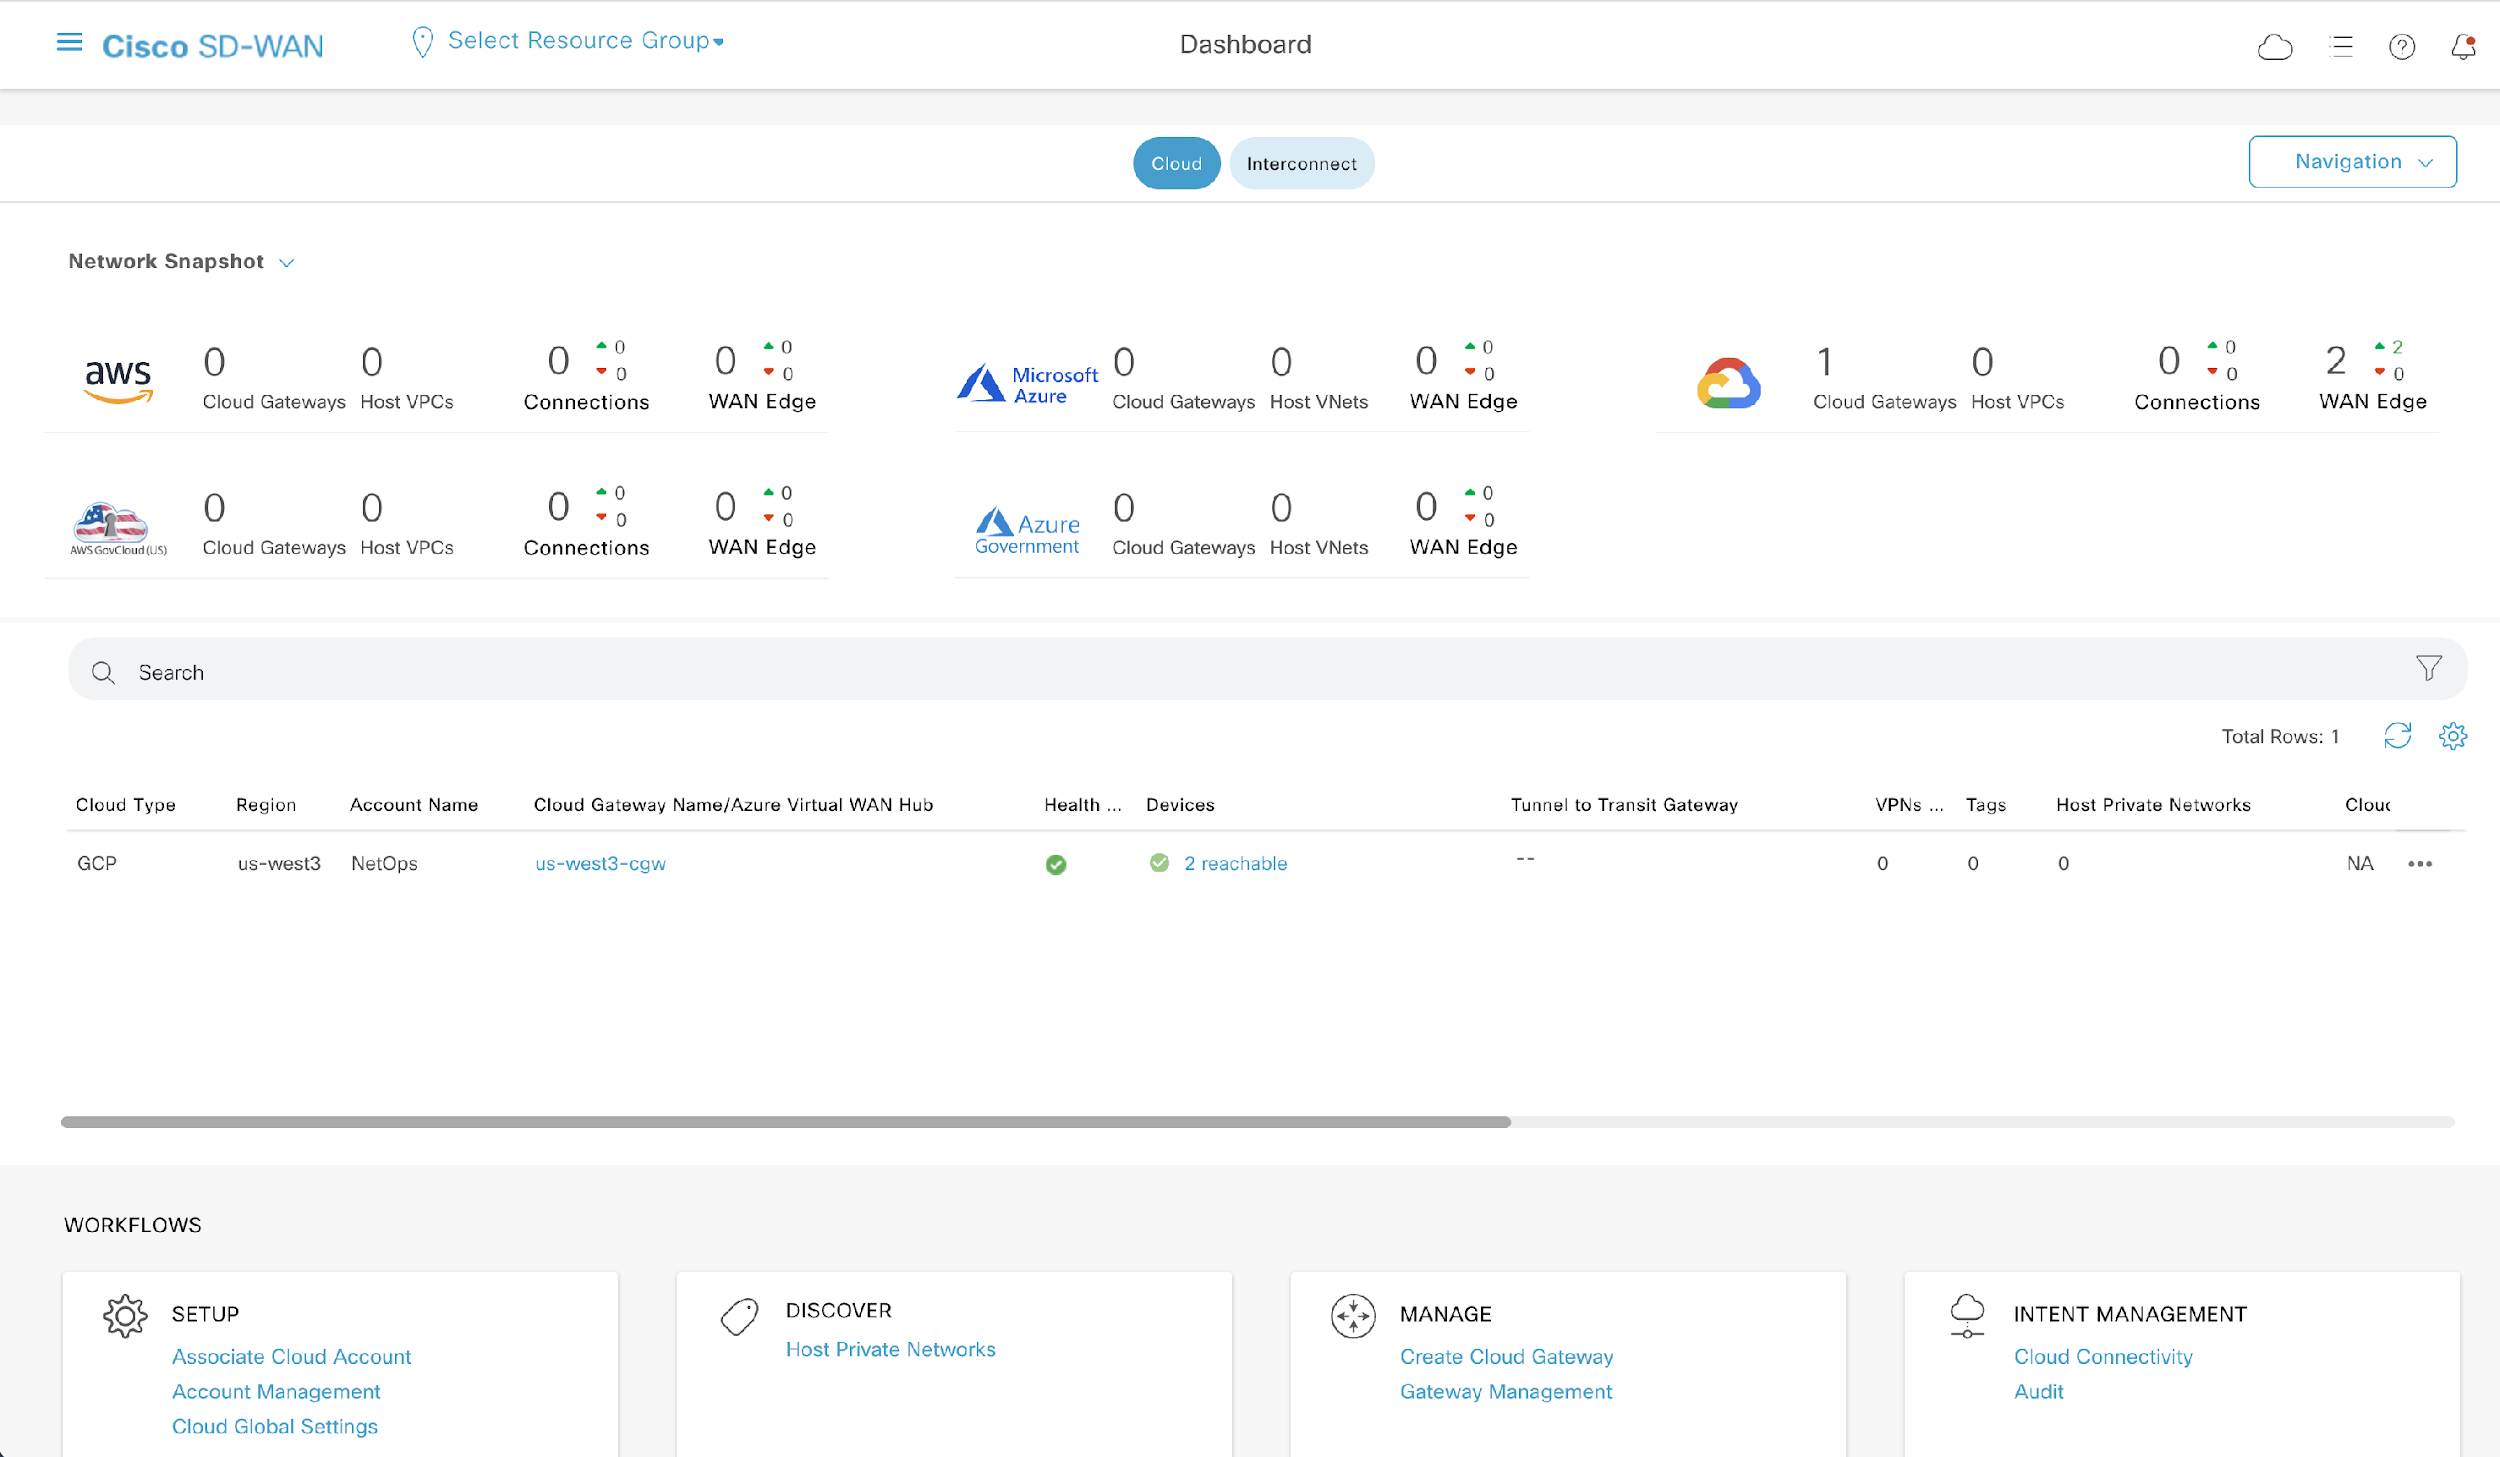
Check cloud gateway
/ 50
Check peering connections
/ 50
This lab was developed with our partner, Cisco. Your personal information may be shared with Cisco, the lab sponsor, if you have opted-in to receive product updates, announcements, and offers in your Account Profile.
This integration is between Cisco's Catalyst Software-Defined Wide Area Network (SD-WAN) solution and Google Cloud's Virtual Private Cloud (VPC). It allows the customers to use Cisco Cloud onRamp for Multicloud to connect their branch sites to the workloads deployed in Google Cloud and leverage the bandwidth of the Google Cloud backbone for mission critical traffic. Additionally, Cisco Cloud onRamp for Multicloud provides an audit mechanism that verifies whether the Google Cloud state and Cisco vManage state are in sync. If out of sync, Cisco vManage takes corrective action to resolve the issue(s) and bring parity in the states. With Cloud onRamp for Multicloud being the single pane of glass management to orchestrate both Cisco Catalyst SD-WAN components and Google Cloud VPC, the entire process is simplified and automated. There are four key components of this integration:
Cisco Cloud onRamp for Multicloud brings automation for Infrastructure as a Service (IaaS) use cases on Google Cloud. Starting with 17.5/20.5 IOS XE SD-WAN software, Cisco Cloud onRamp for Multicloud helps with the following two use cases:

This lab will focus on the site-to-cloud use case. If you want to learn more about the site-to-site use case, please contact your Cisco or Google representative and they will guide you to a dedicated lab for this use case.
The following building blocks are important for the Cisco Cloud onRamp for Multicloud design:
Cisco vManage will use built-in automation to do the following:
The following technical diagram summarizes the design for both use cases:

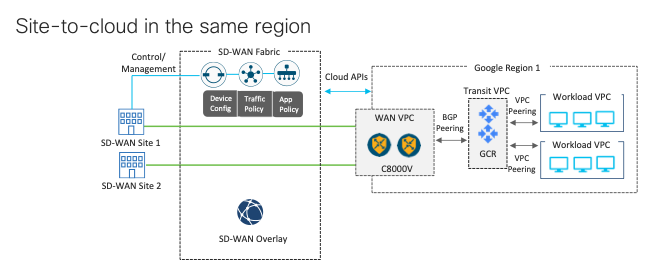
The following technical diagram summarizes the design for the site-to-cloud (in the same region) use case:
Starting with 17.12/20.12 IOS XE SD-WAN software, Cisco Viptela SD-WAN has been rebranded to Cisco Catalyst SD-WAN. With this rebranding, several components of the SD-WAN solution have been renamed as well. Please see the following table for the name changes:
| Former Name | New Name | Name in Documentation | Name Displayed on Screen | API/CLI |
|---|---|---|---|---|
| Cisco SD-WAN | Cisco Catalyst SD-WAN | Cisco Catalyst SD-WAN | Cisco Catalyst SD-WAN | Cisco Catalyst SD-WAN |
| vManage | Cisco Catalyst SD-WAN Manager | SD-WAN Manager | Manager | vManage |
| vAnalytics | Cisco Catalyst SD-WAN Analytics | SD-WAN Analytics | Analytics | vAnalytics |
| vBond | Cisco Catalyst SD-WAN Validator | SD-WAN Validator | Validator | vBond |
| vSmart | Cisco Catalyst SD-WAN Controller | SD-WAN Controller | Controller | vSmart |
| Self Service Portal | Cisco Catalyst SD-WAN Portal | Cisco Catalyst SD-WAN Portal | Cisco Catalyst SD-WAN Portal | SD-WAN Portal |
| Cloud-Delivered Cisco SD-WAN | Cloud-Delivered Cisco Catalyst SD-WAN | Cloud-Delivered Cisco Catalyst SD-WAN | Cloud-Delivered Cisco Catalyst SD-WAN | N/A |
This lab however uses 17.6/20.6 IOS XE SD-WAN software so the old naming conventions will be used, but please take note and be aware of the new rebranding of Cisco Catalyst SD-WAN going forward.
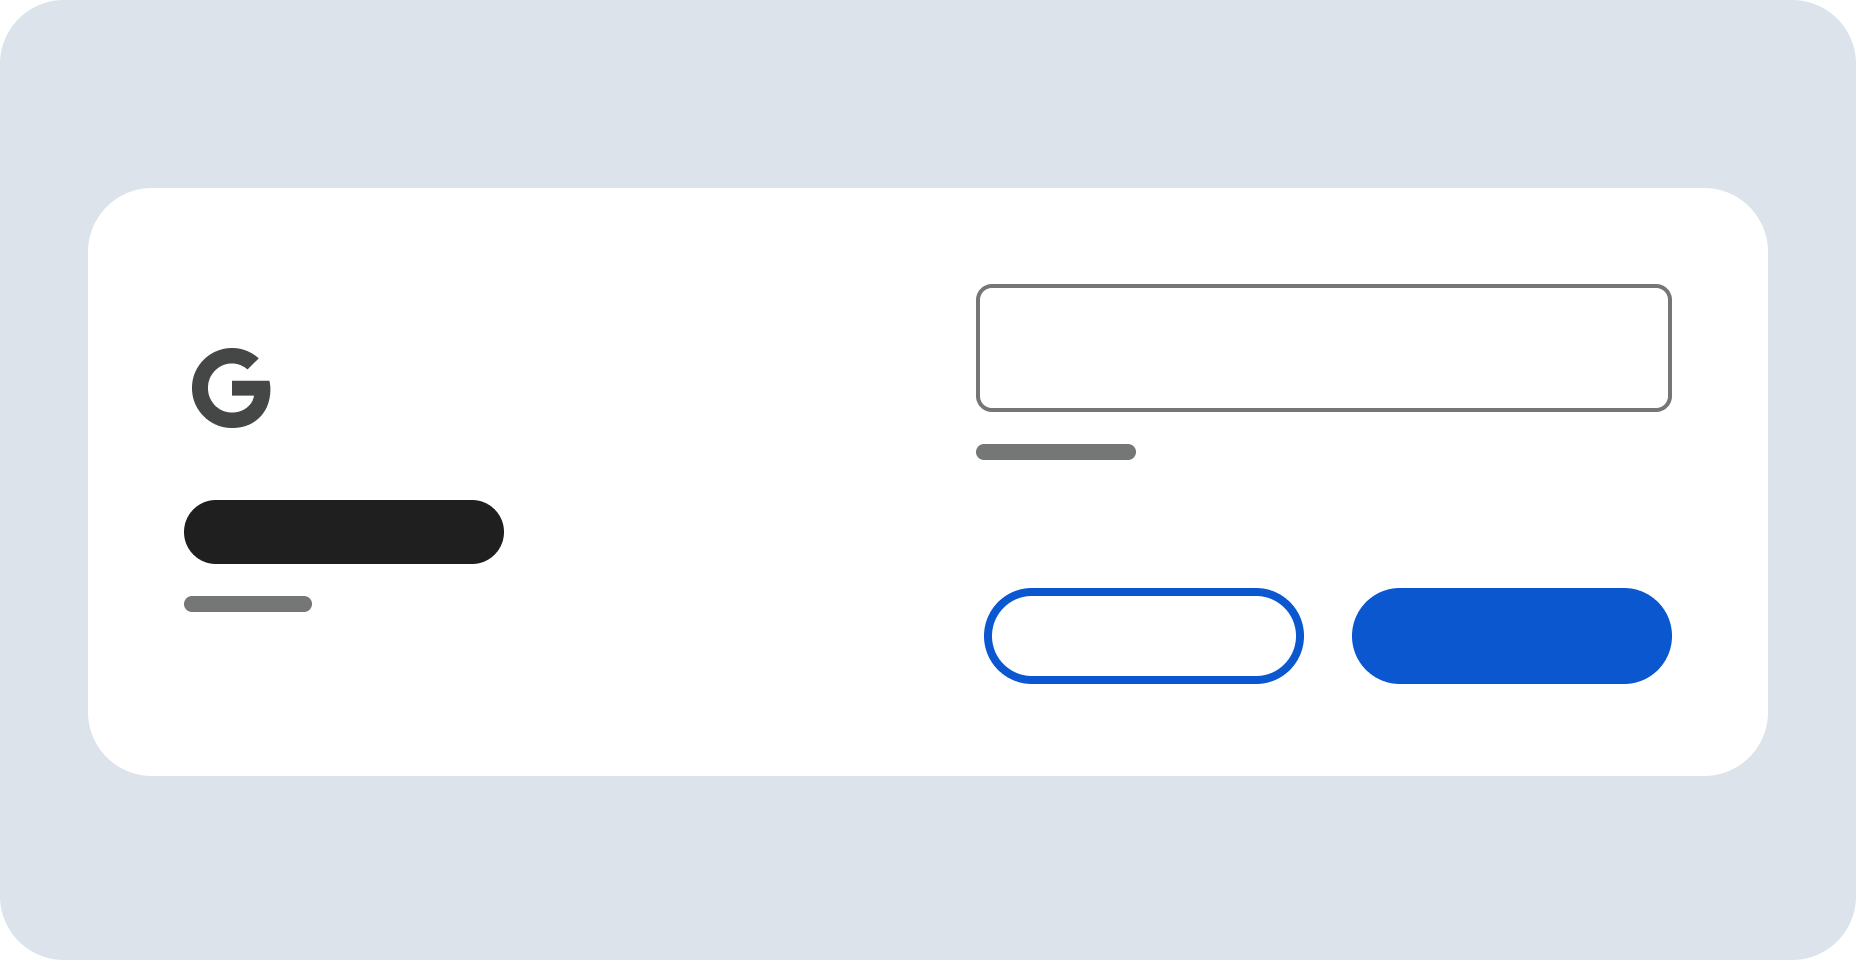
Click the Start Lab button. If you need to pay for the lab, a dialog opens for you to select your payment method. On the left is the Lab Details pane with the following:
Click Open Google Cloud console (or right-click and select Open Link in Incognito Window if you are running the Chrome browser).
The lab spins up resources, and then opens another tab that shows the Sign in page.
Tip: Arrange the tabs in separate windows, side-by-side.
If necessary, copy the Username below and paste it into the Sign in dialog.
You can also find the Username in the Lab Details pane.
Click Next.
Copy the Password below and paste it into the Welcome dialog.
You can also find the Password in the Lab Details pane.
Click Next.
Click through the subsequent pages:
After a few moments, the Google Cloud console opens in this tab.

Cisco vManage can take up to 8 minutes to become available after the lab has been started and the resources have been provisioned. While we wait, let’s prepare the Google Cloud accounts so that they are ready for our Cloud onRamp for Multicloud workflow later on.
Go to the Google Console of the first project by clicking the Google Console Project 1 button on the Qwiklab. Log in using the Username and Password provided in the left panel of the Qwiklab.
Once logged in, click on the navigation menu in the top right to expand the navigation menu. Hover over IAM & Admin from the list of options and then select IAM.
On the Create service account page, fill in the following details:
Service account details
Service account name: vManage
Service account ID: vmanage
Click CREATE AND CONTINUE.
Grant this service account access to project
Role: Owner
Note: You need to hover on Basic in the Quick access section to find the Owner role.
Click Done.
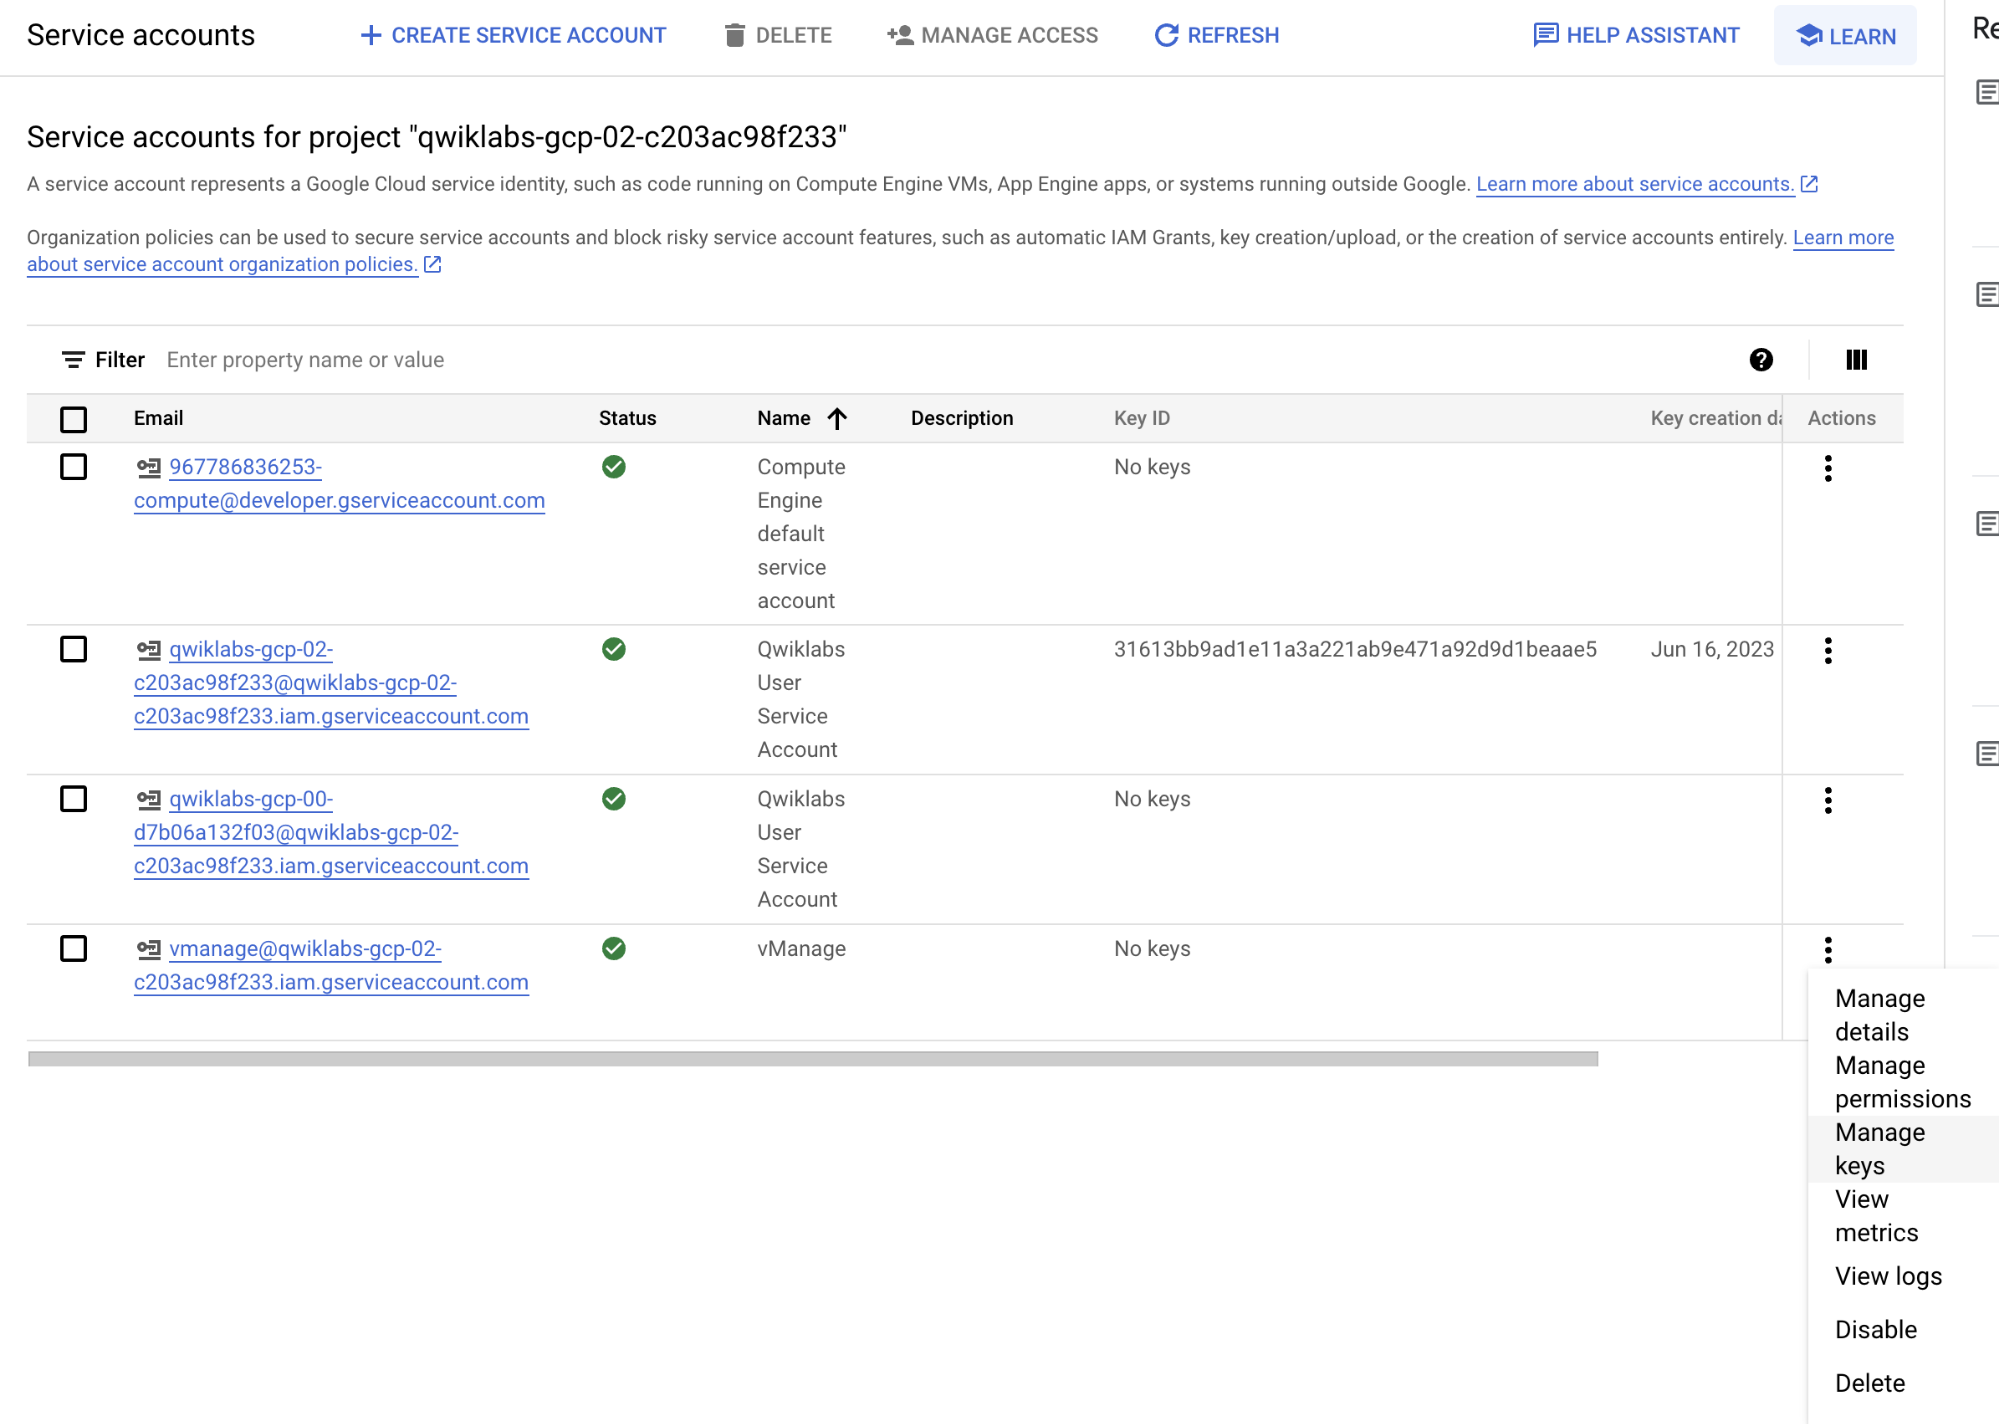
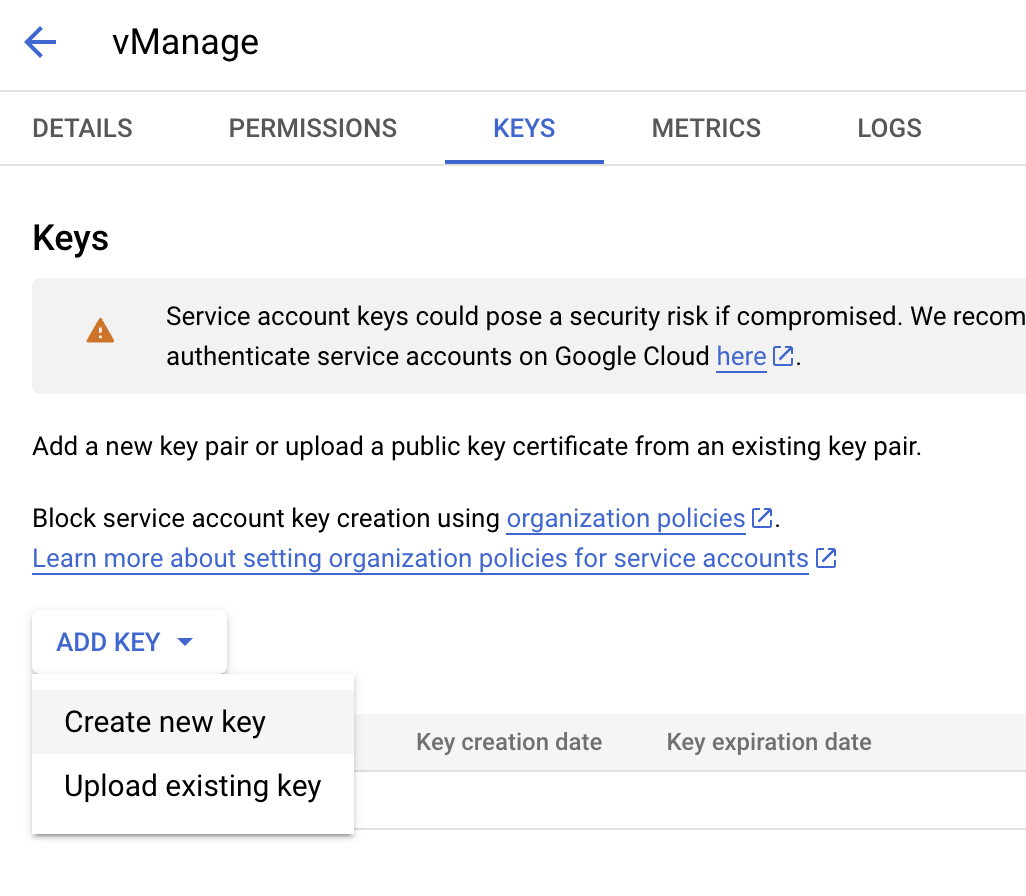
Locate your new service account in the list - click on the ellipsis and select Manage keys from the dropdown menu.
We will repeat the same step for the second project.
In another tab, go to the Google Console of the second project by clicking the Google Console Project 2 button on the Qwiklab. Log in using the Username and Password provided in the left panel of the Qwiklab.
Once logged in, click on the navigation menu in the top right to expand the navigation menu. Hover over IAM & Admin from the list of options and then select IAM.
To create a service account, click on Service Accounts from the menu on the left and then select + CREATE SERVICE ACCOUNT near the top.
On the Create service account page, fill in the following details:
Service account details
Service account name: vManage
Service account ID: vmanage
Click CREATE AND CONTINUE.
Grant this service account access to project
Owner
Note: You need to hover on Basic in the Quick access section to find the Owner role.
Locate your new service account in the list - click on the ellipsis and select Manage keys from the dropdown menu.
On the new page, select ADD KEY and then select Create new key from the dropdown.
In the pop-up window, select the JSON radio button option and then click Create. This will download a JSON file with the private key to your local computer. In addition, you will see a pop-up window warning you that a private key has been saved to your computer - click CLOSE to exit.
Be sure to make note of which JSON file belongs to which Google project. We will use these files later on when associating the Google accounts with Cisco vManage.
admin
pass
For this Cloud onRamp for Multicloud with Google Cloud integration lab, you will need at least two Catalyst 8000V Edge devices.
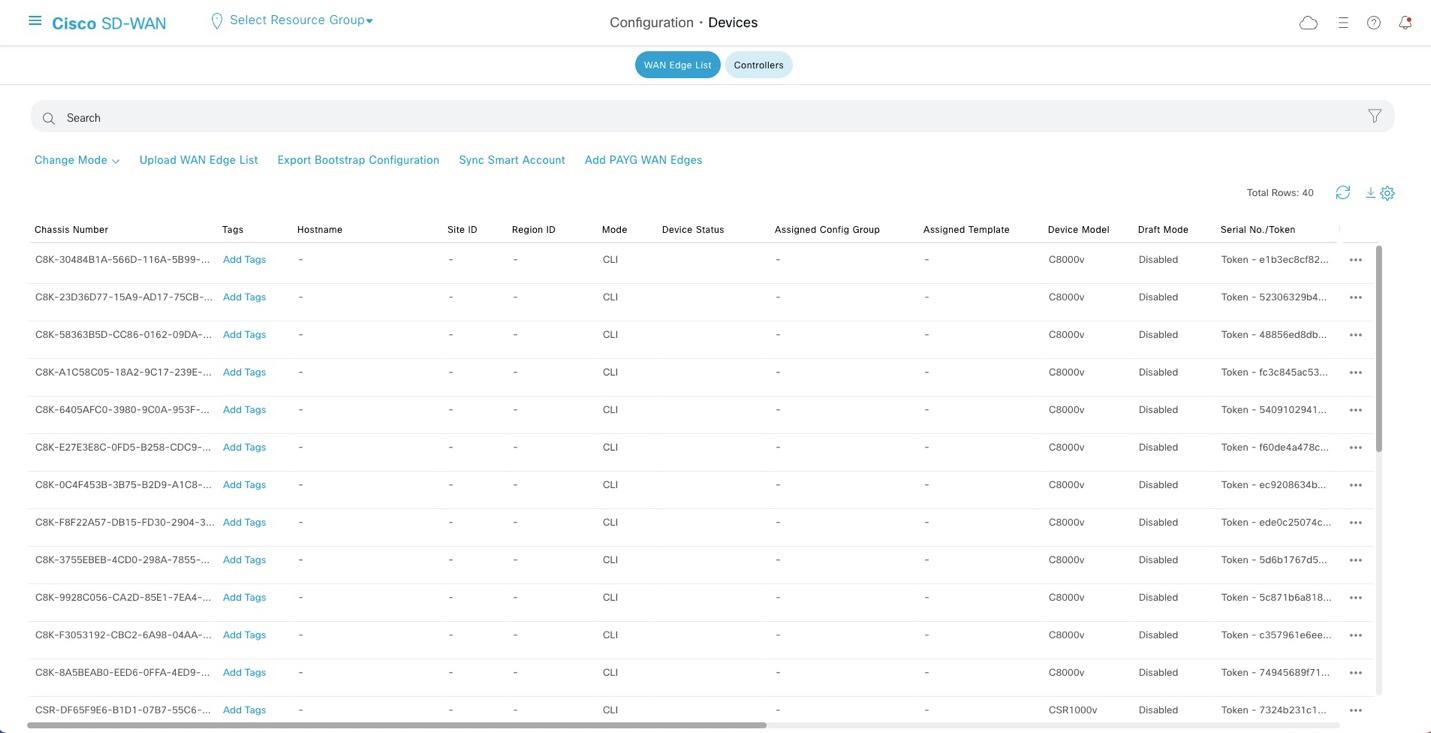
The devices shown in the screenshot may differ from the ones you see.
Example Chassis Number: C8K-30484B1A-566D-116A-5B99-1ABFA78E274B
We will use these Chassis Numbers later when we attach the devices to a template and create our cloud gateway.
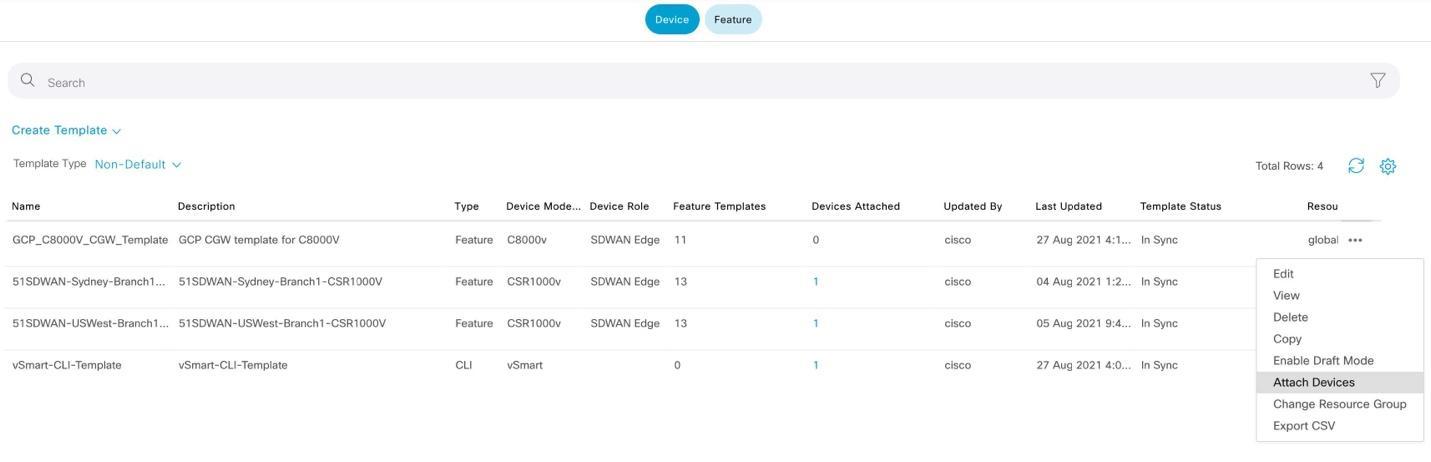
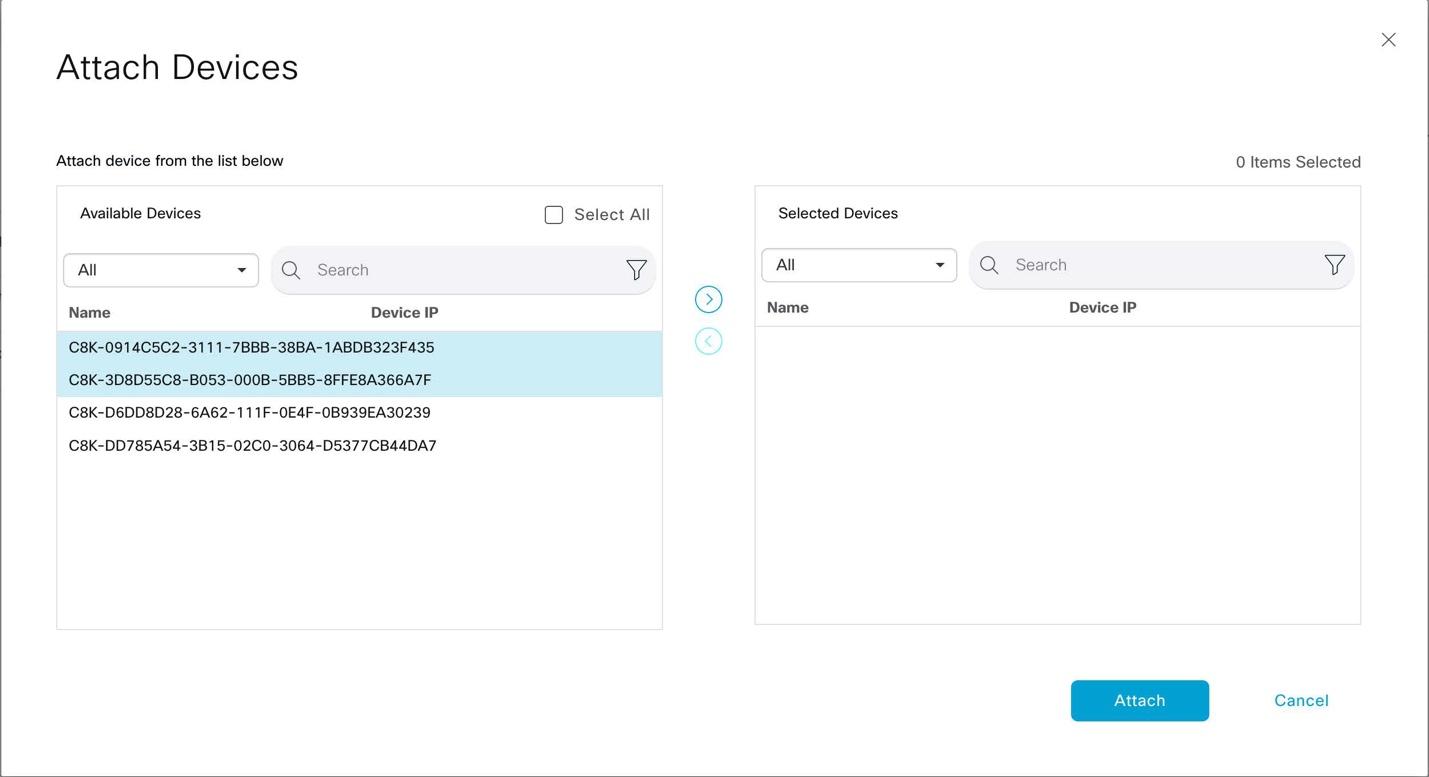
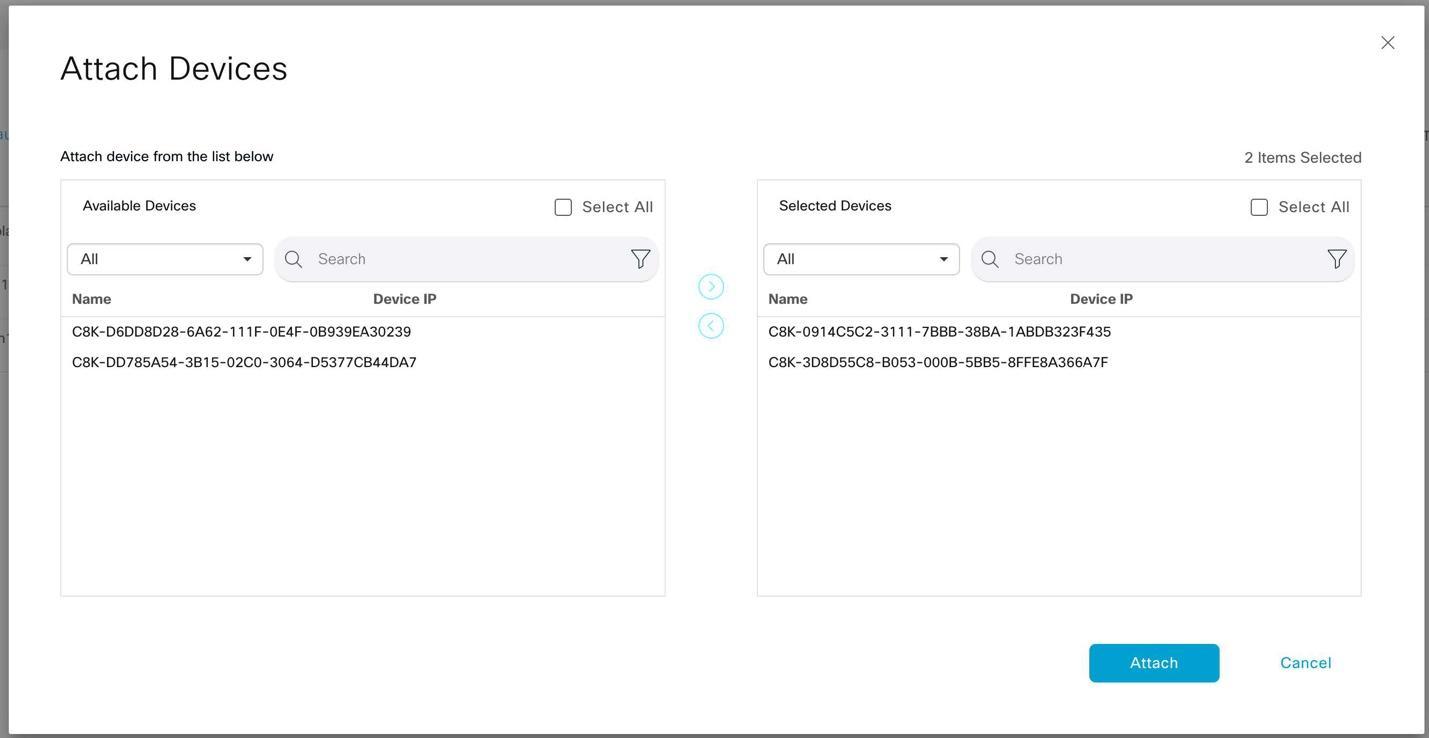
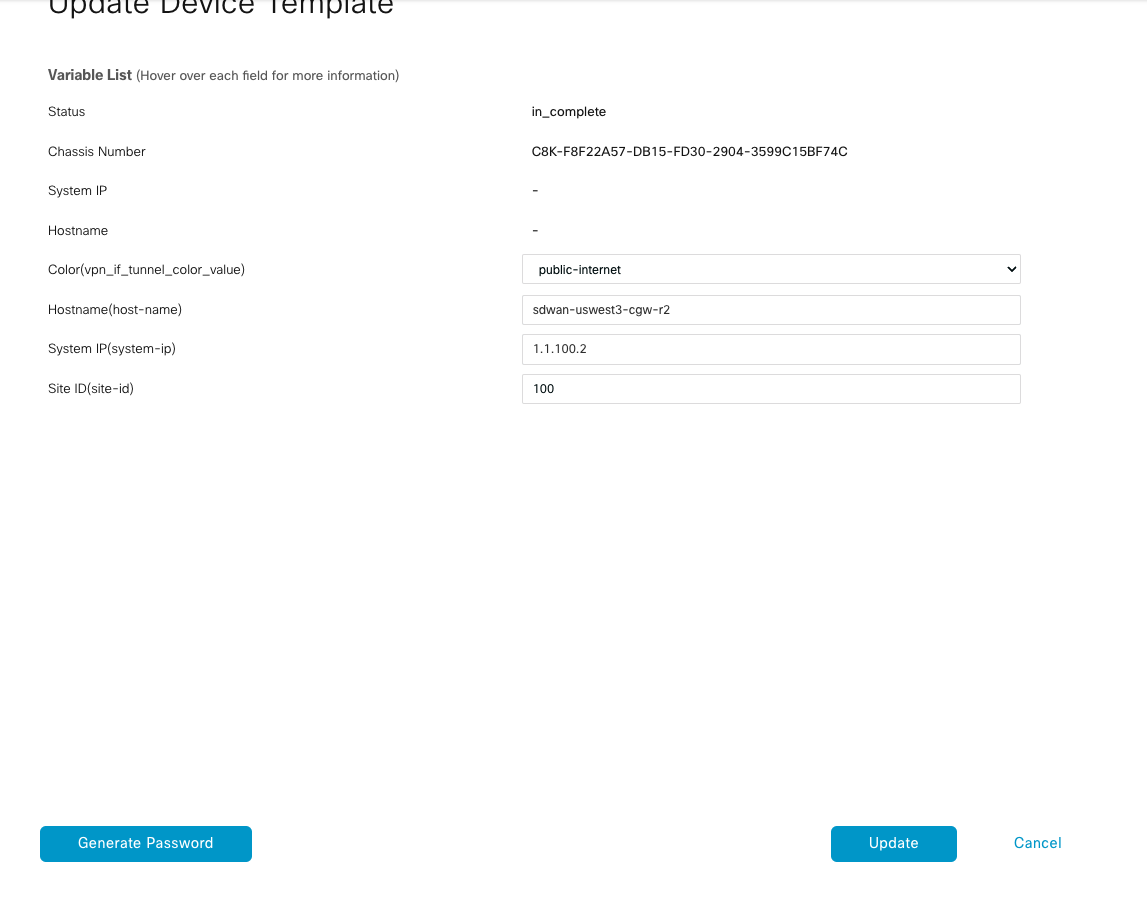
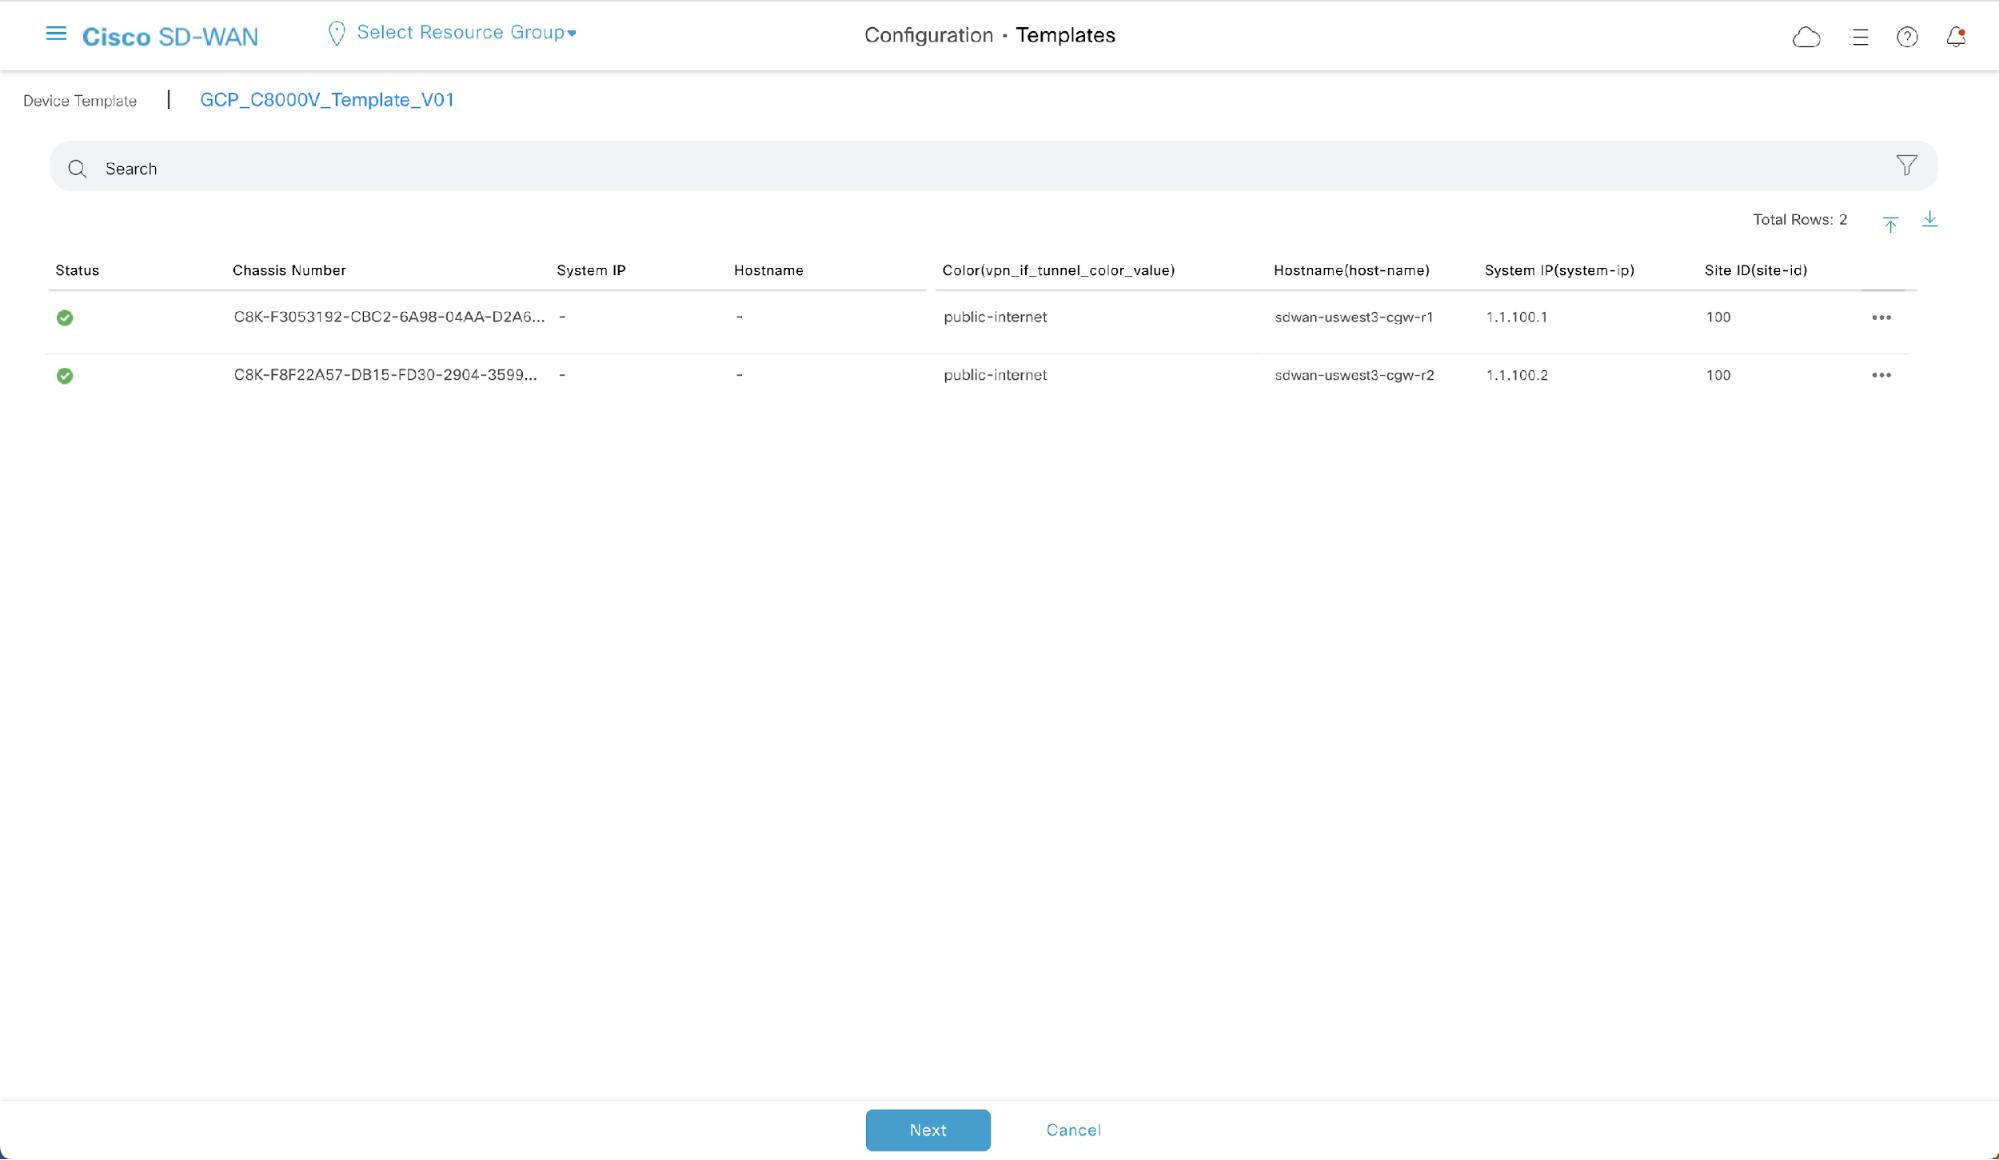
A template is a reusable set of configuration objects that can be applied to devices. Some of these objects have global configurations that can be pre-populated into the template. Unique device variables are entered when we attach these devices to the template. In this lab, we will be entering 4 variables - Color, Hostname, System IP, and Site ID. Before configuring Cloud onRamp for Multicloud for Google Cloud, you need to first attach two of the available devices previously selected to a Device Template.
Please do not modify any of the templates!
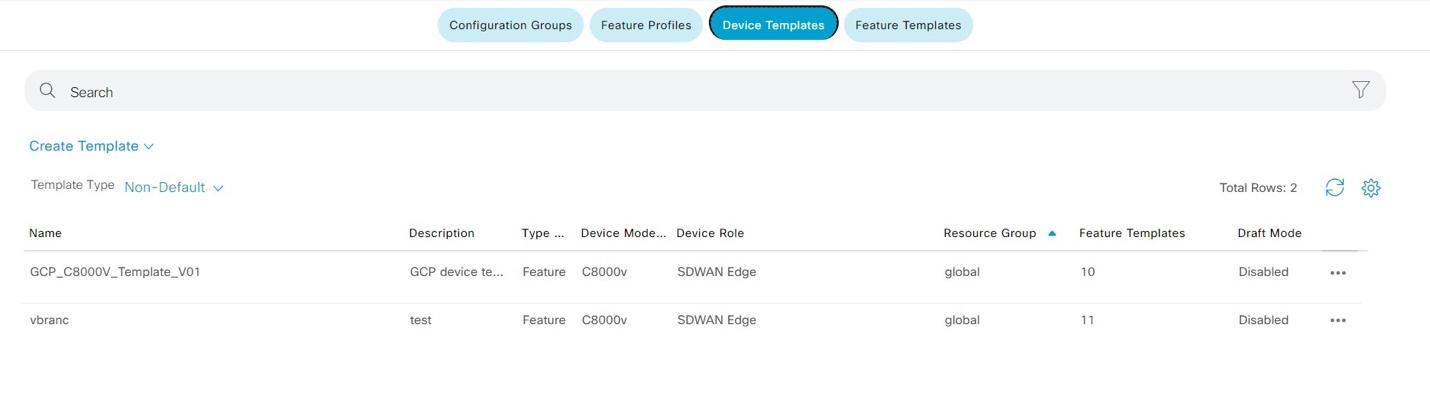
In the list of device templates, you will see a pre-configured template with the following name: GCP_C8000V_Template_V01. This will be the template we use to configure the Catalyst 8000V cloud gateway routers created in Google Cloud.

| Config Variable | Device 1 | Device 2 |
|---|---|---|
| Color | public-internet | public-internet |
| Hostname | sdwan- |
sdwan- |
| System IP | 1.1.100.1 | 1.1.100.2 |
| Site-ID | 100 | 100 |

Repeat the same process to assign values to the variables for the second device using the values provided in the table above.
Update device template for second device:
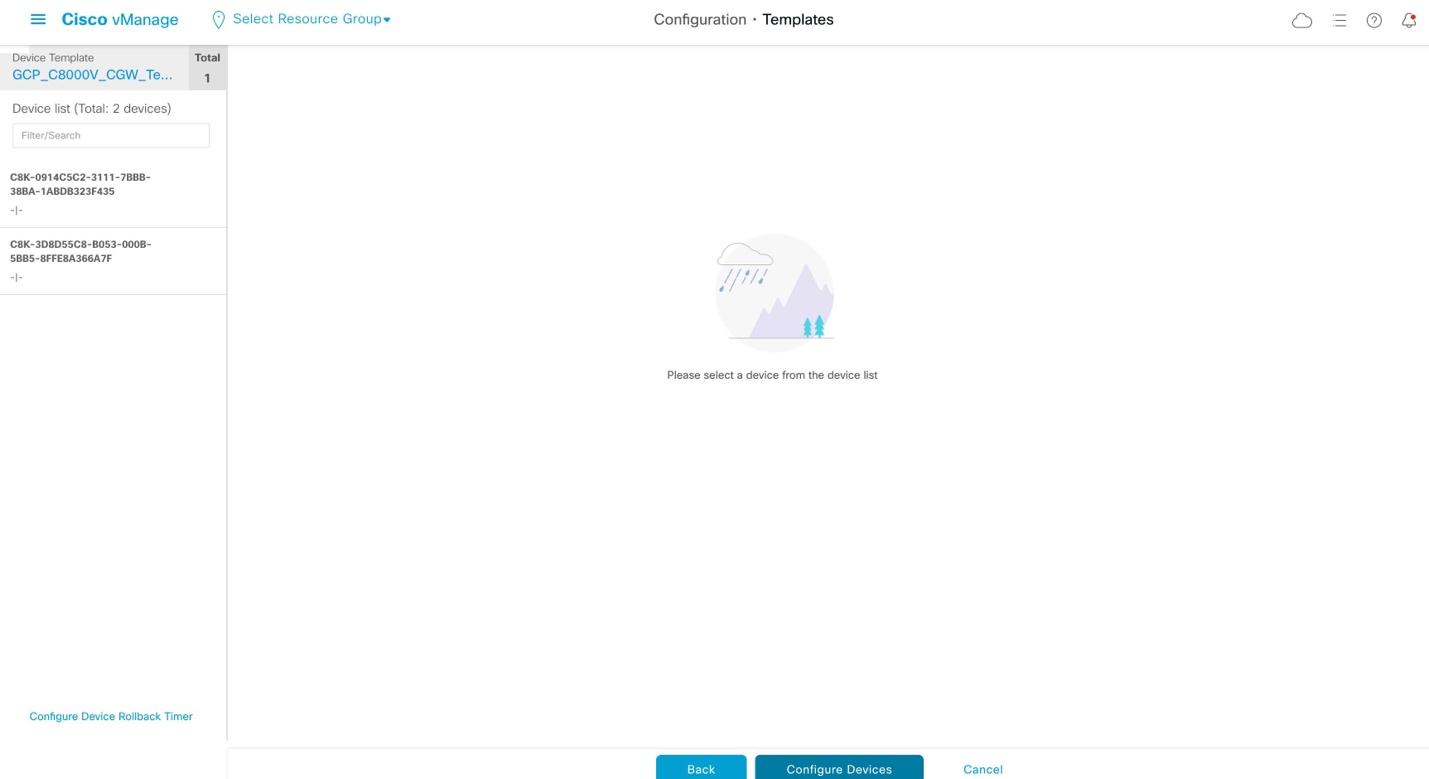
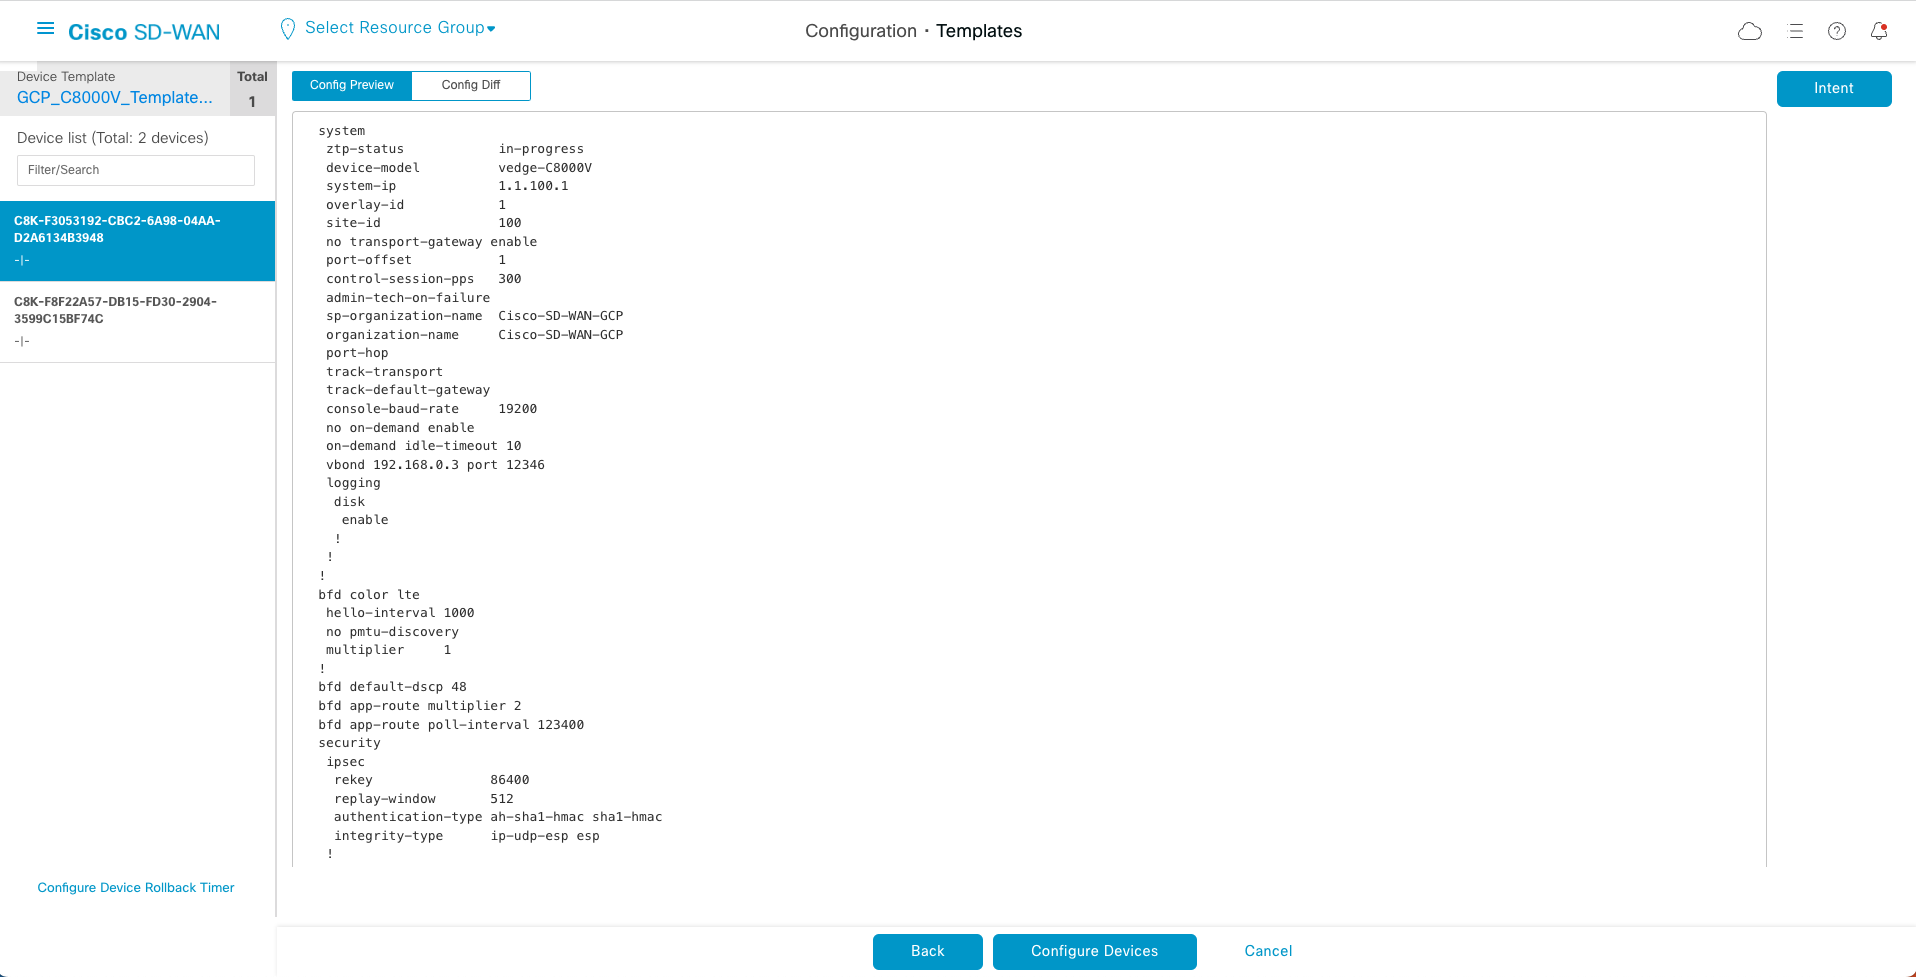
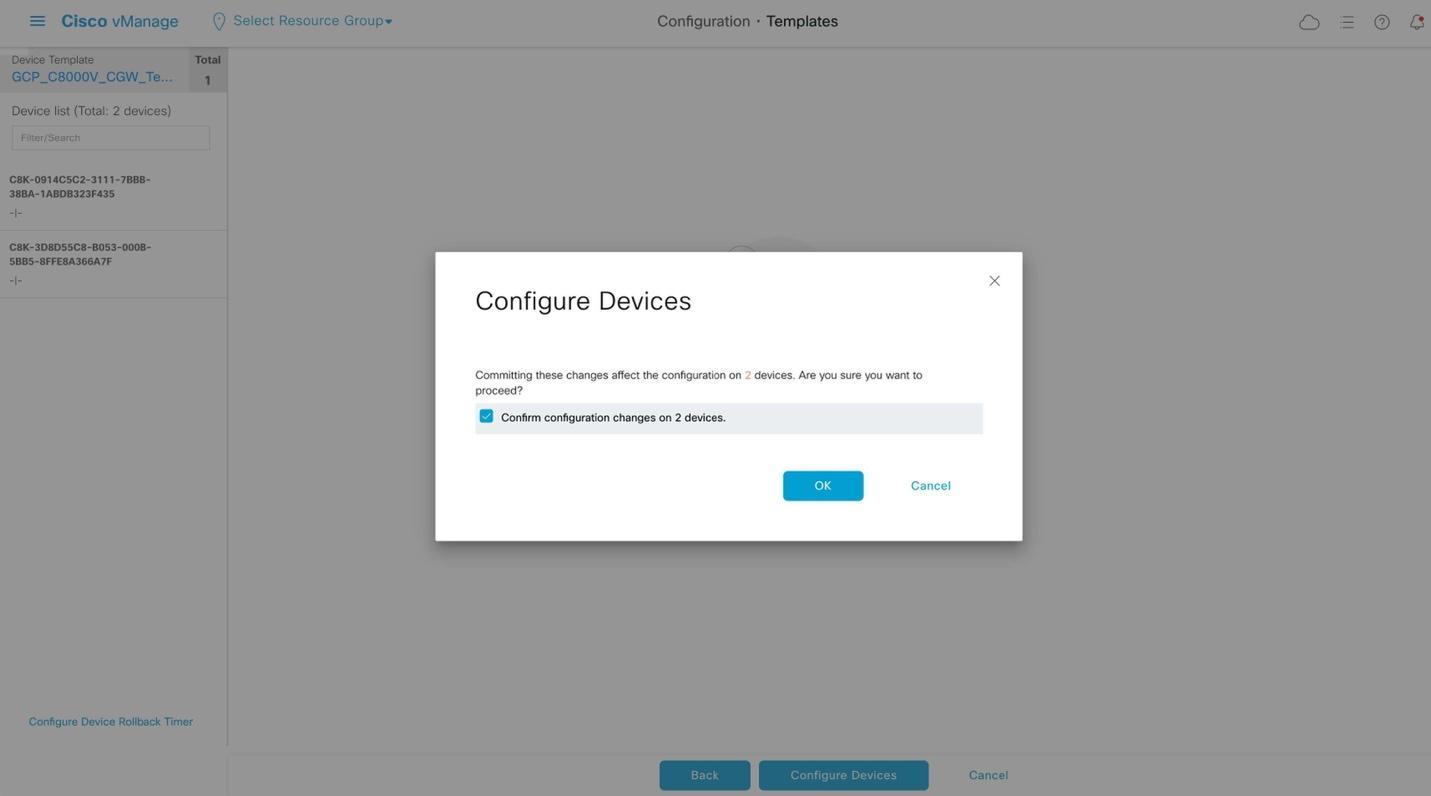
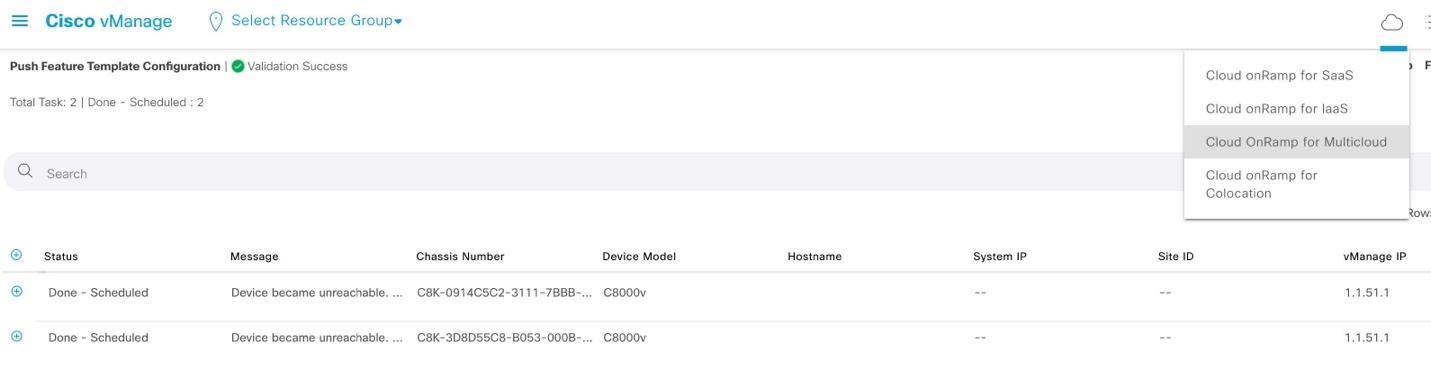
Cisco vManage will take a moment to configure the devices. Once finished, you will see the status Done – Scheduled. You will also see the message Device became unreachable. This is normal and expected as we have not created the cloud gateway yet and the devices have not been initialized. When the devices are created, they will check in and receive these configurations.

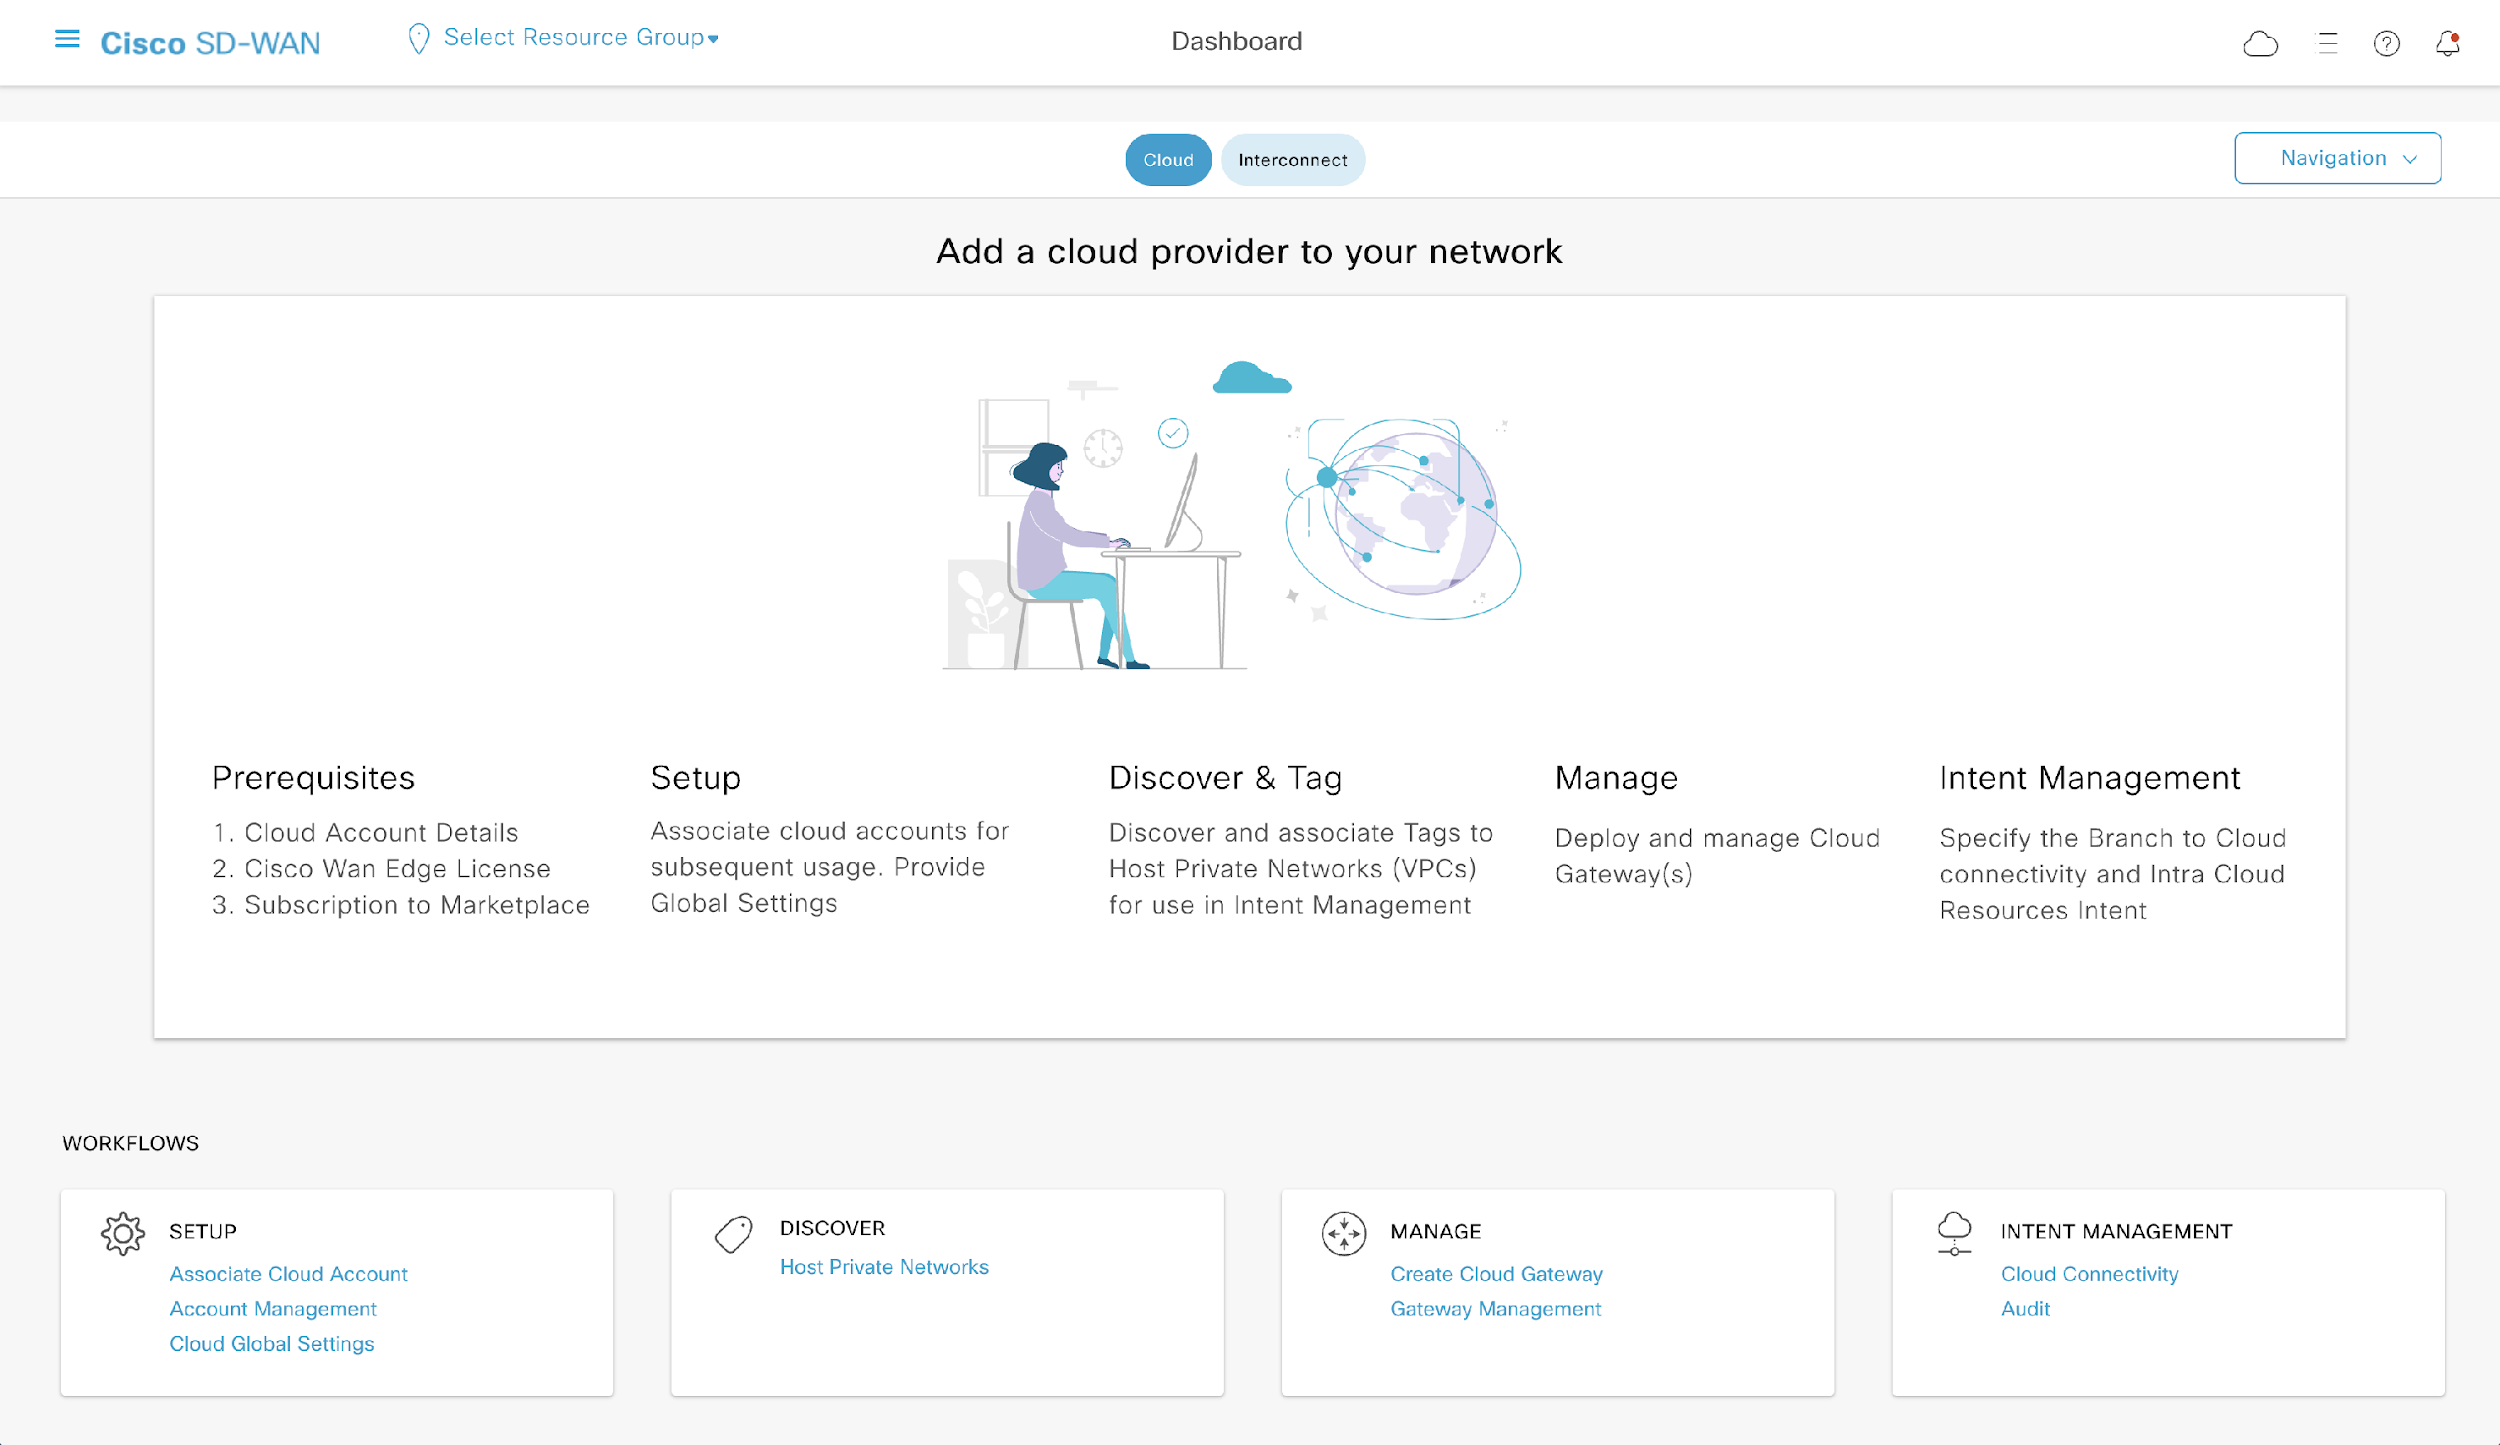
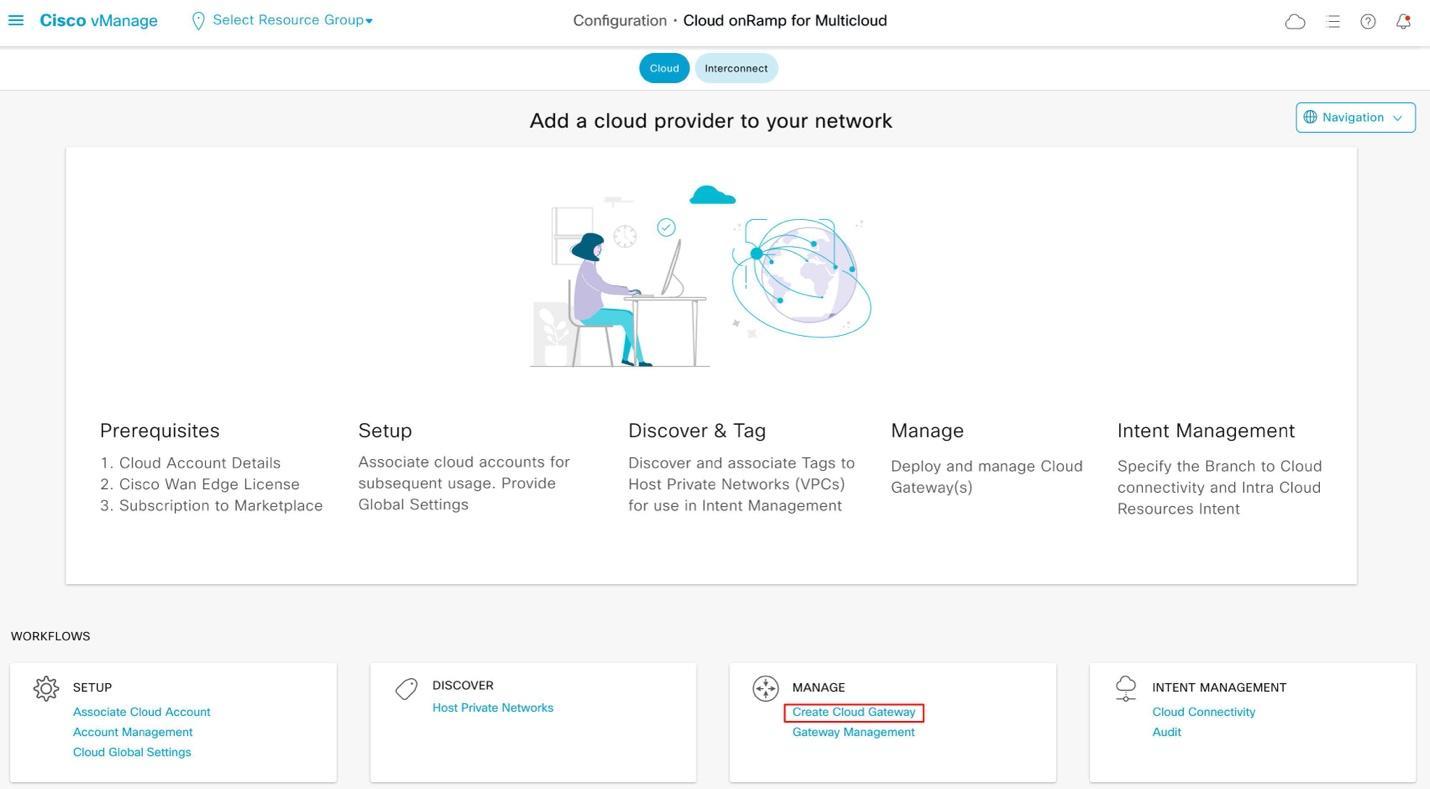
The Cloud onRamp for Multicloud page is where we will configure many of our settings for this lab. To navigate to the Cloud onRamp for Multicloud page, click on the 
In the Workflows section, under SETUP, click on Account Management.
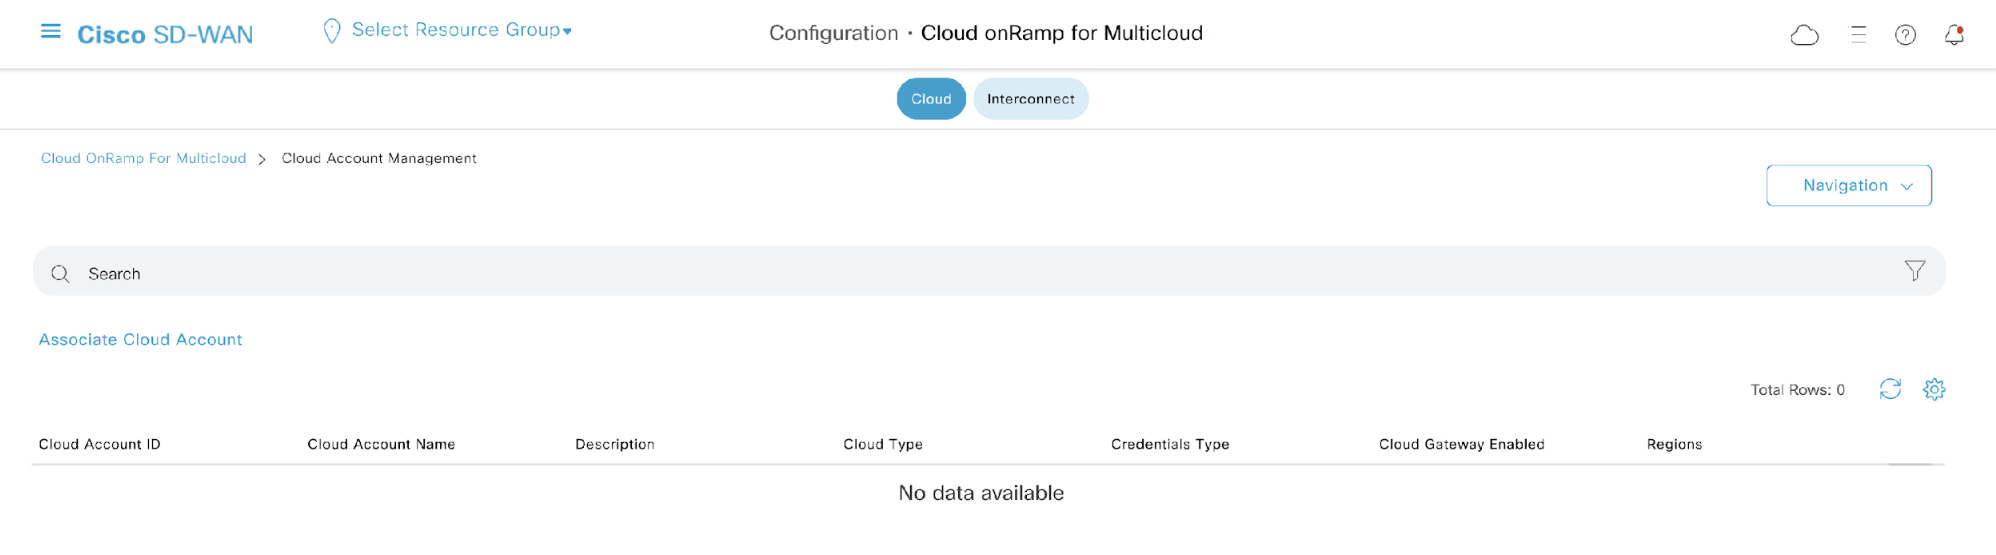
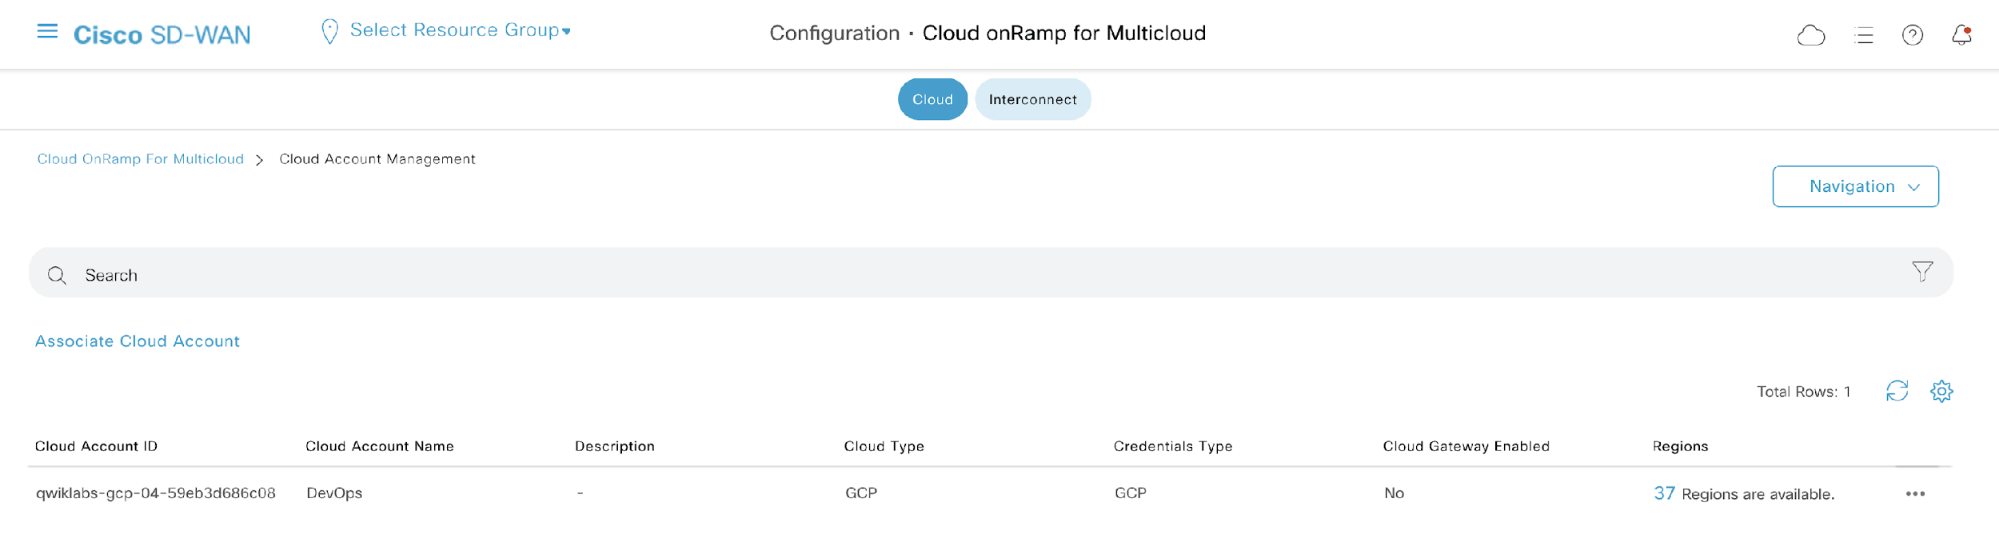
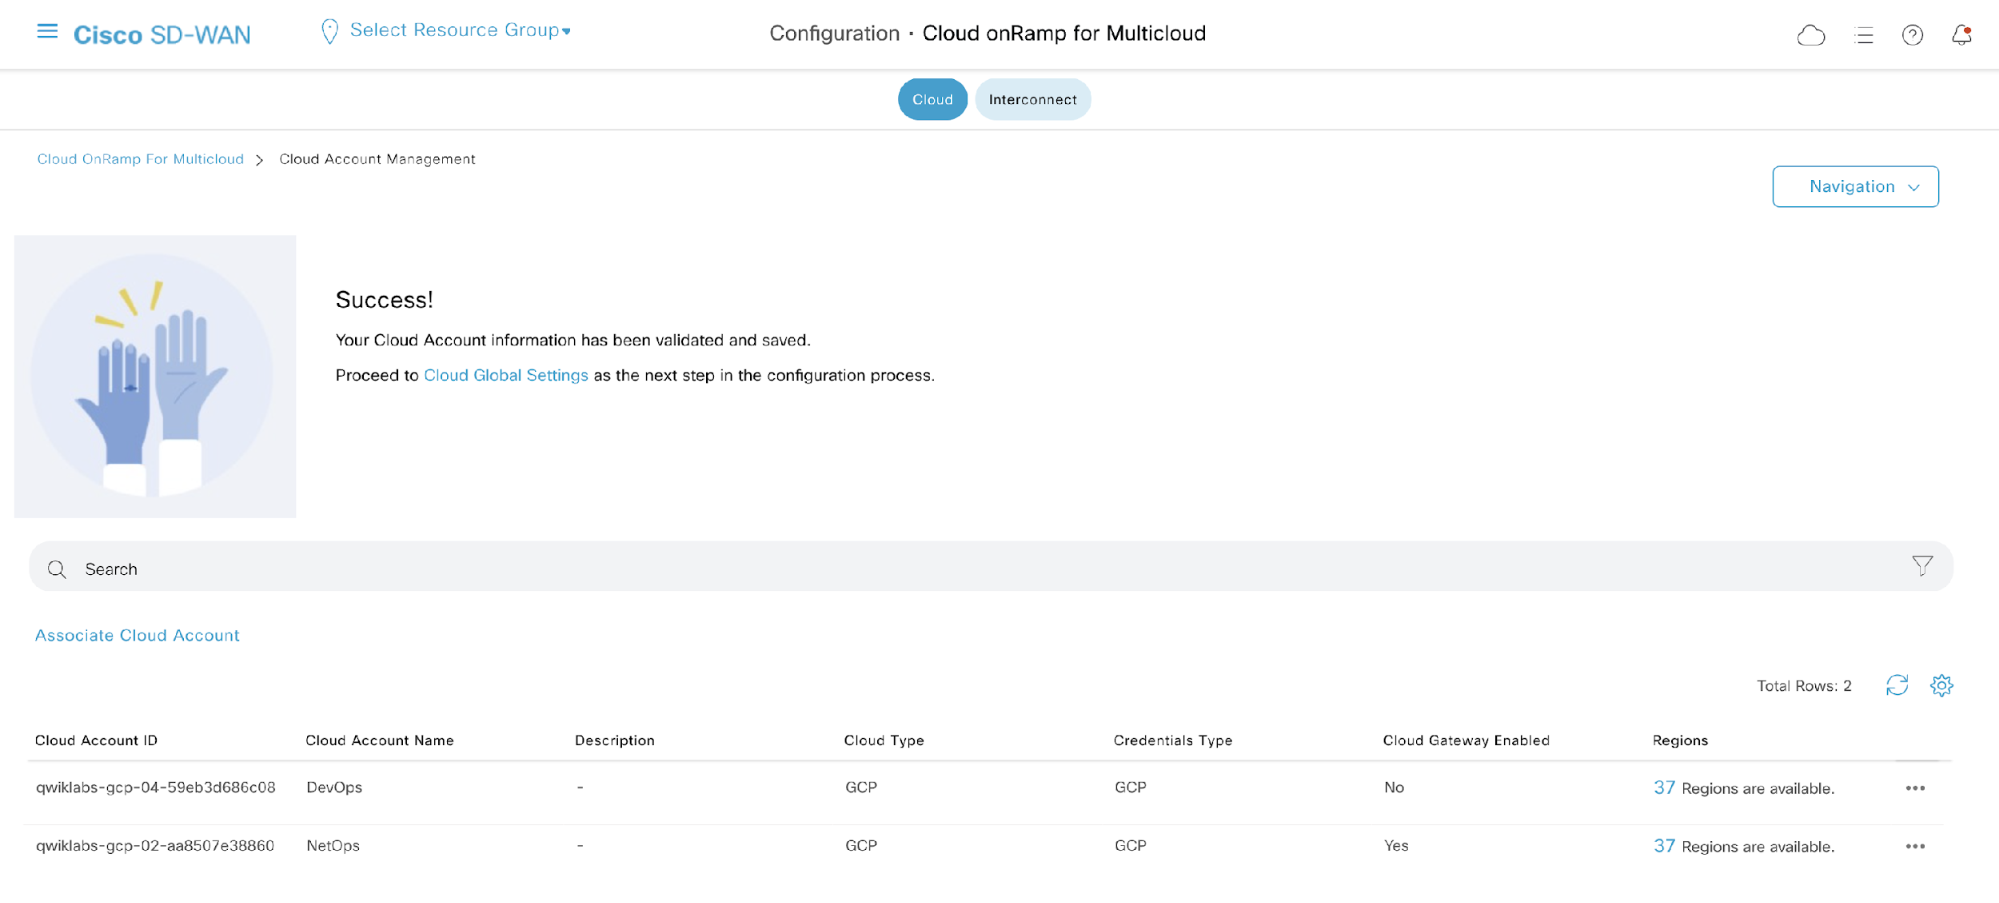
We see that there are no cloud accounts currently associated with Cisco vManage.
In the next few steps, we will associate the Project 1 and Project 2 Google Cloud accounts so Cisco vManage can have the correct access to create Google Cloud resources.
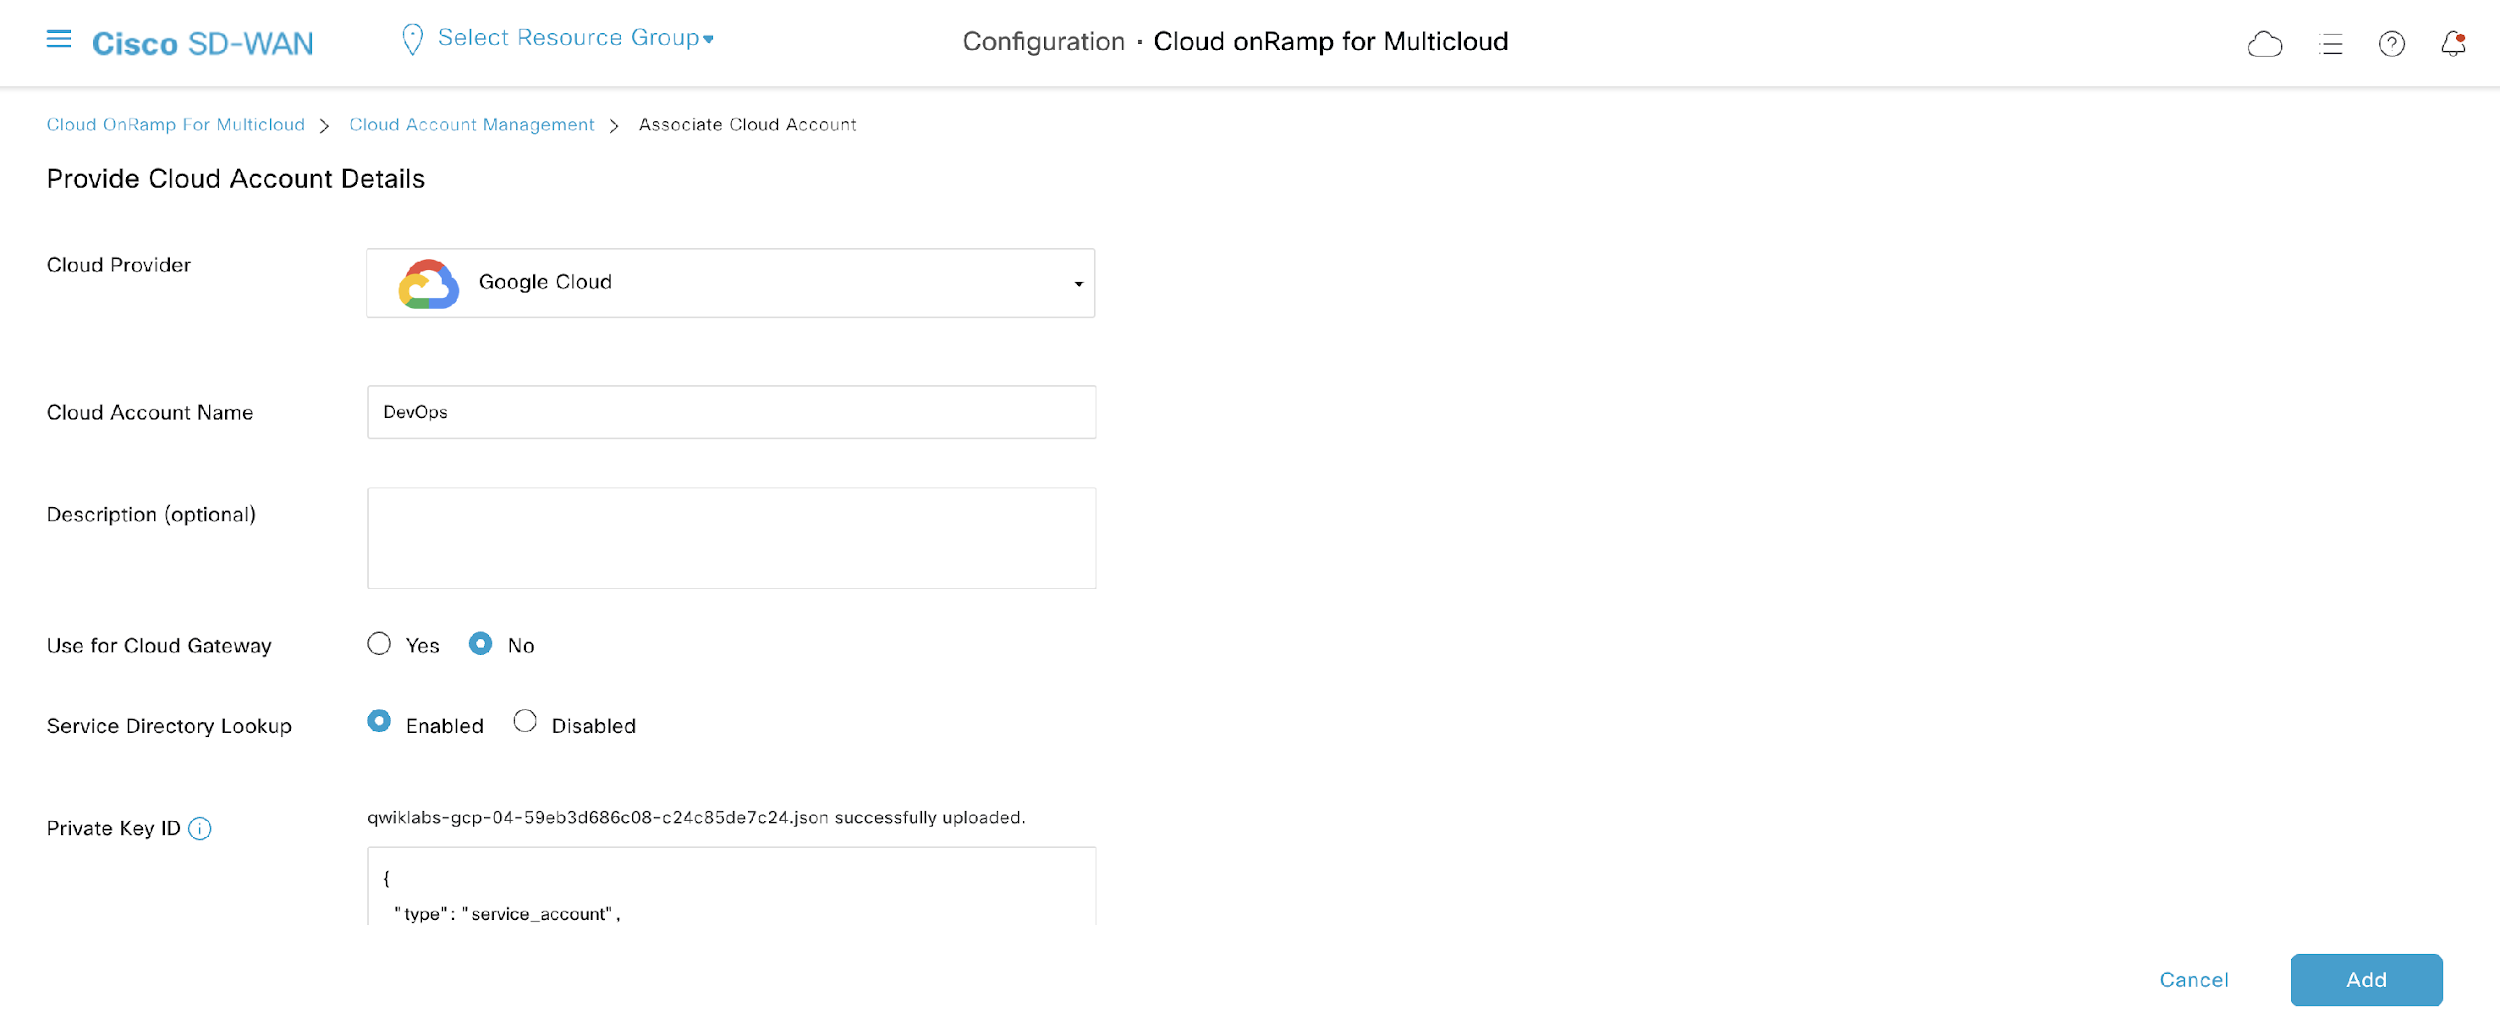
Click on Associate Cloud Account.
On the Provide Cloud Account Details page, fill in the following details:
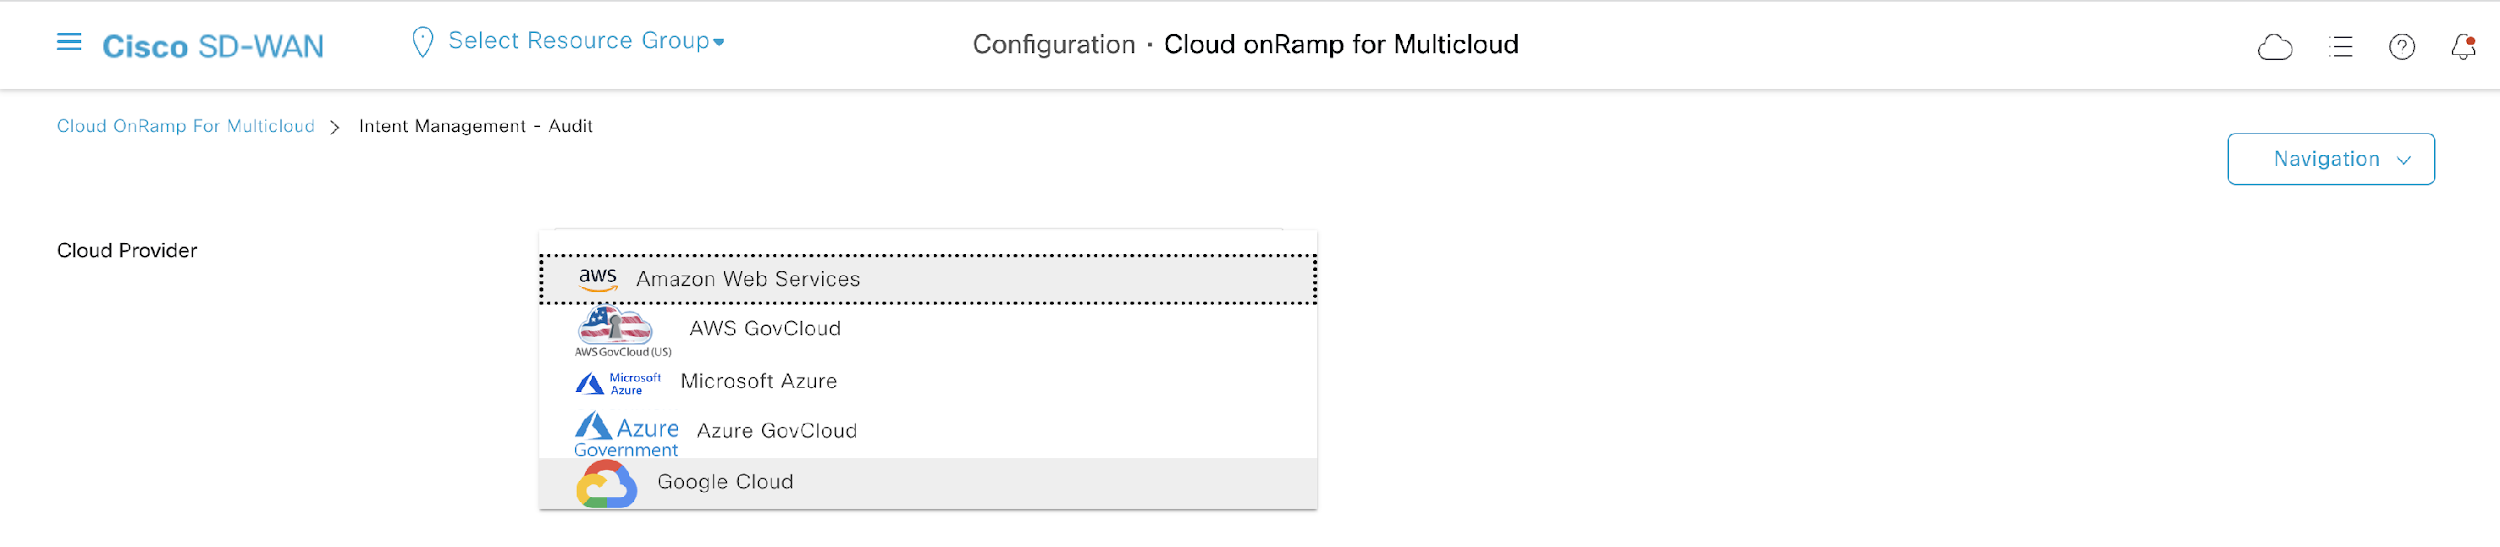
Google Cloud
Note: You will not see some of the following fields until you select Google Cloud as the Cloud Provider.
DevOps
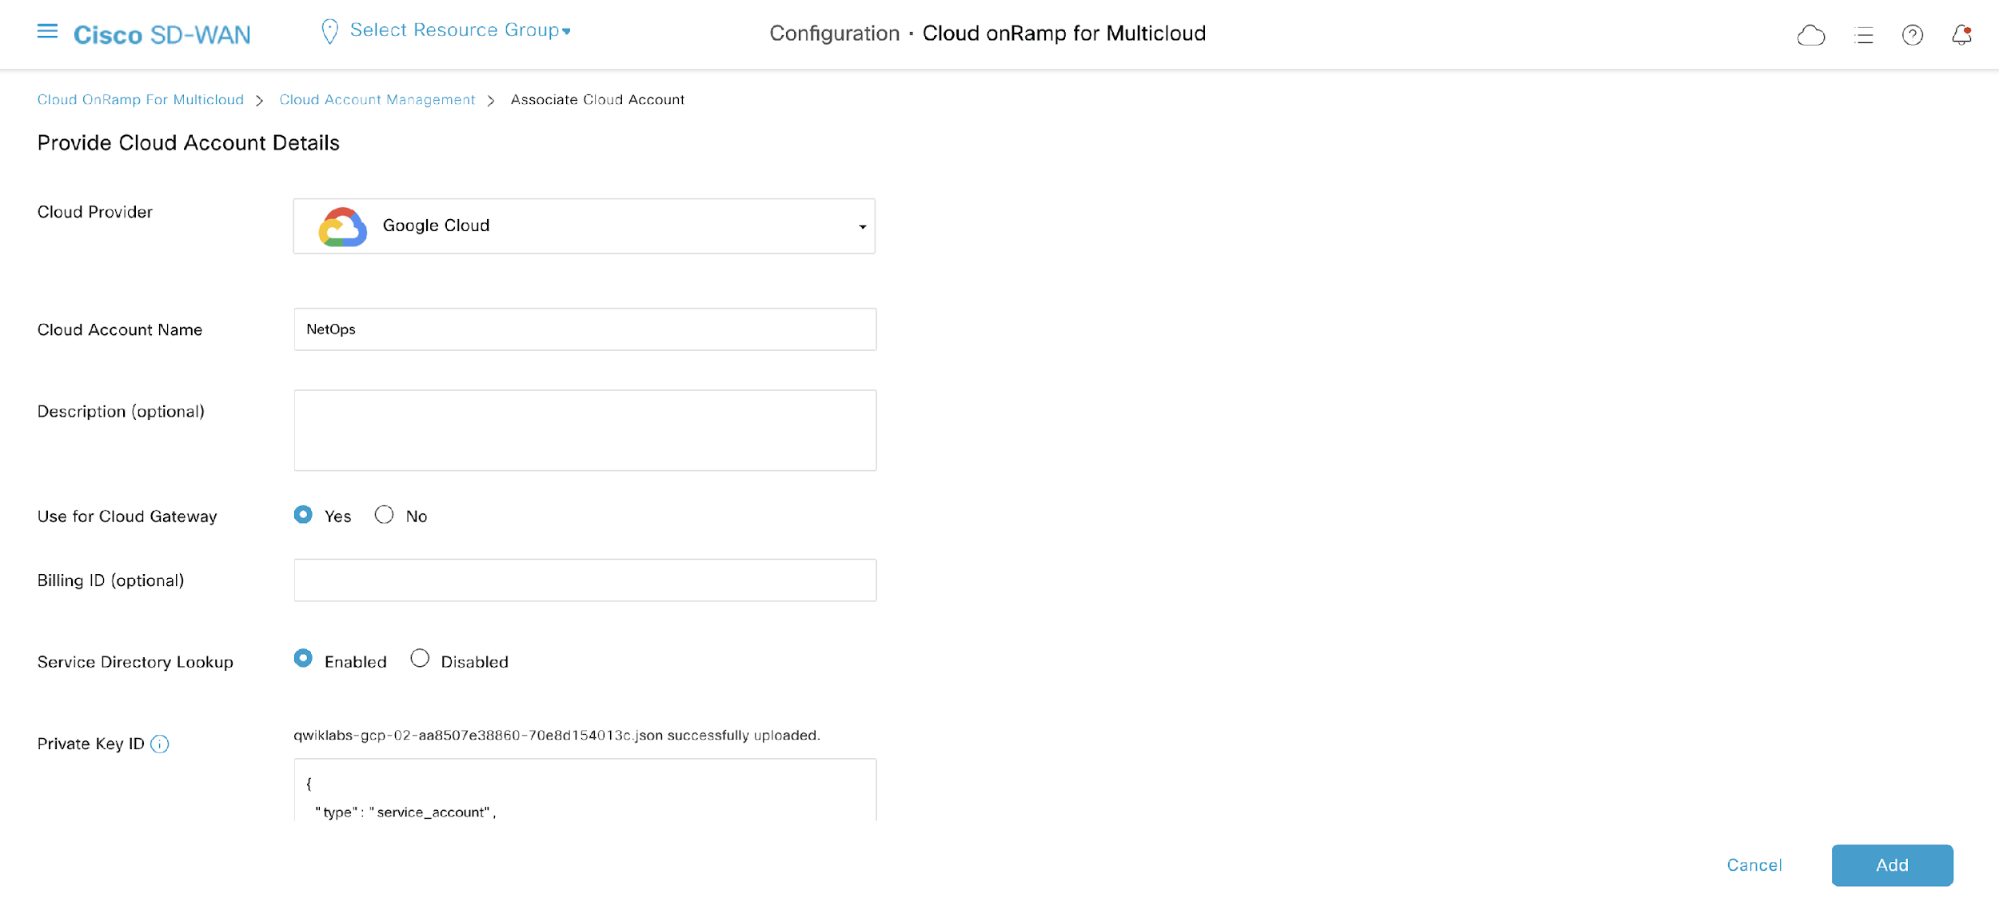
We will repeat the previous step for Project 2. Click on Associate Cloud Account again
Go back to Cisco vManage and click Associate Cloud Account again.
On the Provide Cloud Account Details page, fill in the following details:
Google Cloud
Note: You will not see some of the following fields until you select Google Cloud as the Cloud Provider.
NetOps
Note: You MUST enable the ‘Yes' radio button in order for Cloud Gateway creation to be successful.
In this step, we will set the cloud global settings. Cloud global settings are used by all cloud gateway instantiations for a specific cloud provider (unless customized otherwise when creating the cloud gateway).
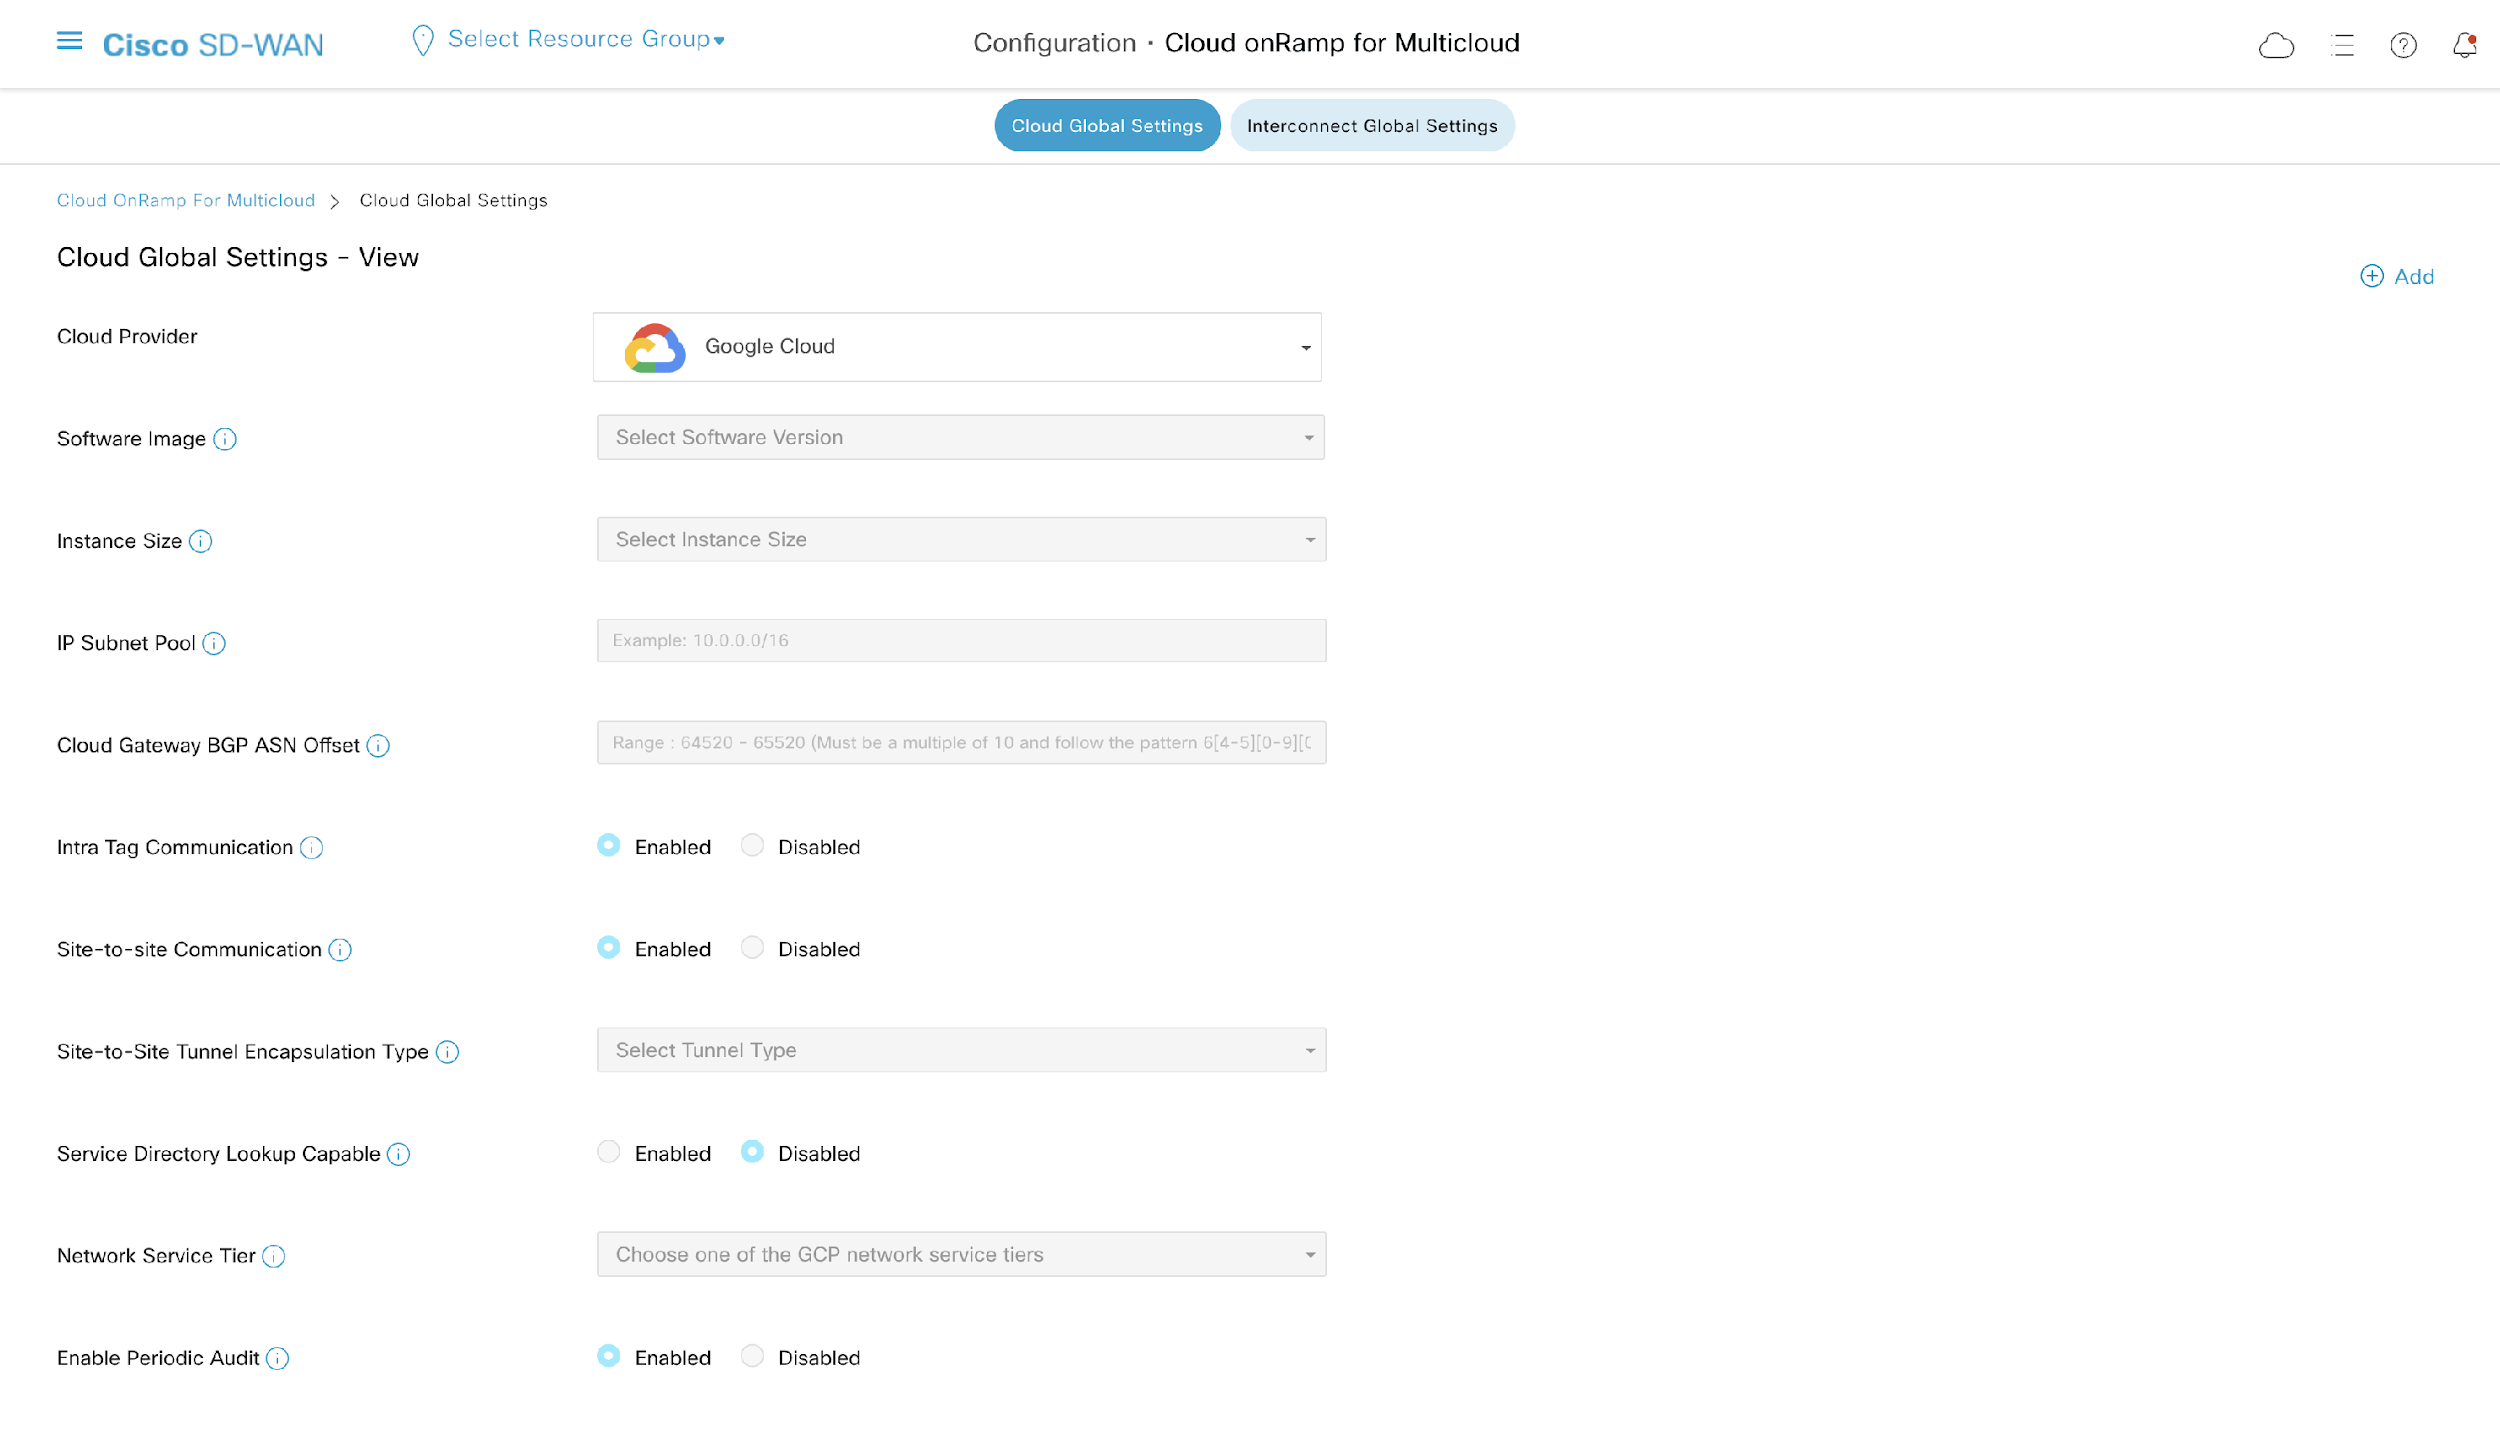
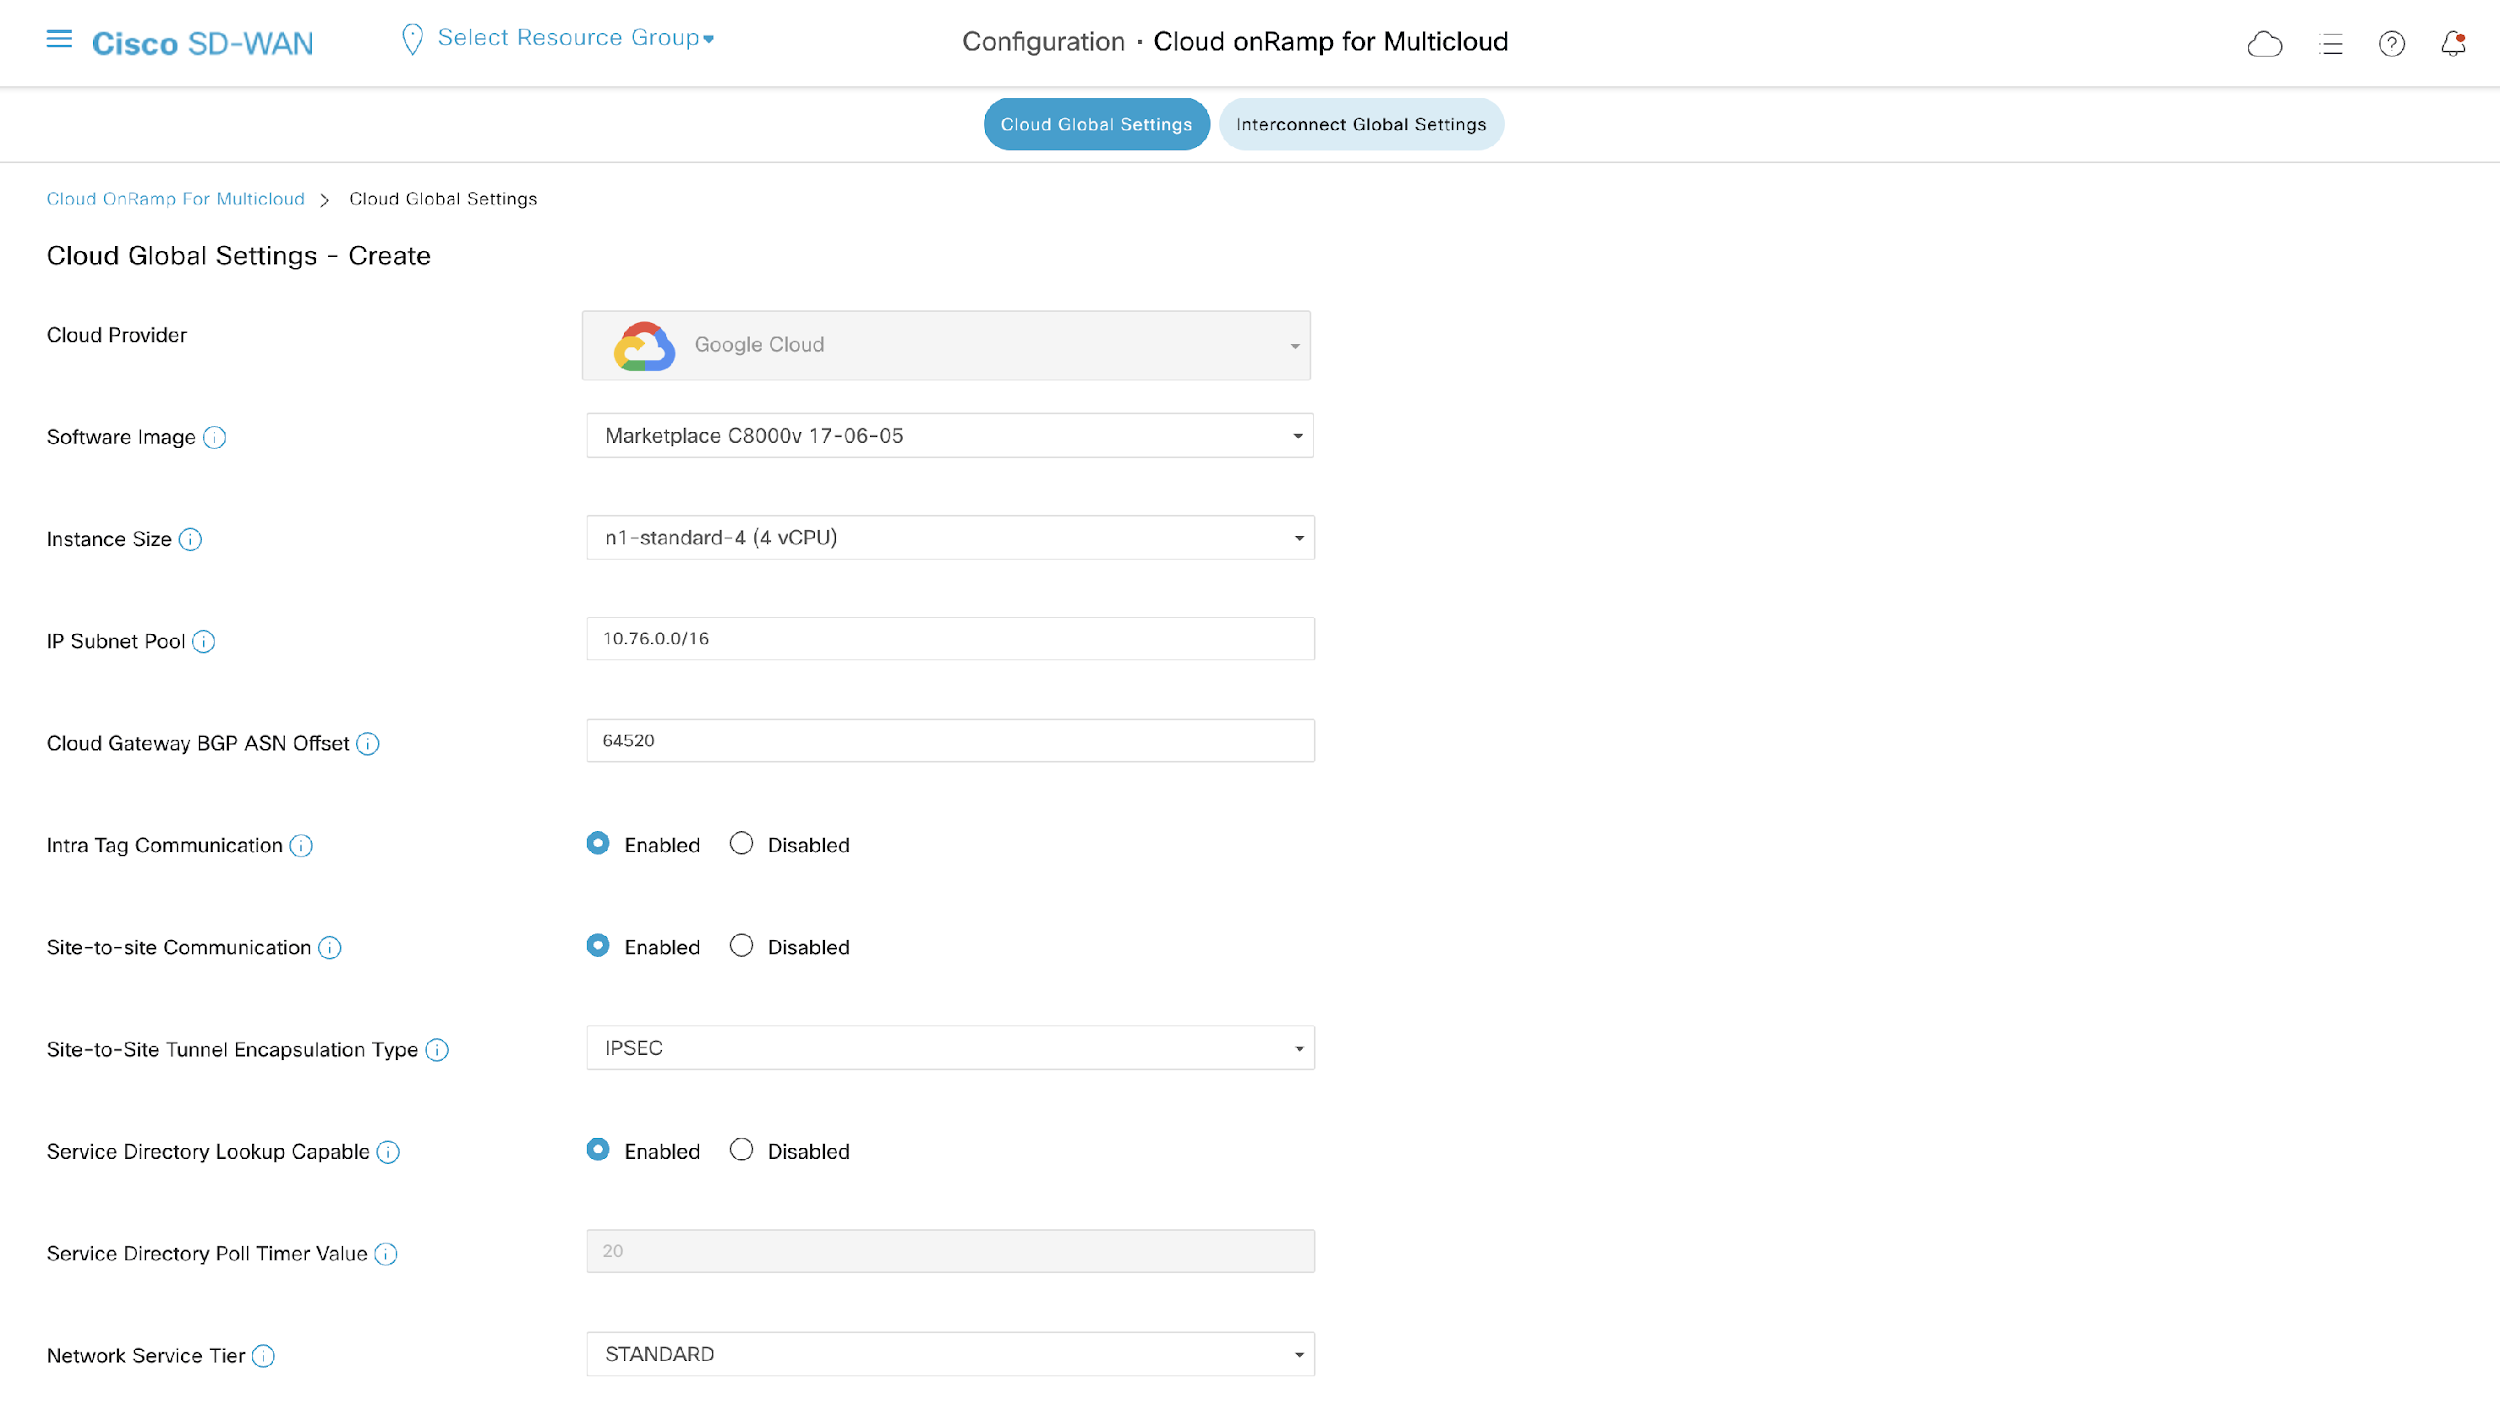
To create the Cloud Global Settings, click + Add on the top right.
Fill in the following details:
Google Cloud
Marketplace C8000v 17-06-05
n1-standard-4 (4 vCPU)
10.76.0.0/16
64520
Enabled
Disabled
Enabled
STANDARD
Enabled
Disabled
Once finished, click Save at the bottom right.
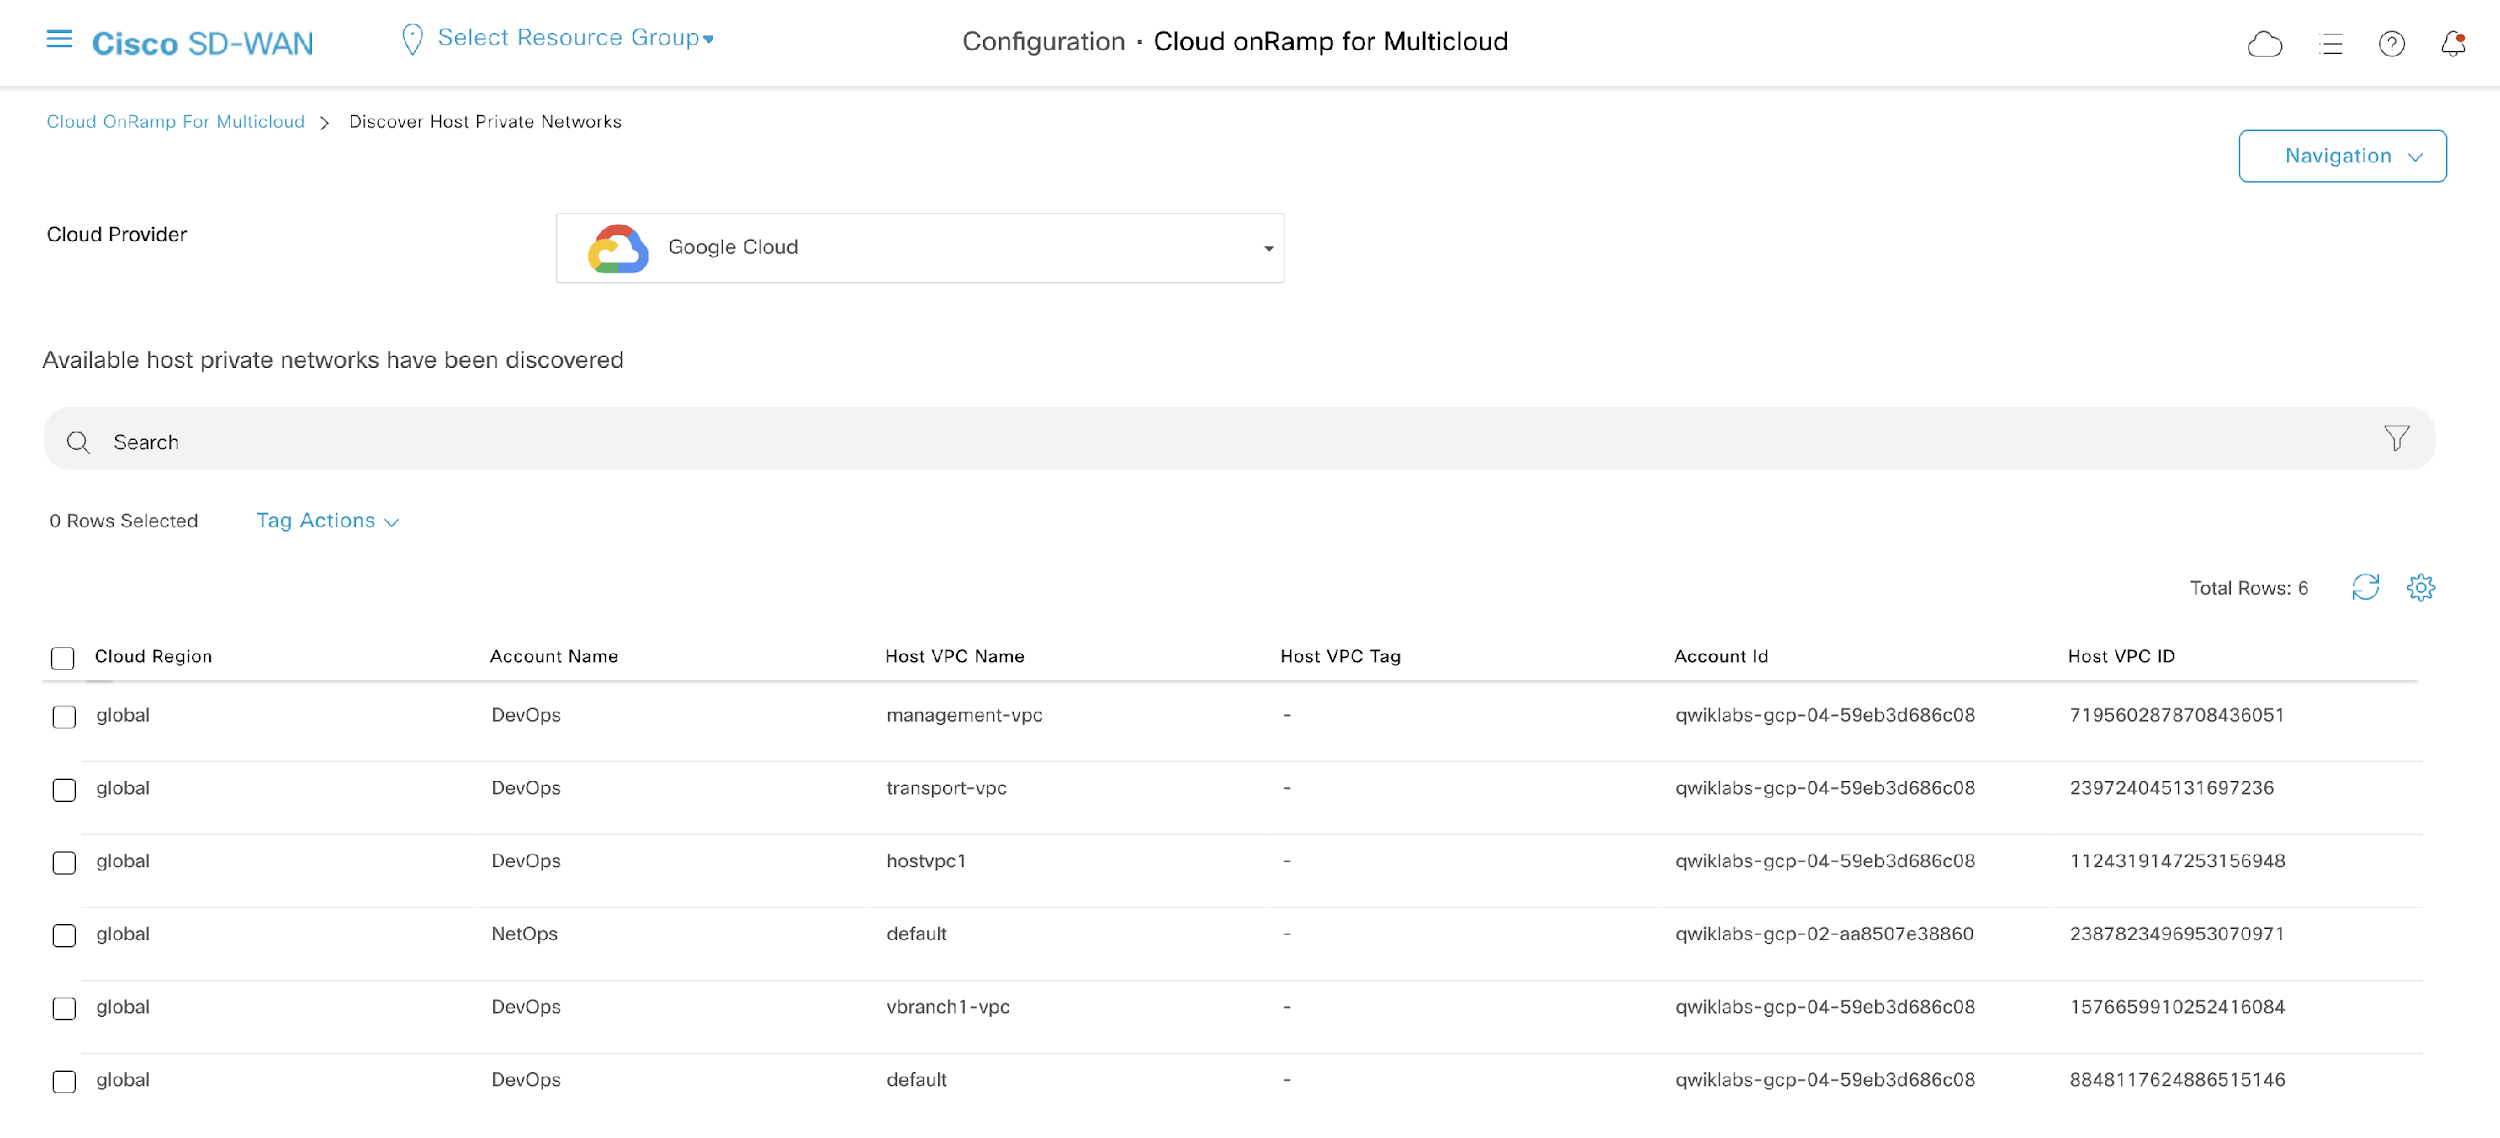
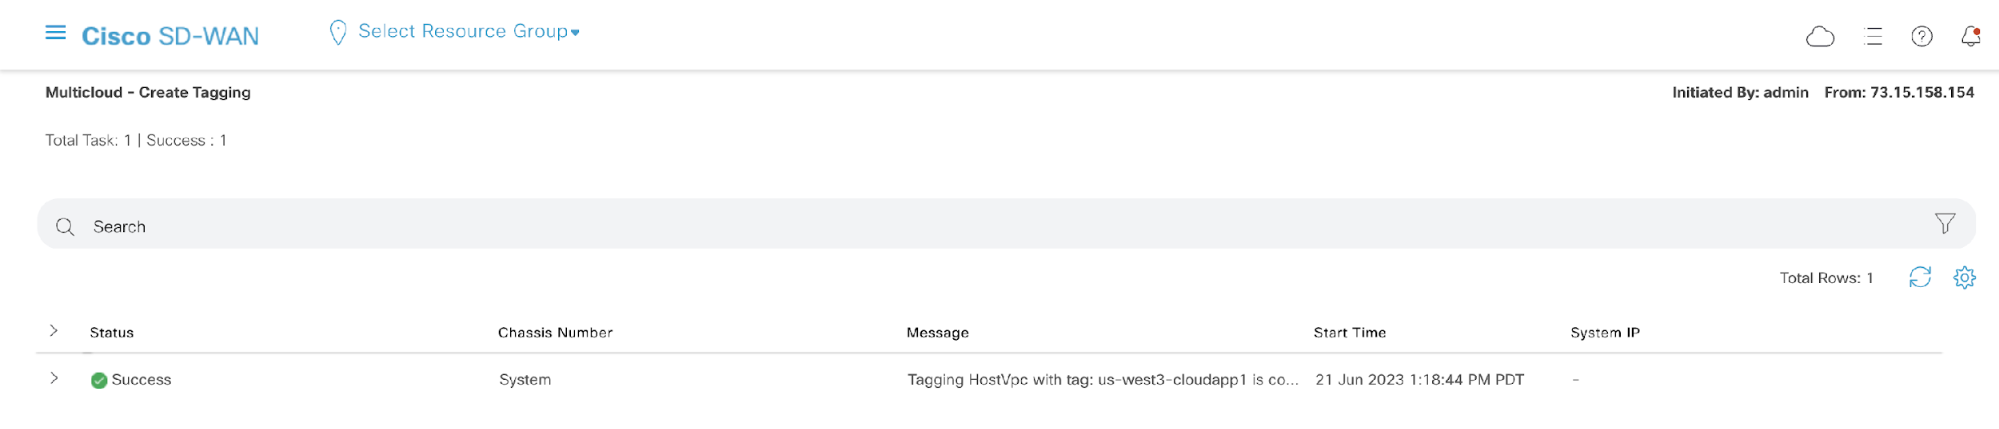
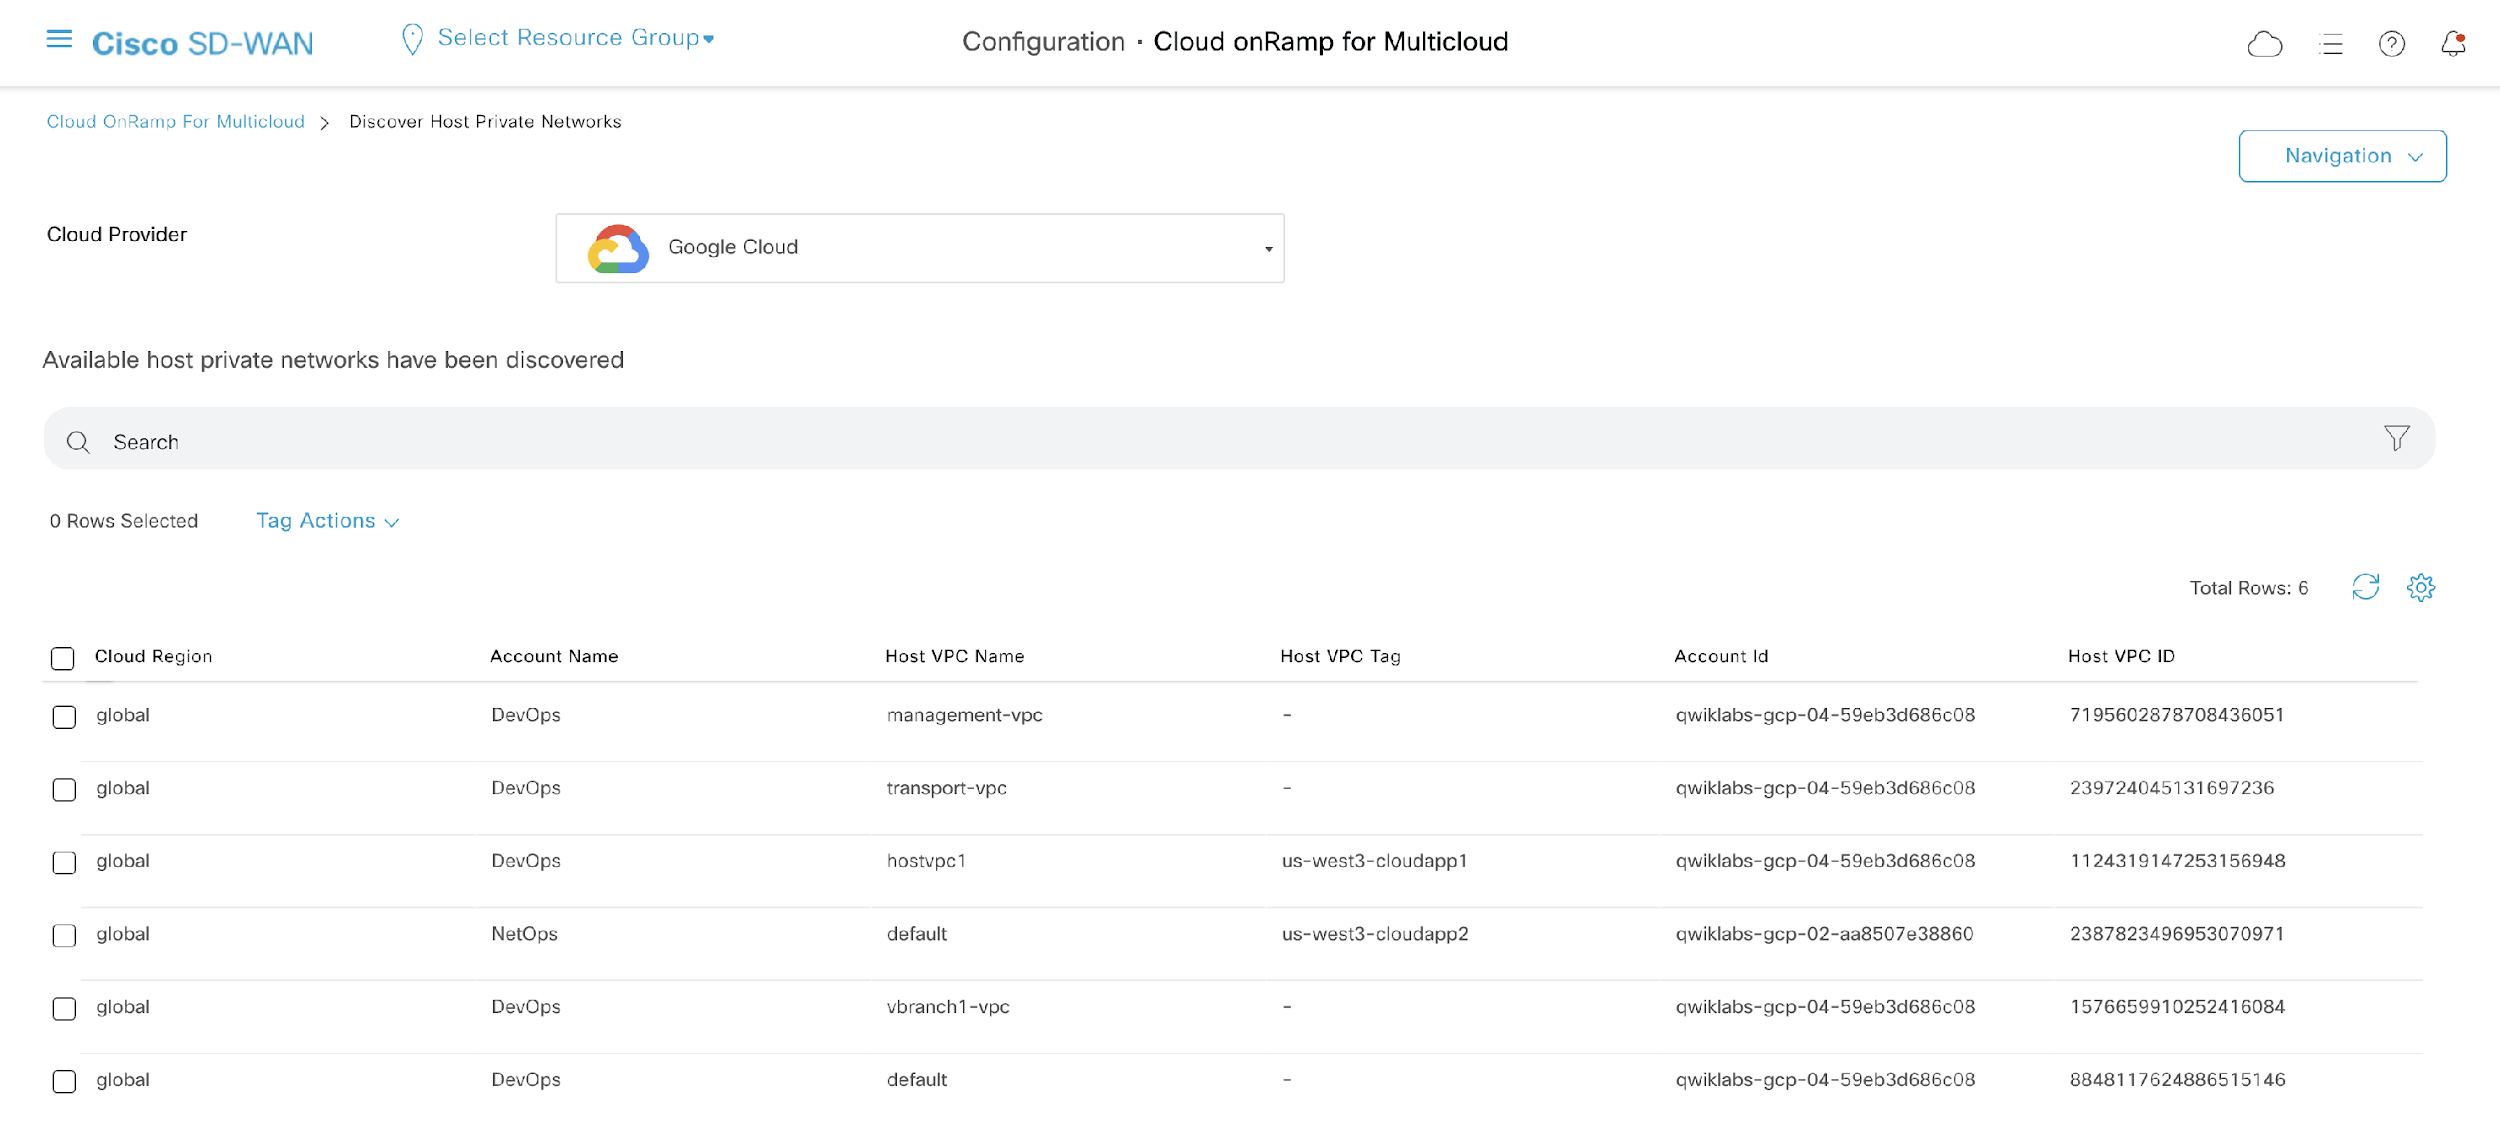
This page displays all Host Private Networks (host VPCs) across all of the regions associated with the Google Cloud account. From here, you are also able to add, modify, and delete tags to different VPCs for better management. Cloud onRamp for Multicloud will sync with Google Cloud to add these tags to the VPCs. If you would like to use Cloud onRamp for Multicloud to manage service-side VPN-to-VPC and/or VPC-to-VPC communication later, tags must be added for the VPC(s).
Now we will tag the host VPCs so we are able to easily manage connectivity between the VPCs and SD-WAN branch VPNs later on.
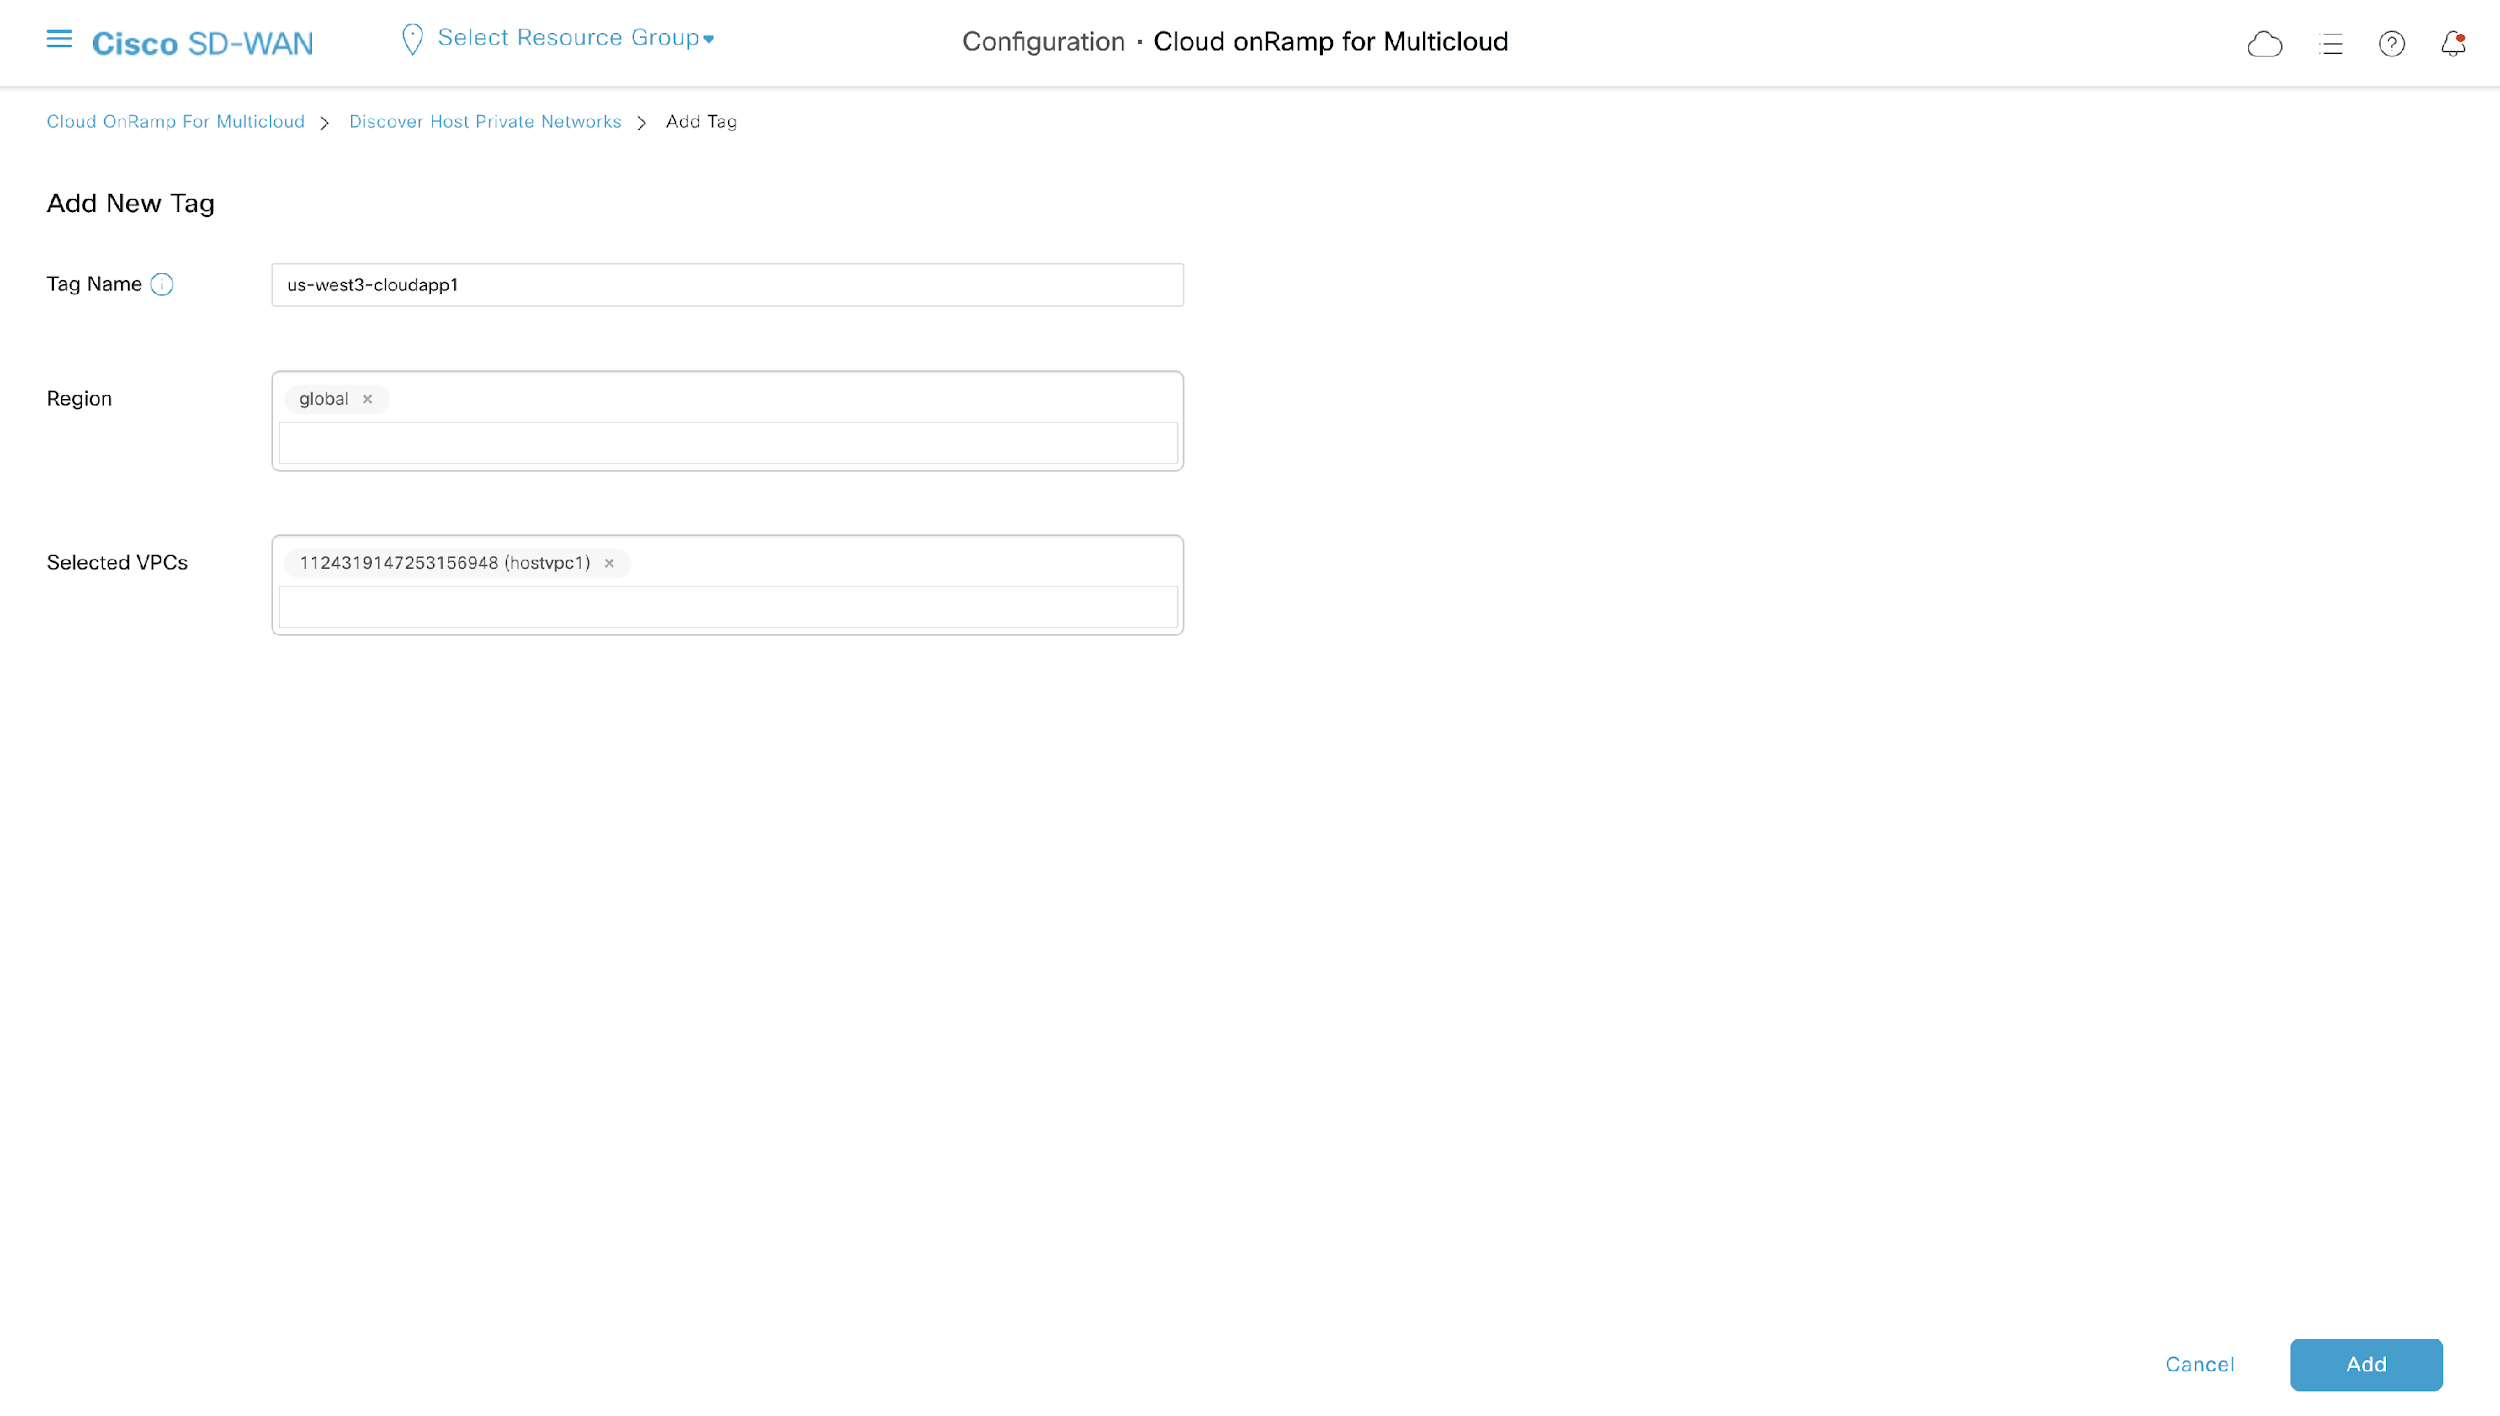
hostvpc1 and is associated with the DevOps account. Click Tag Actions and then Add Tag from the dropdown.
| Host VPC Name | Tag Name |
|---|---|
| hostvpc1 |
|
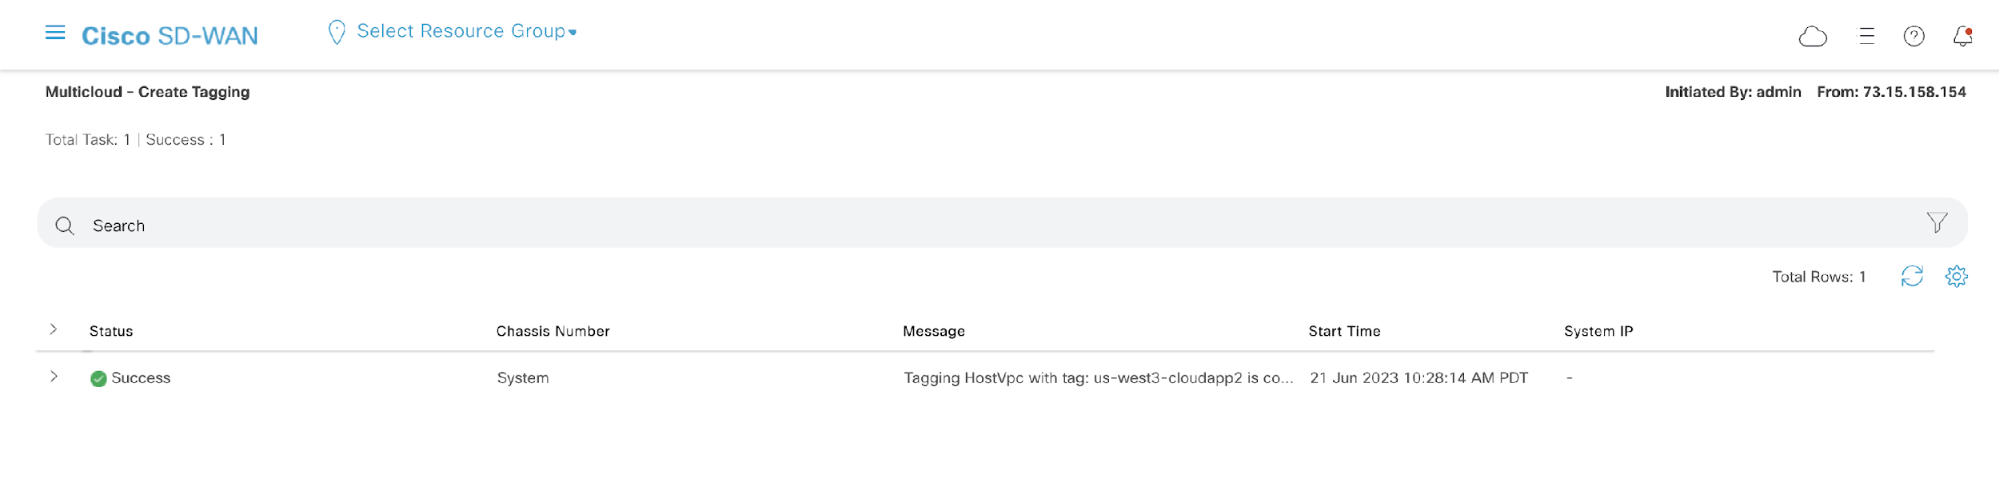
Next tag the second Host VPC. Navigate back to the main Cloud onRamp for Multicloud page. Once again, click Host Private Networks under DISCOVER in the Workflows section.
This time select the host VPC that has the name default and is associated with the NetOps account. Click Tag Actions and then Add Tag from the dropdown.
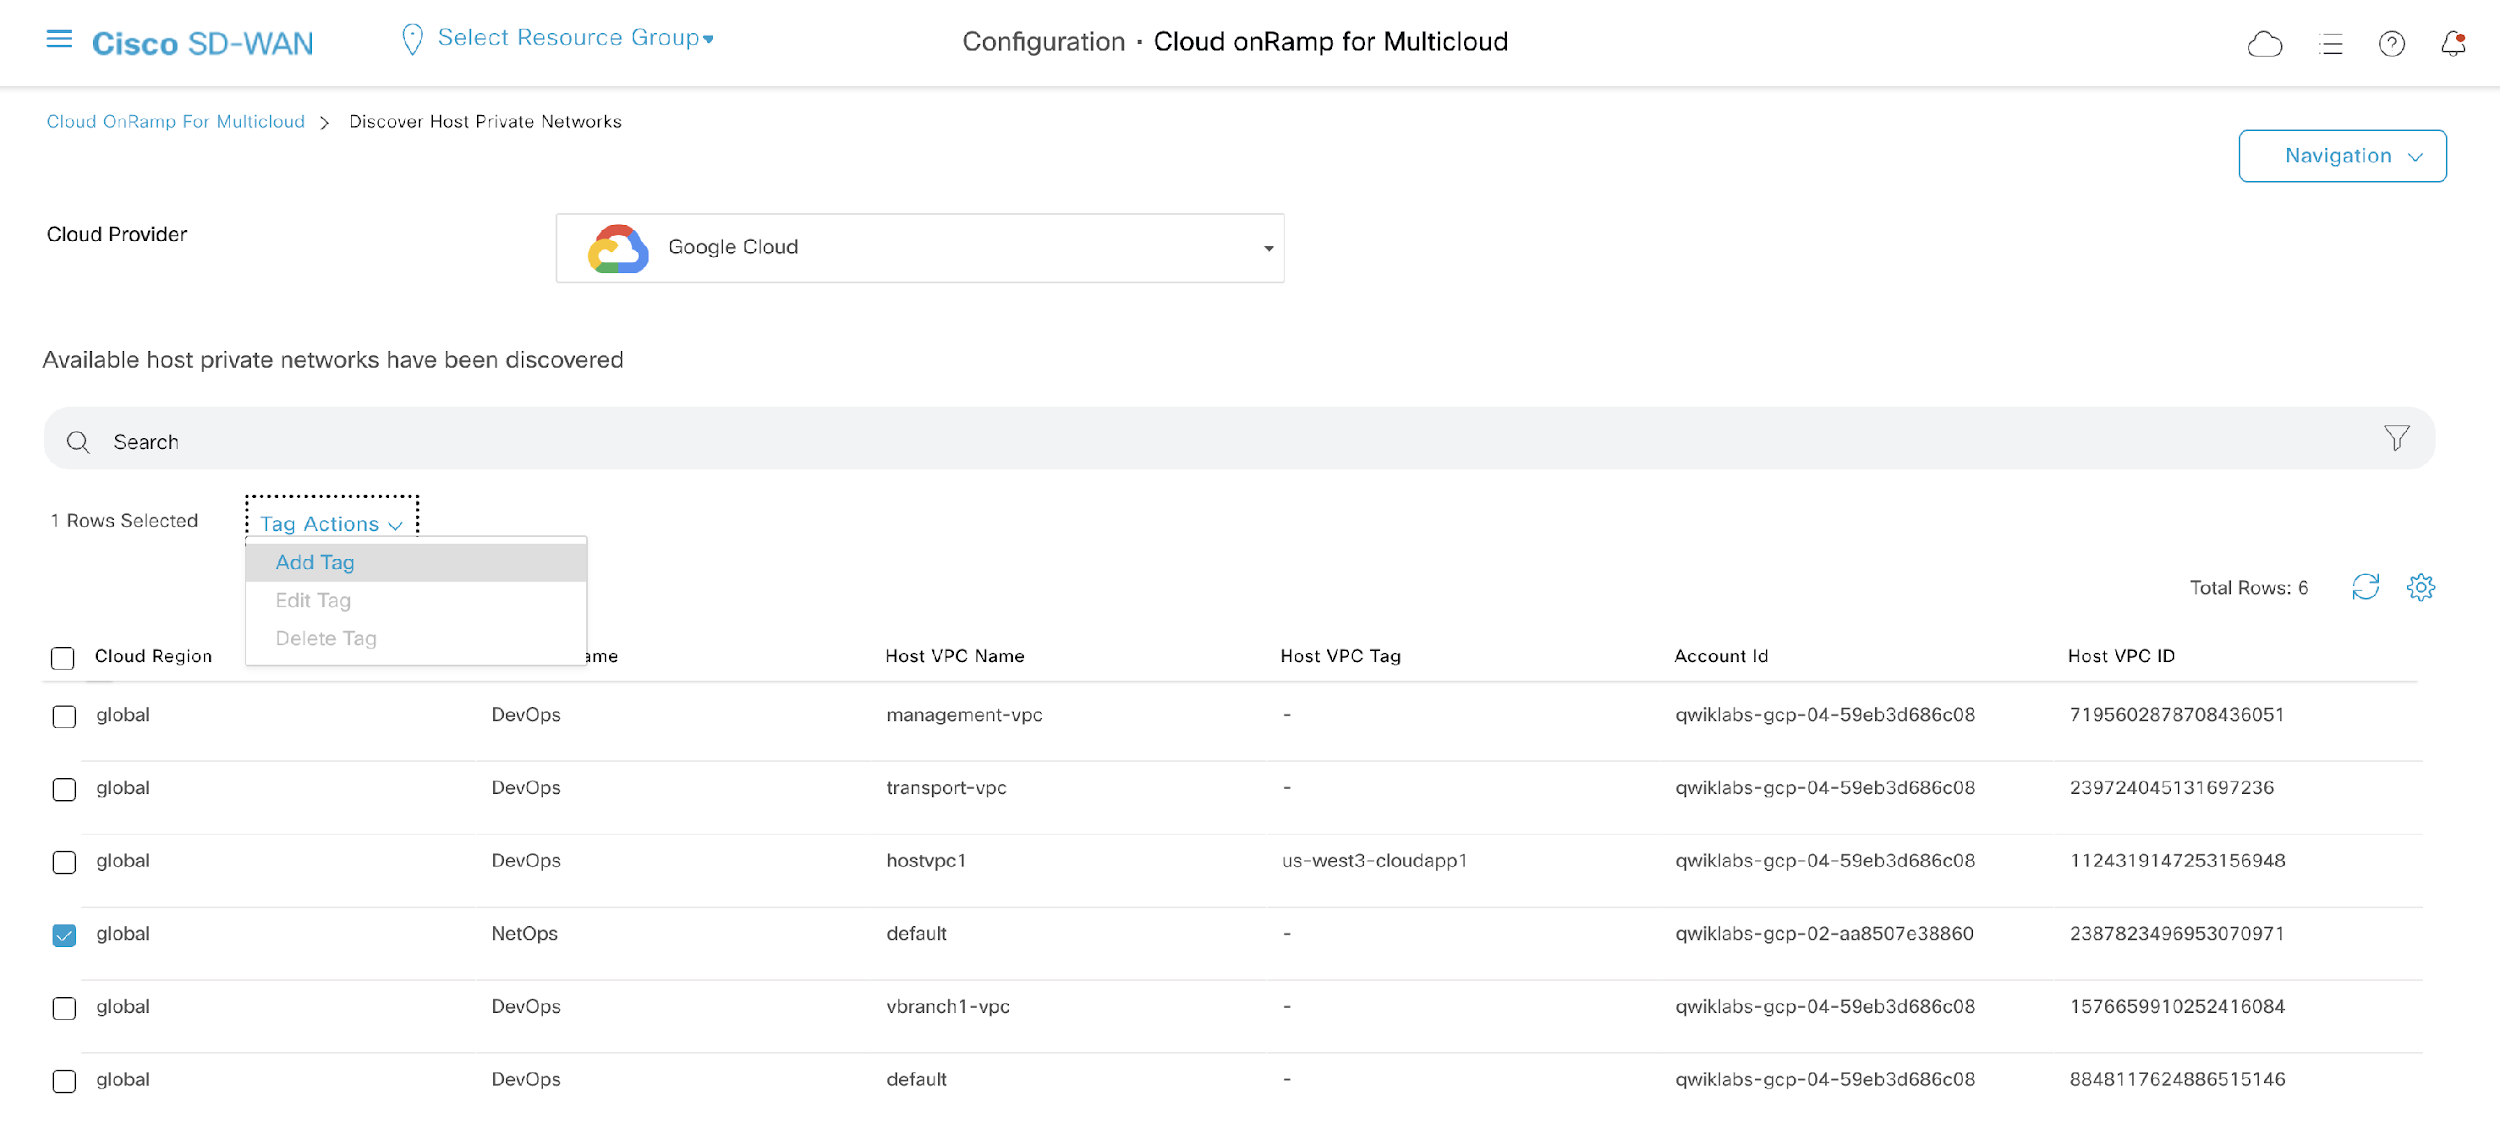
| Host VPC Name | Tag Name |
|---|---|
| default |
|

In Cisco vManage, go back to the main Cloud onRamp for Multicloud page.
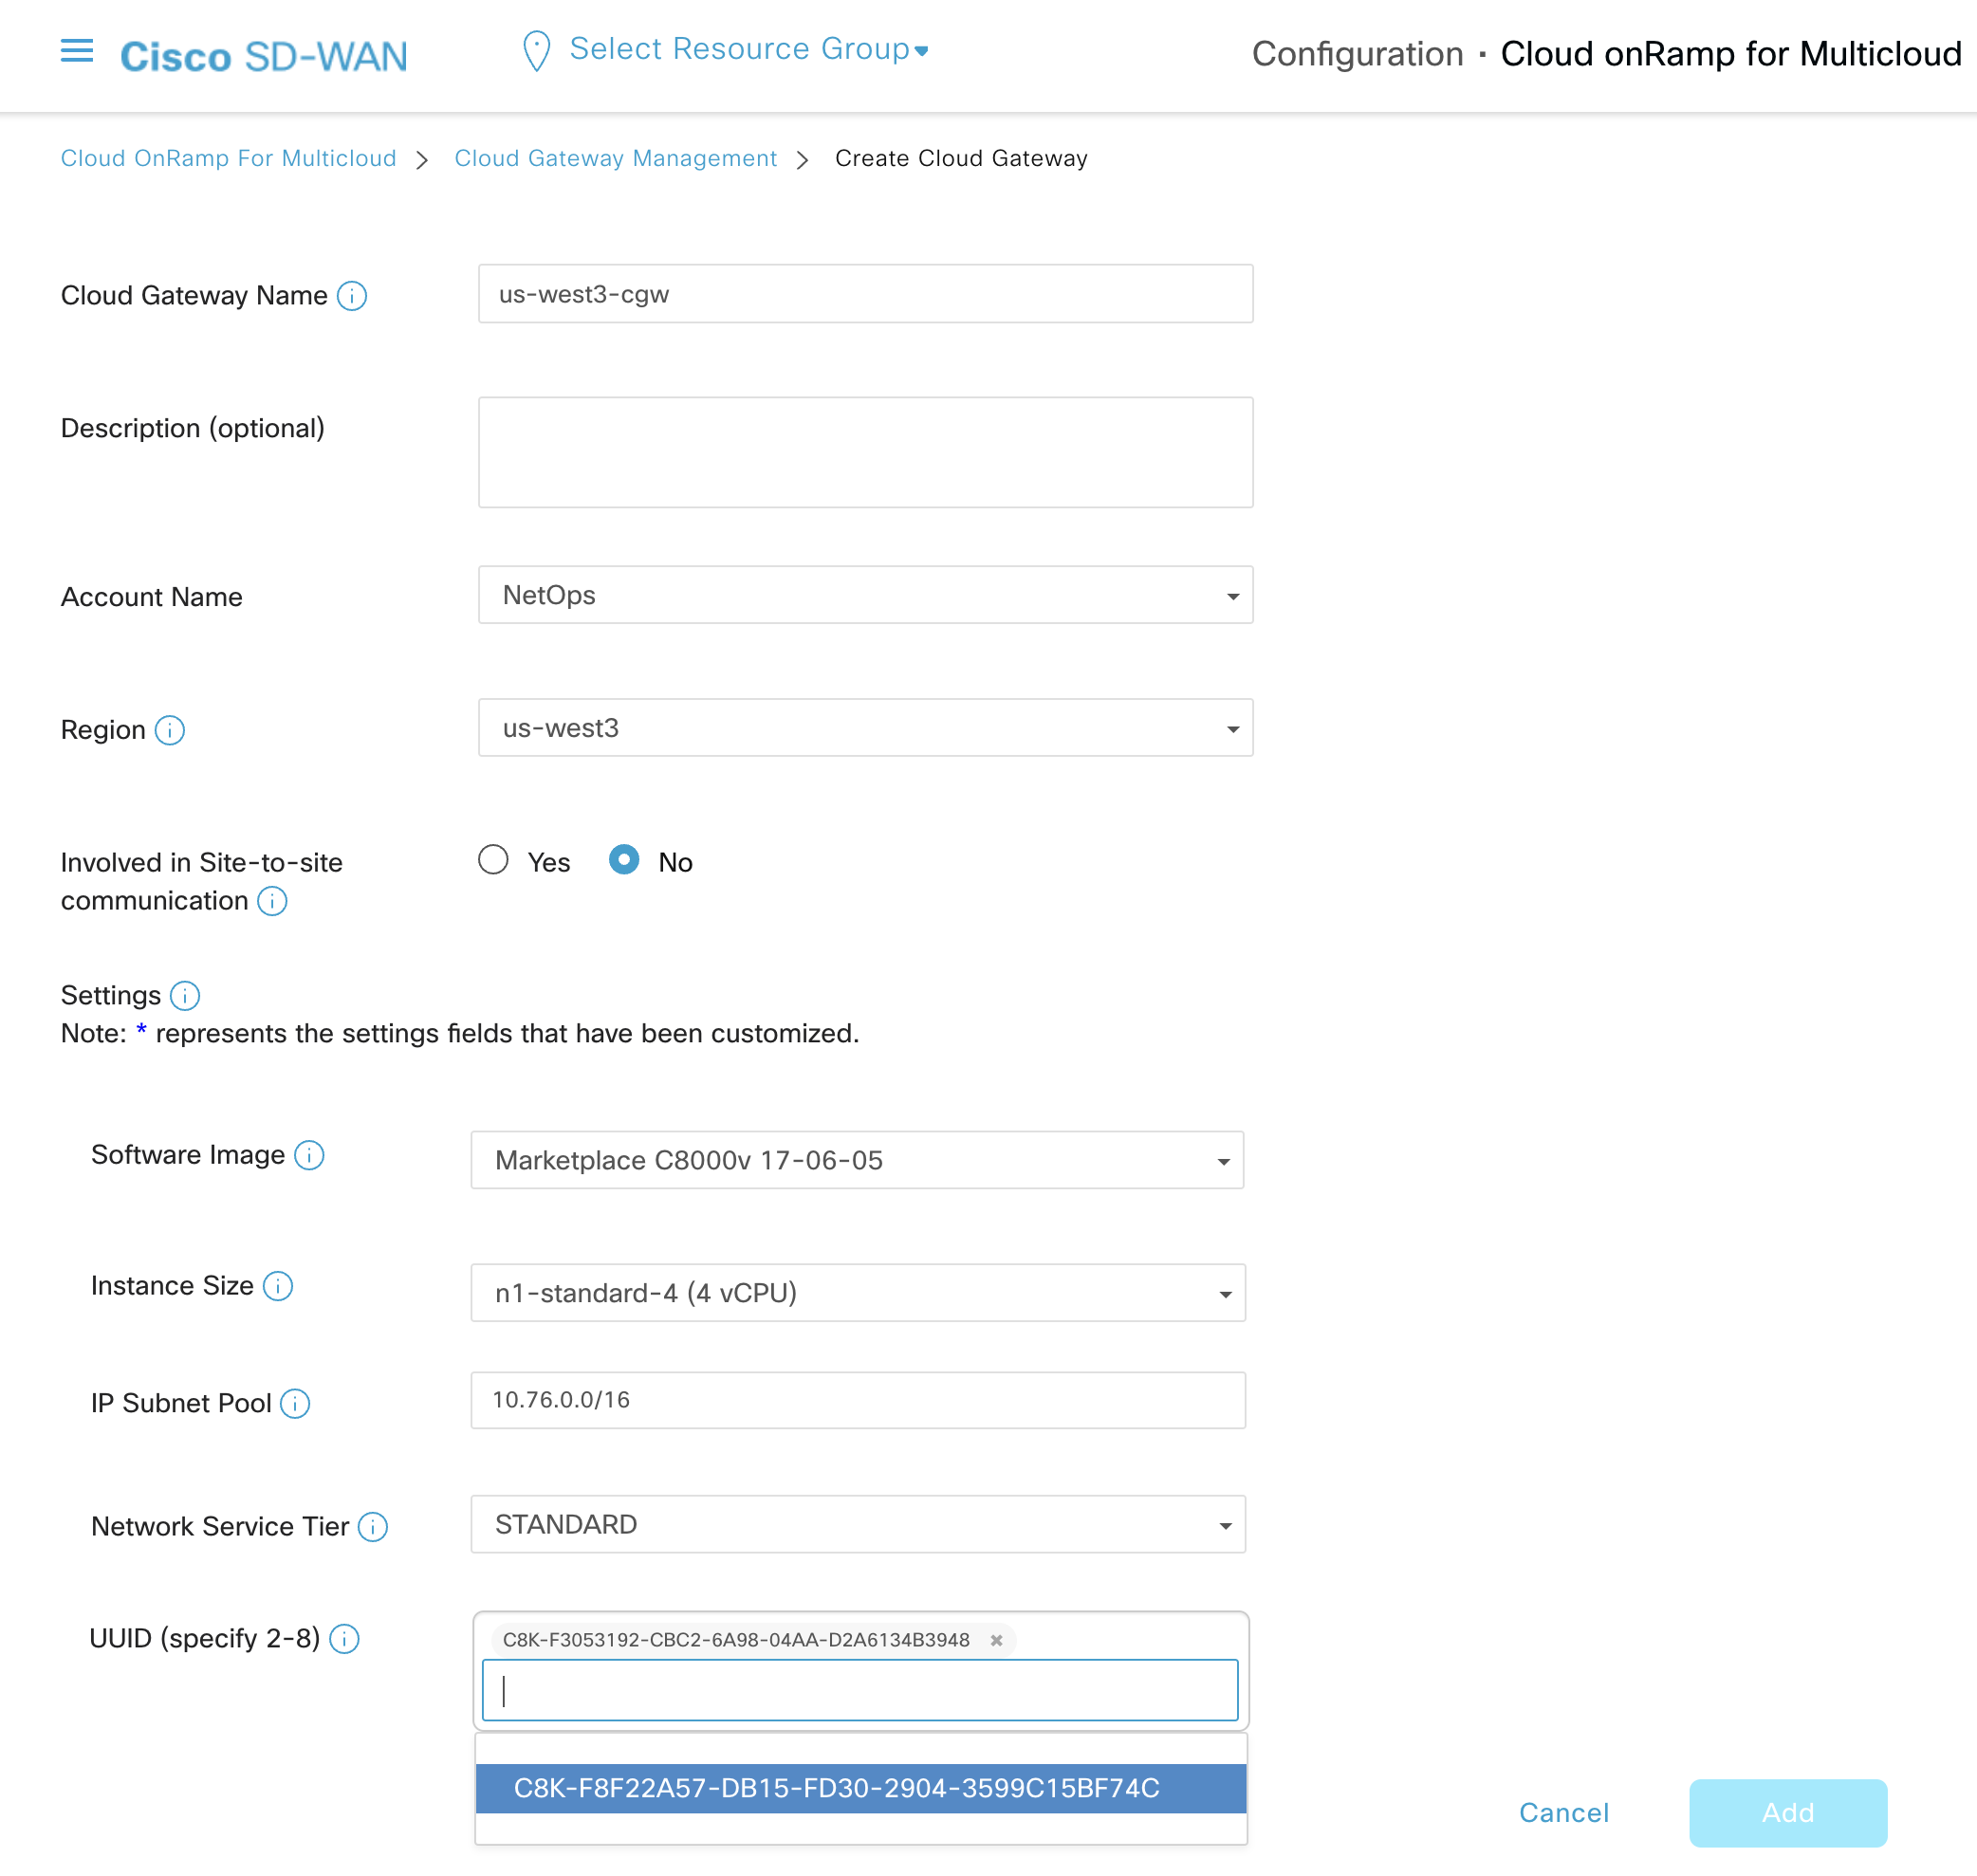
We will now create a cloud gateway in the
| Field | Value |
|---|---|
| Cloud Provider: | Google Cloud |
| Cloud Gateway Name: |
|
| Description (optional): | CoR Sandbox |
| Account Name: | NetOps |
| Region: | |
| Site to Site: | No |
| Software Image: | Marketplace C8000v 17-06-05 |
| Image size: | n1-standard-4 (4 vCPU) |
| Subnet Pool: | 10.76.0.0/16 |
| Network Service Tier: | STANDARD |
| UUID: | Select the two Catalyst 8000V edge devices configured earlier. |
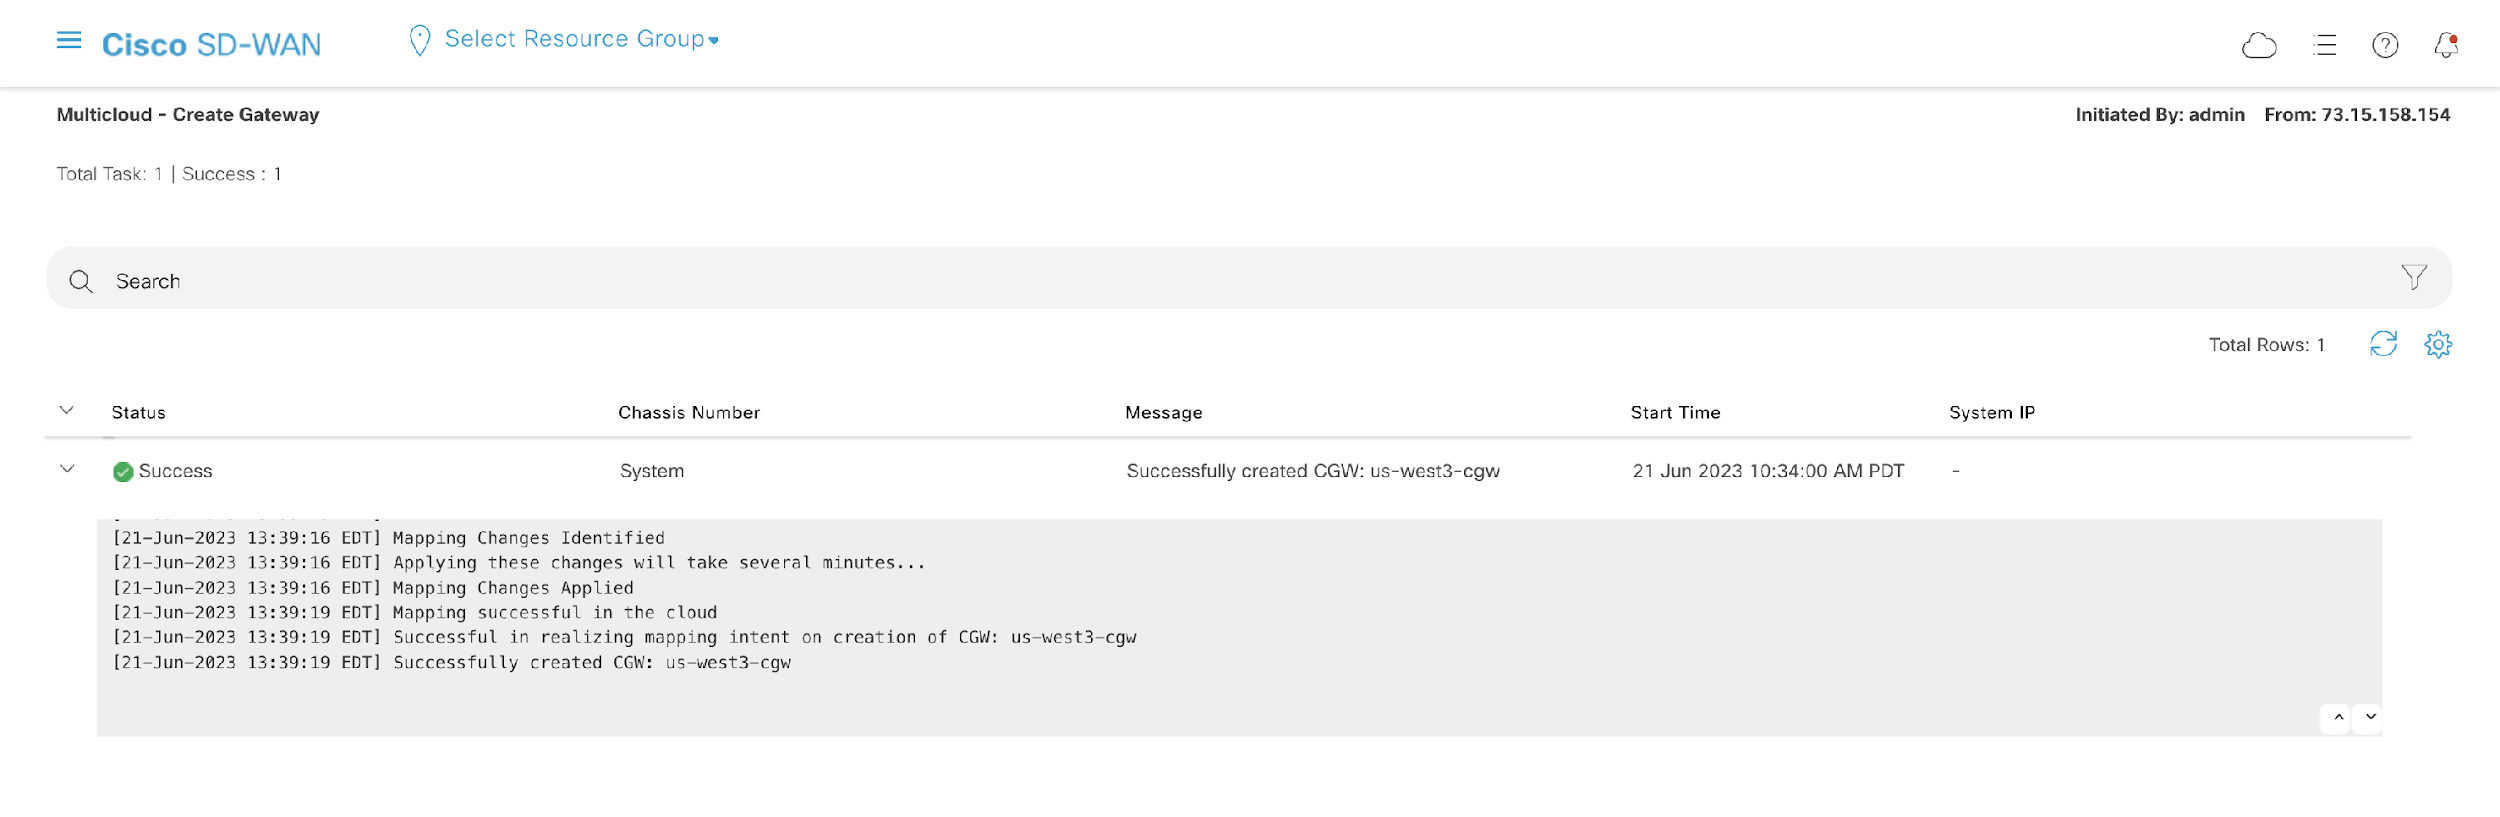
This step may take approximately 5-7 minutes.
While we wait, let's explore what is going on in the background:
Note: Click the 
While waiting for the cloud gateway creation, feel free to proceed to the next step in a new tab.
Once the creation is successful, you will see a Success message under Status.
We will now create a VPC network peering connection between the two Google Cloud projects.
In a real production environment, SD-WAN controllers will most likely have public IP addresses and will be reachable for all SD-WAN routers. In this lab environment however, the SD-WAN controllers are in one Google Cloud project and the SD-WAN routers are in another without direct connectivity. Therefore, VPC network peering is required to create a connection between the two Google Cloud projects. Please note that this VPC peering would most likely not be necessary in a production environment, and therefore you would not need to visit the Google Console throughout this entire workflow.
Go back to Google Cloud Console and be sure you are in the second project:
Click the Navigation Menu icon on the top left to expand the menu options. Select VPC network and then click VPC network peering.
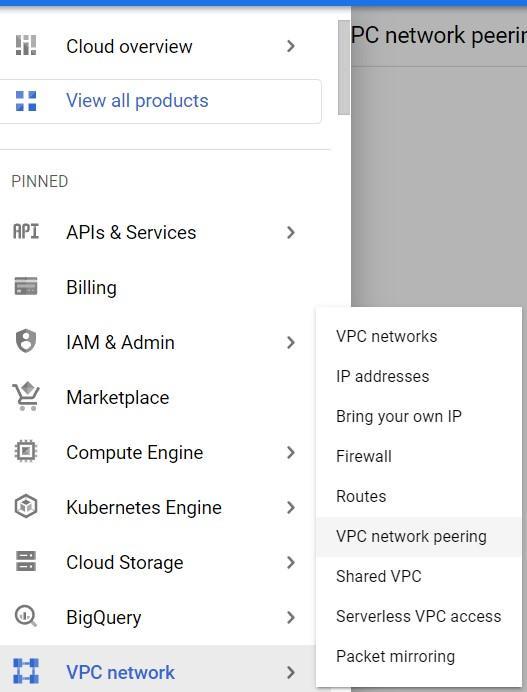
On the VPC network peering page, click CREATE CONNECTION and then click CONTINUE.
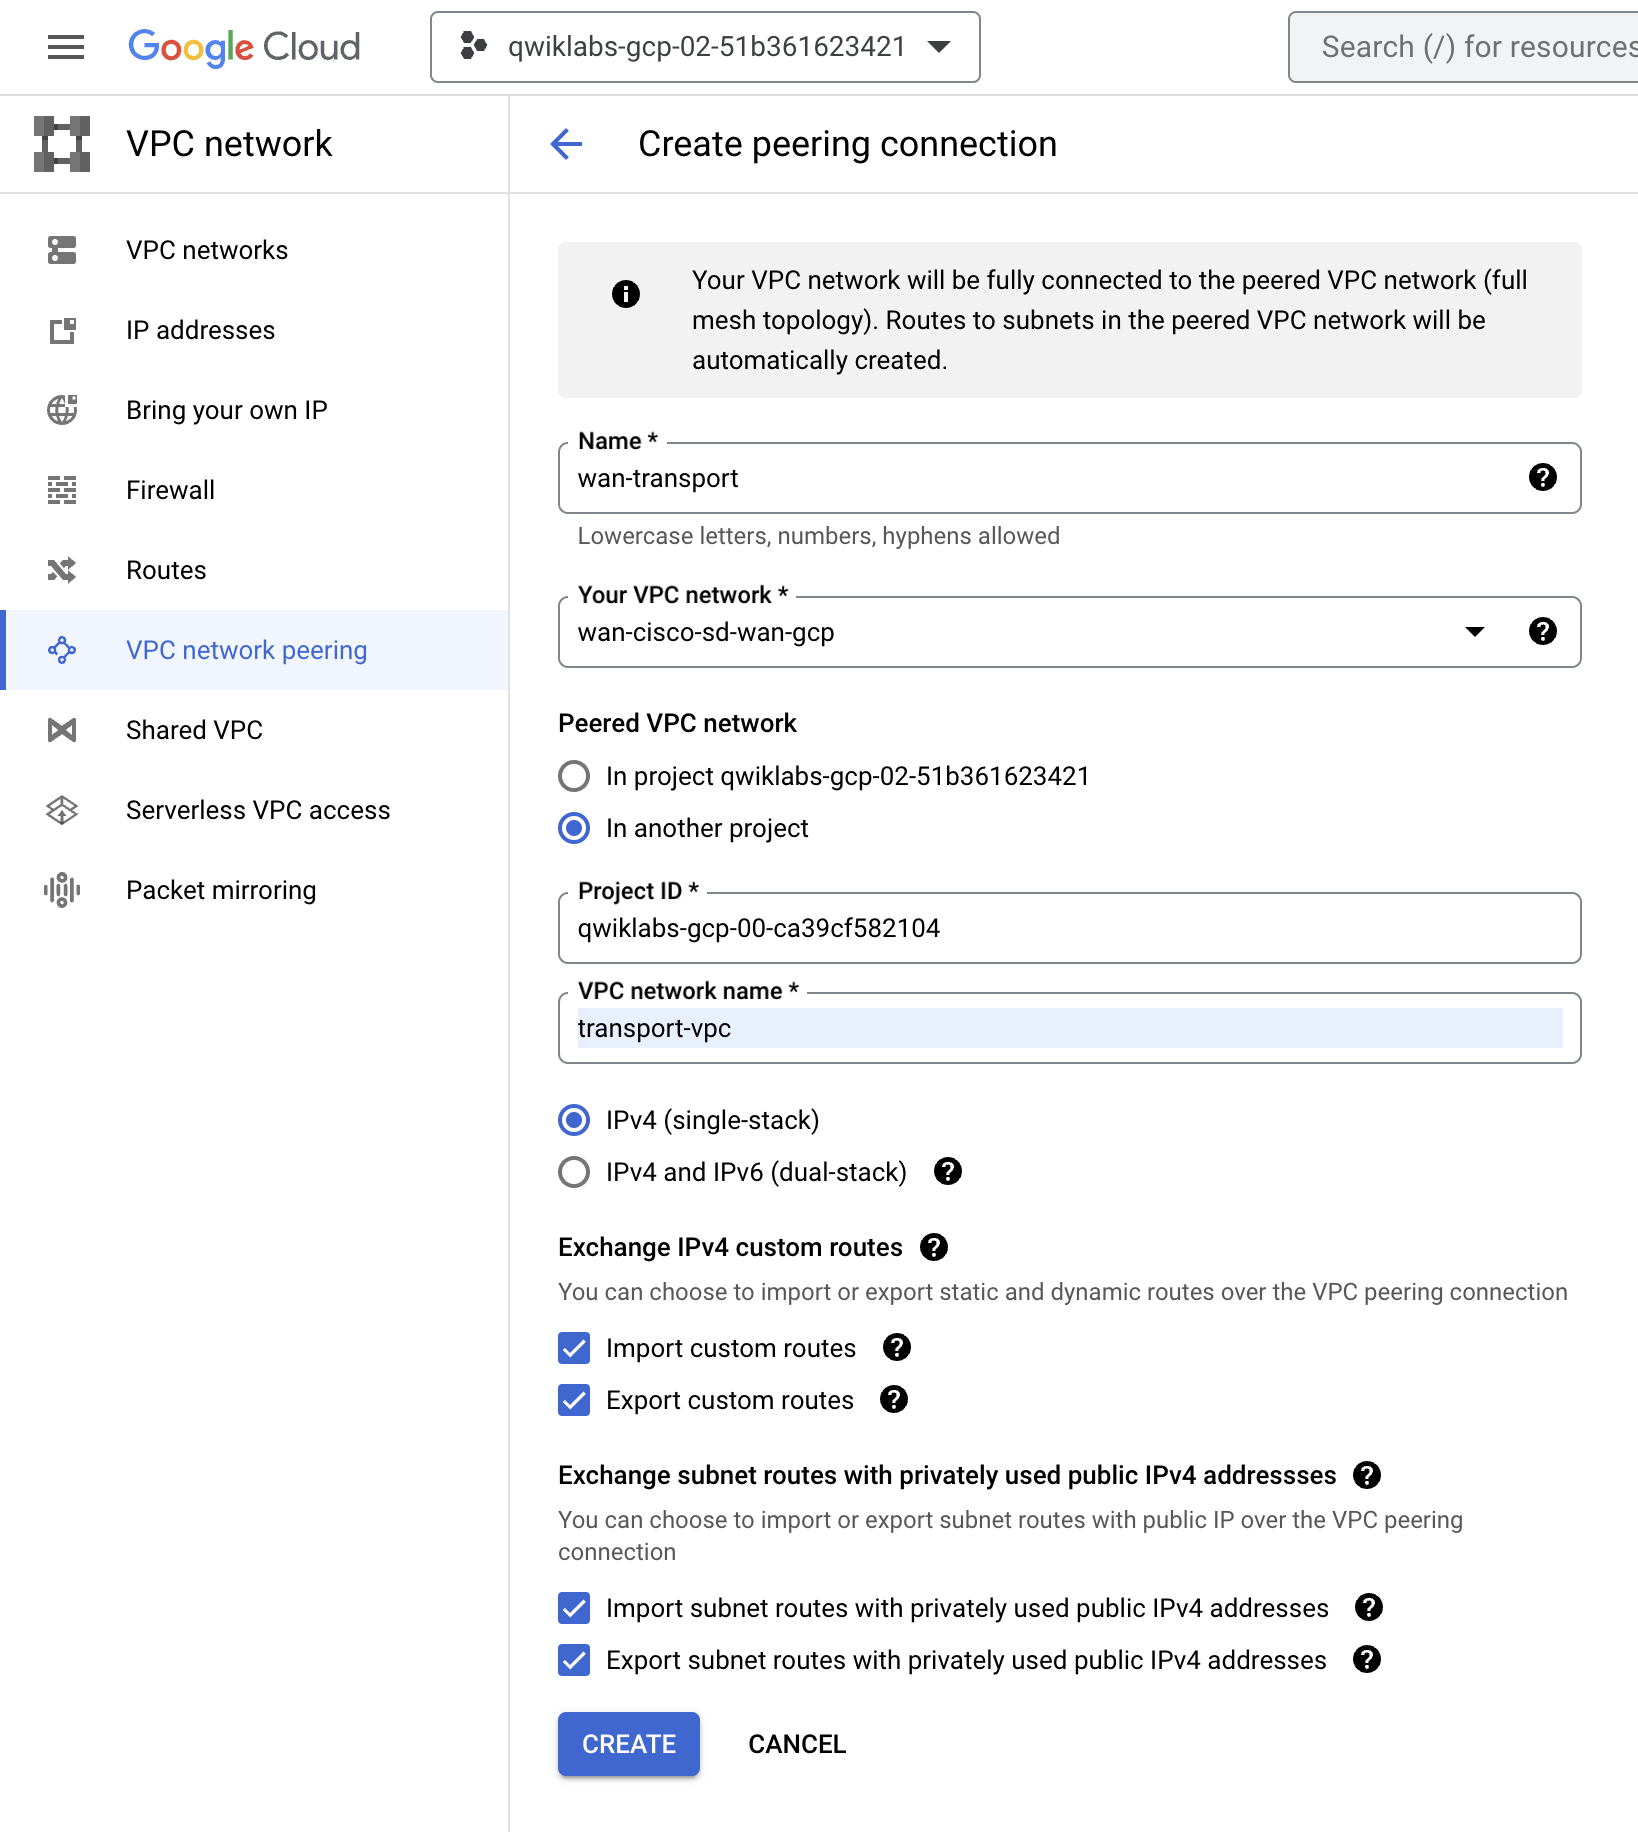
Fill in the peering connection fields with the following values:
wan-transport
wan-cisco-sd-wan-gcp
In another project
transport-vpc
Leave IPv4 selected, check the remaining boxes, and then click Create.
Go to the first project (
Click the Navigation Menu icon on the top left to expand the menu options. Select VPC network and then click VPC network peering. On the VPC network peering page, click CREATE CONNECTION and then click CONTINUE.
Fill in the peering connection fields with the following values:
transport-wan
transport-vpc
In another project
wan-cisco-sd-wan-gcp


Once you've verified the peering connections, go back to Cisco vManage and navigate to the main Cloud onRamp for Multicloud page. Wait for both Health and Devices to be in Green state and reachable before moving to the next step. You may need to refresh the table using the refresh icon on the right.
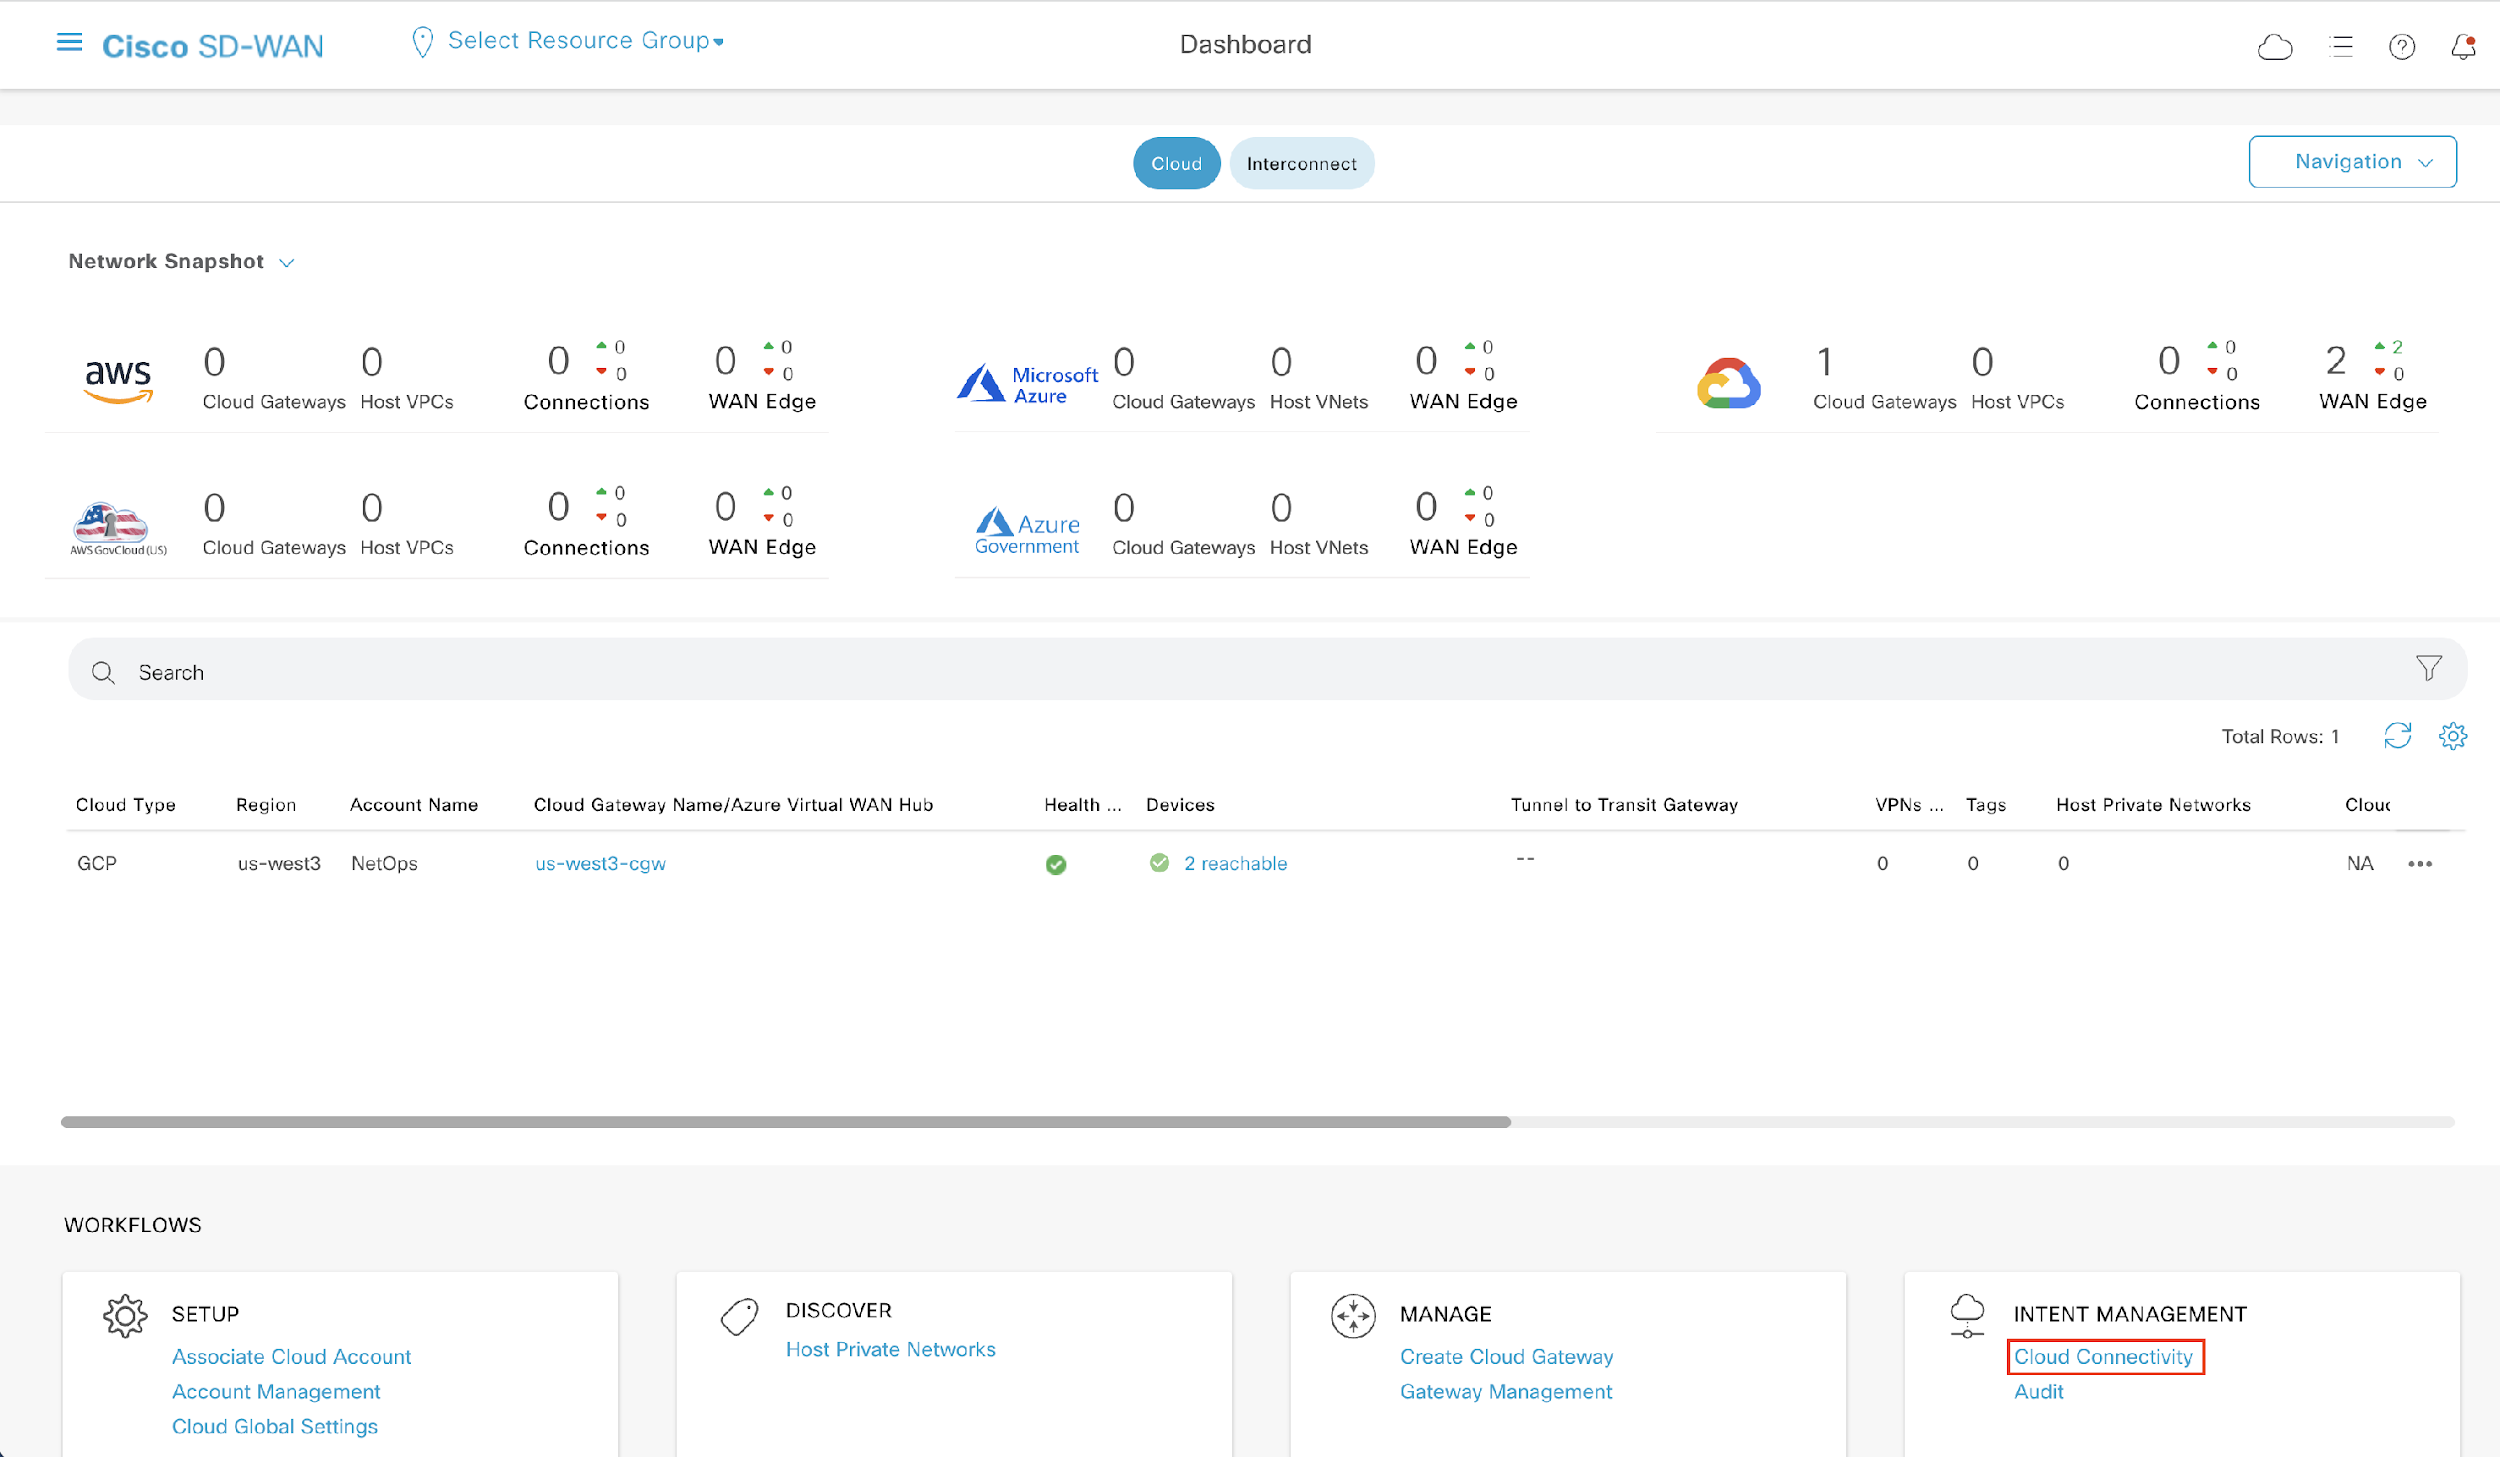
Click the
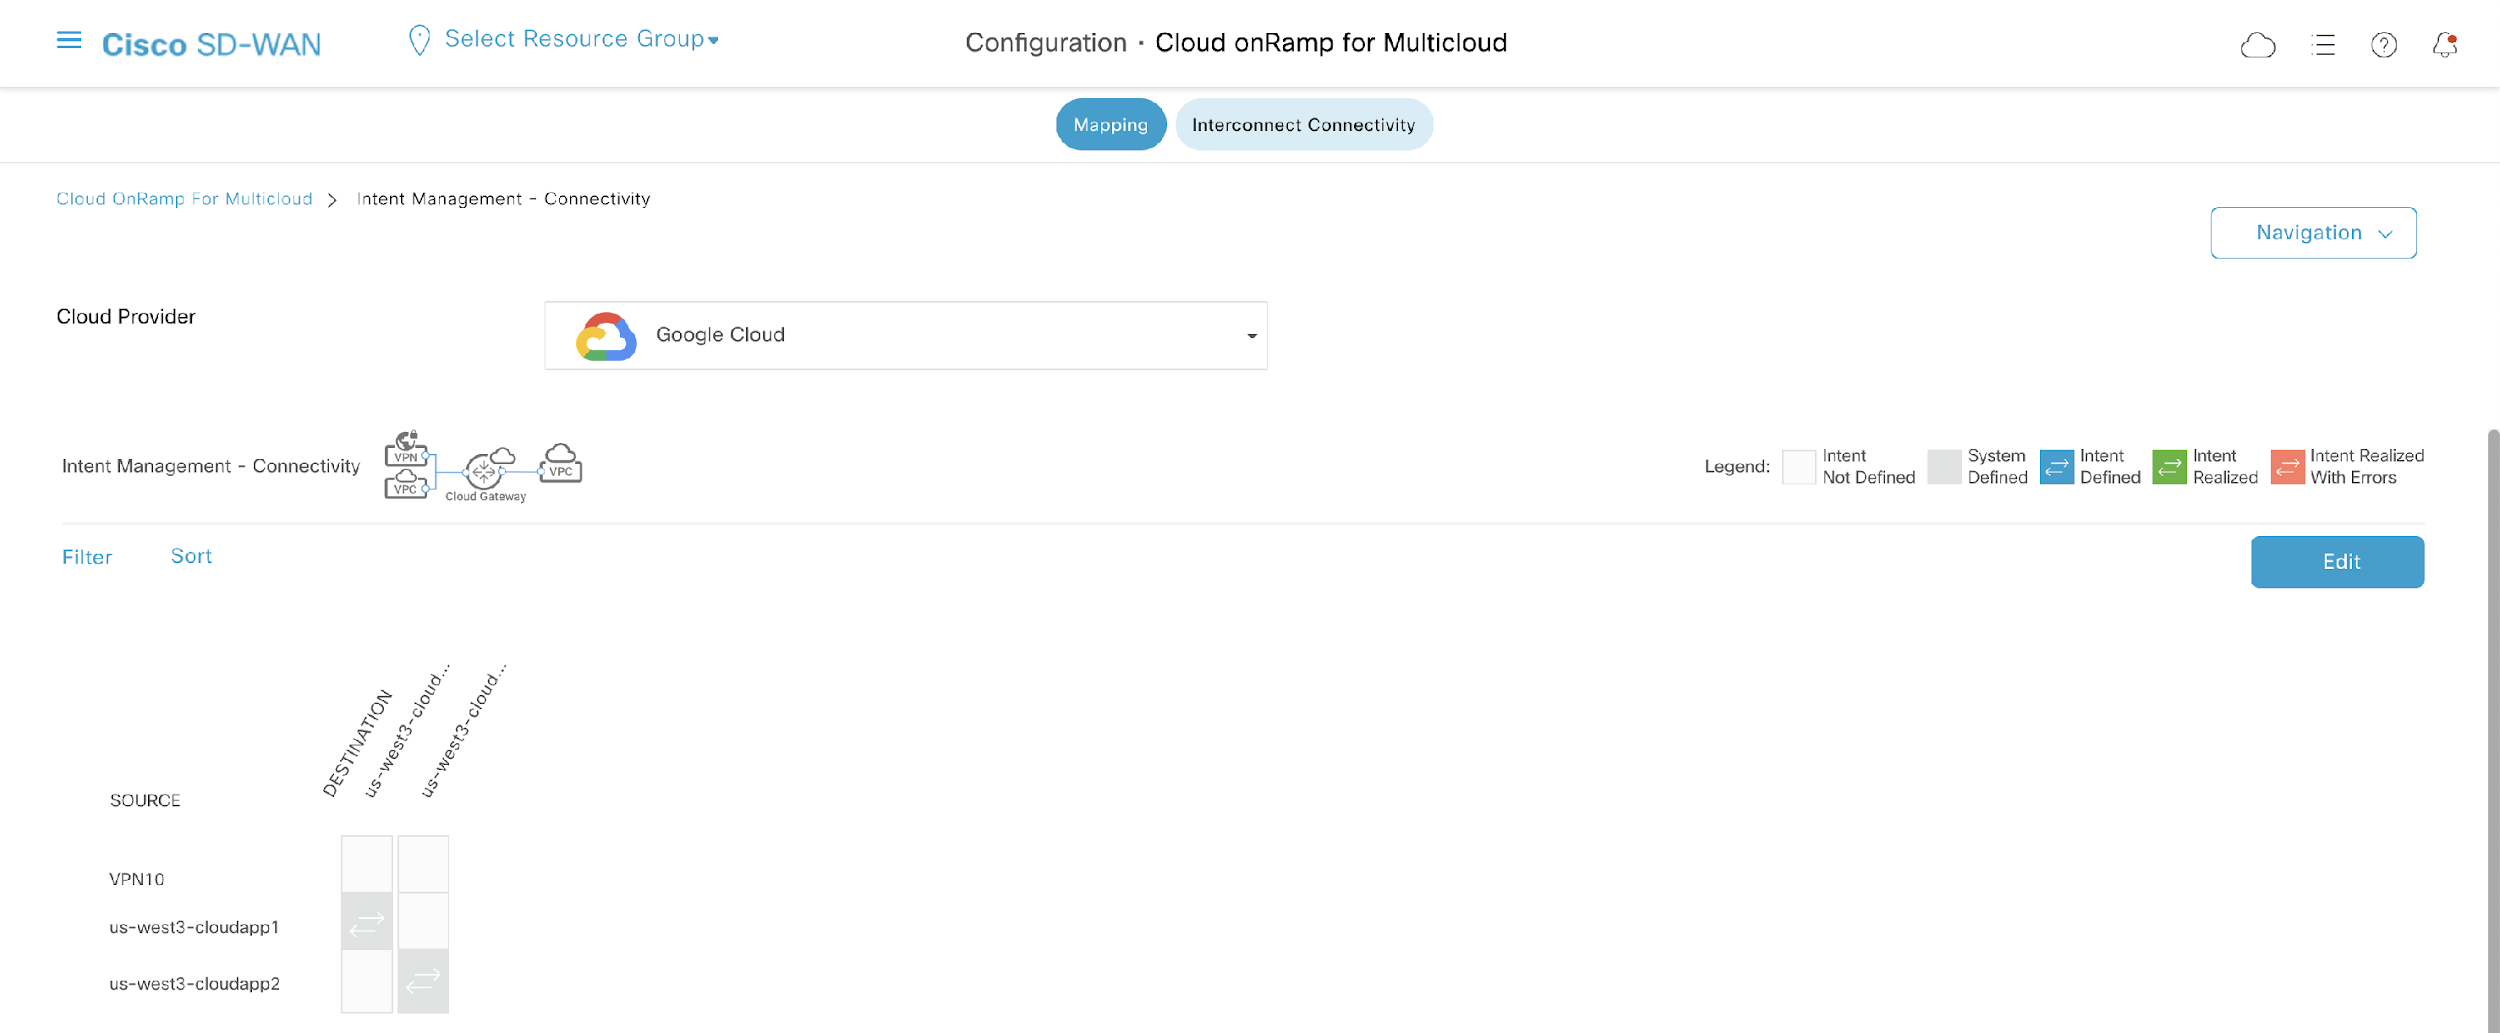
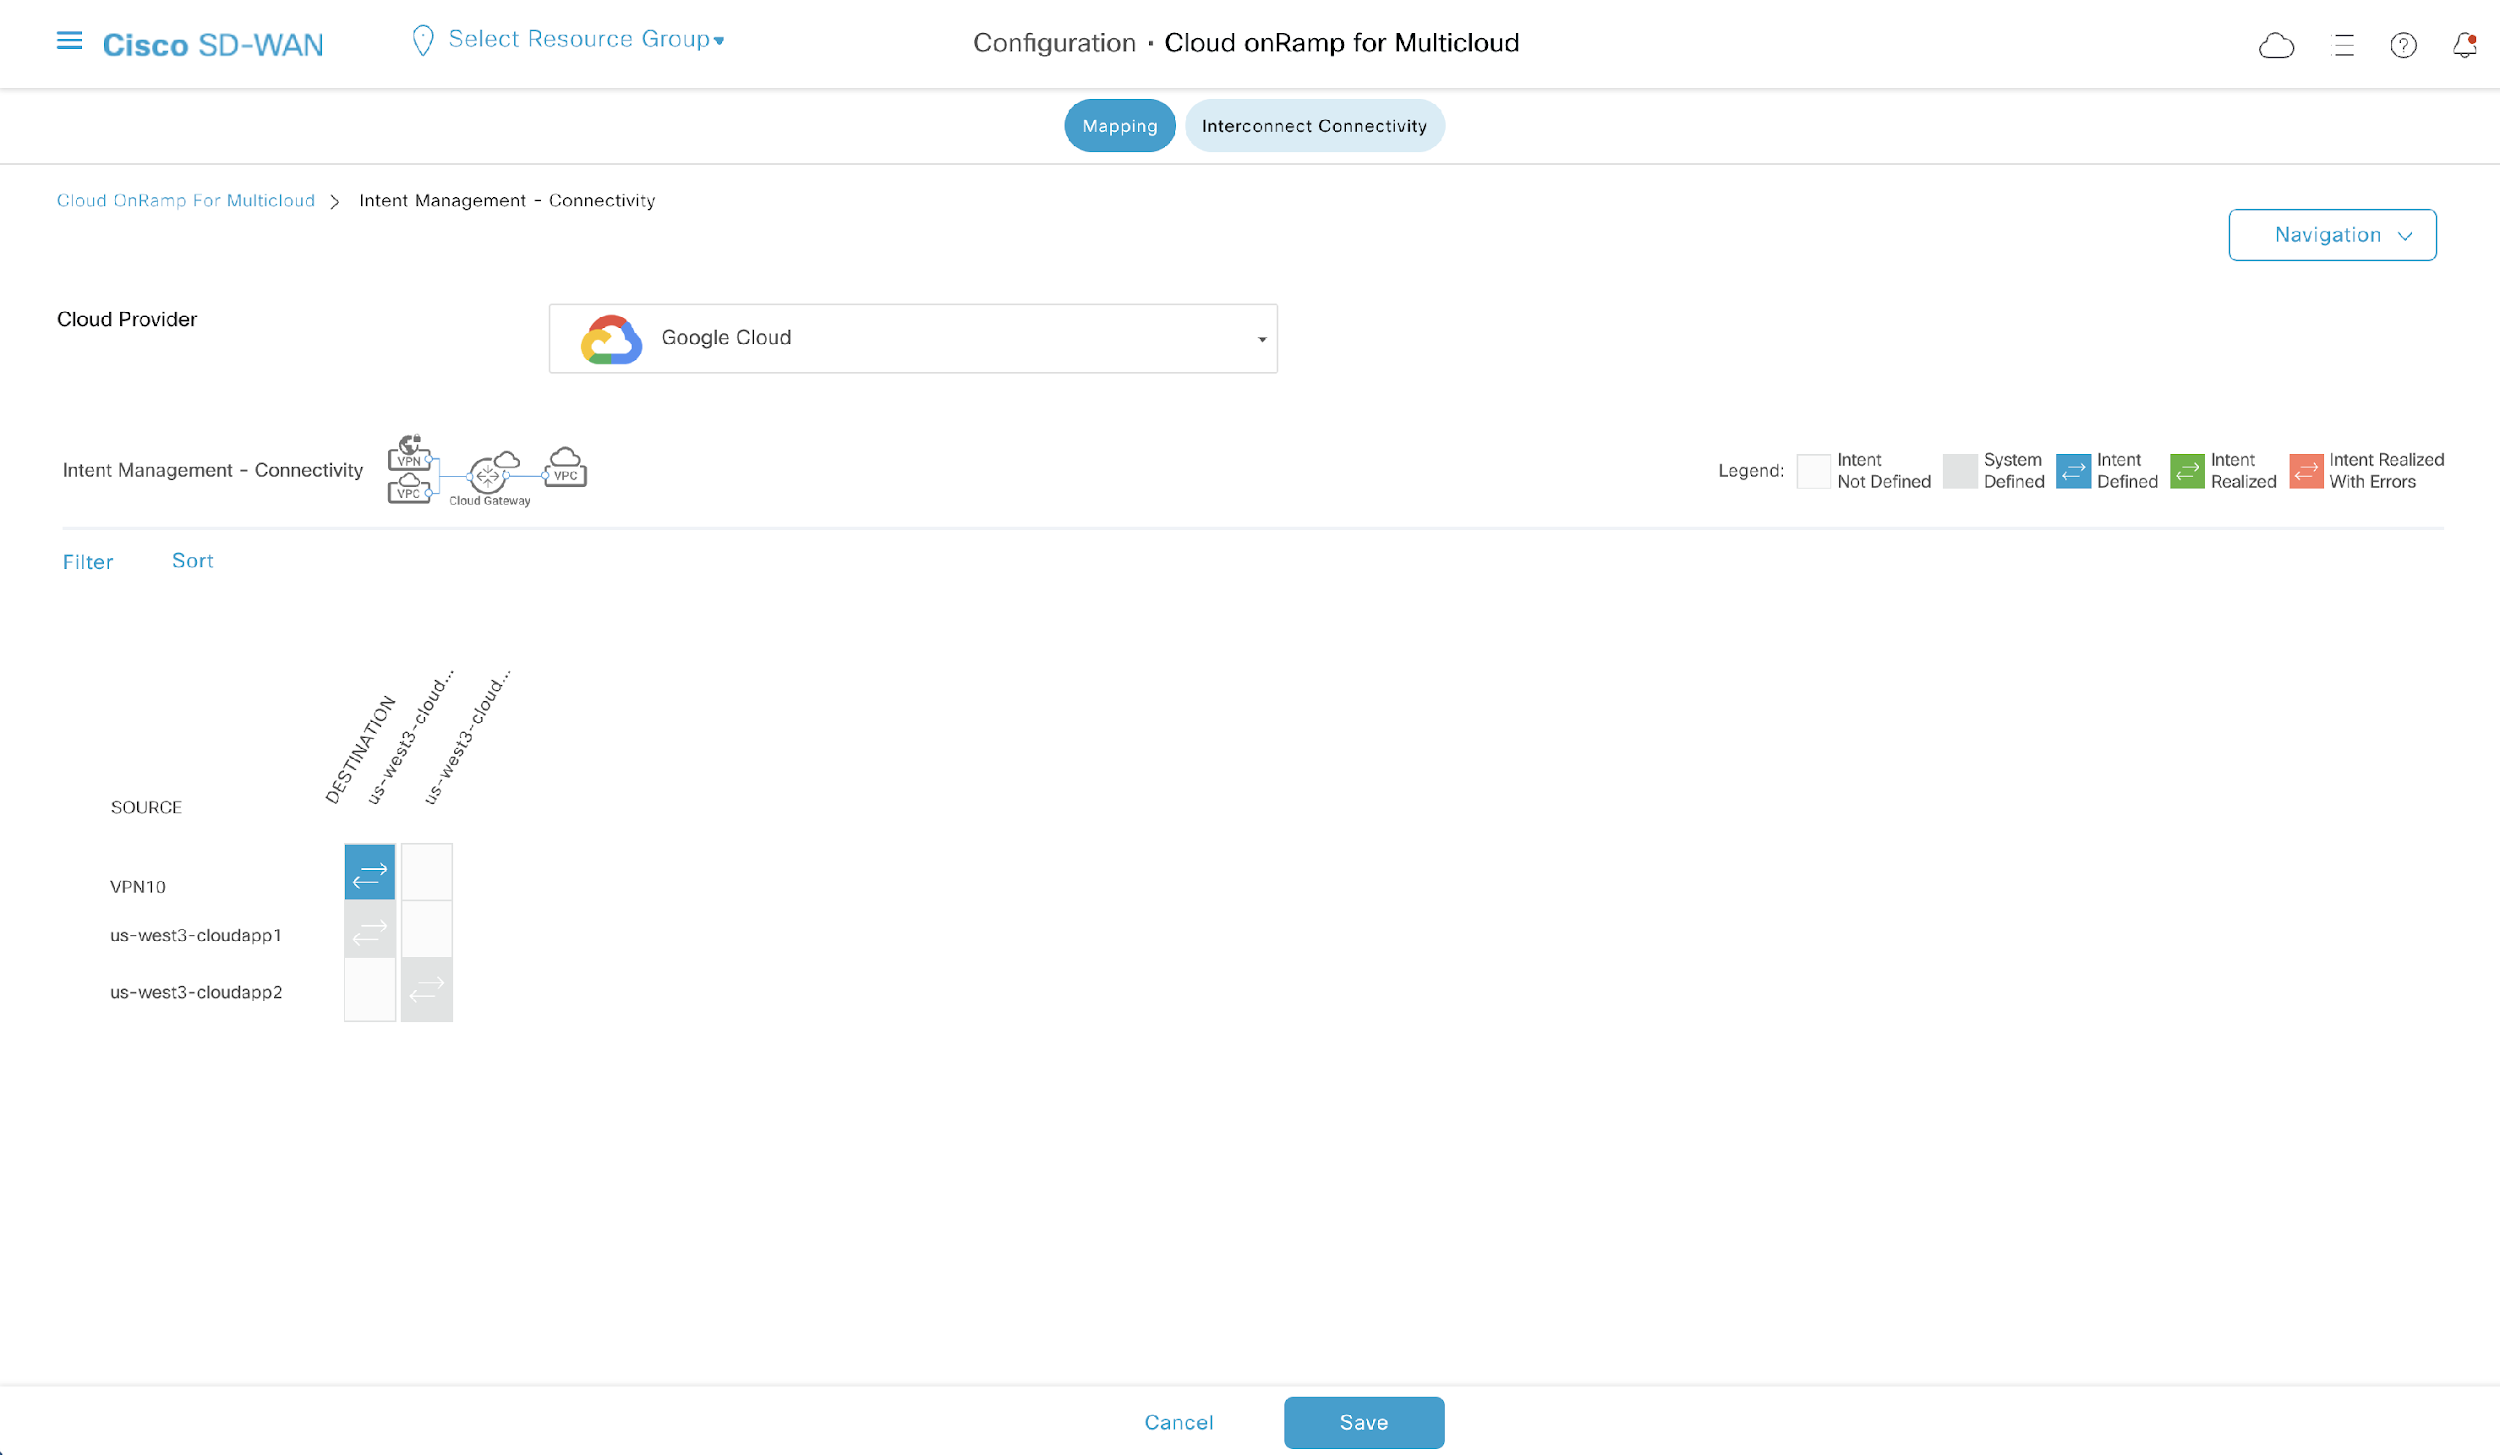
In this task, we will declare our intent to have
This is the key step where we map SD-WAN networks (in this case VPN 10) to Google Cloud infrastructure (host VPCs in
 to expand the messages field. Once the configuration is successful, you will see a Success message under Status.
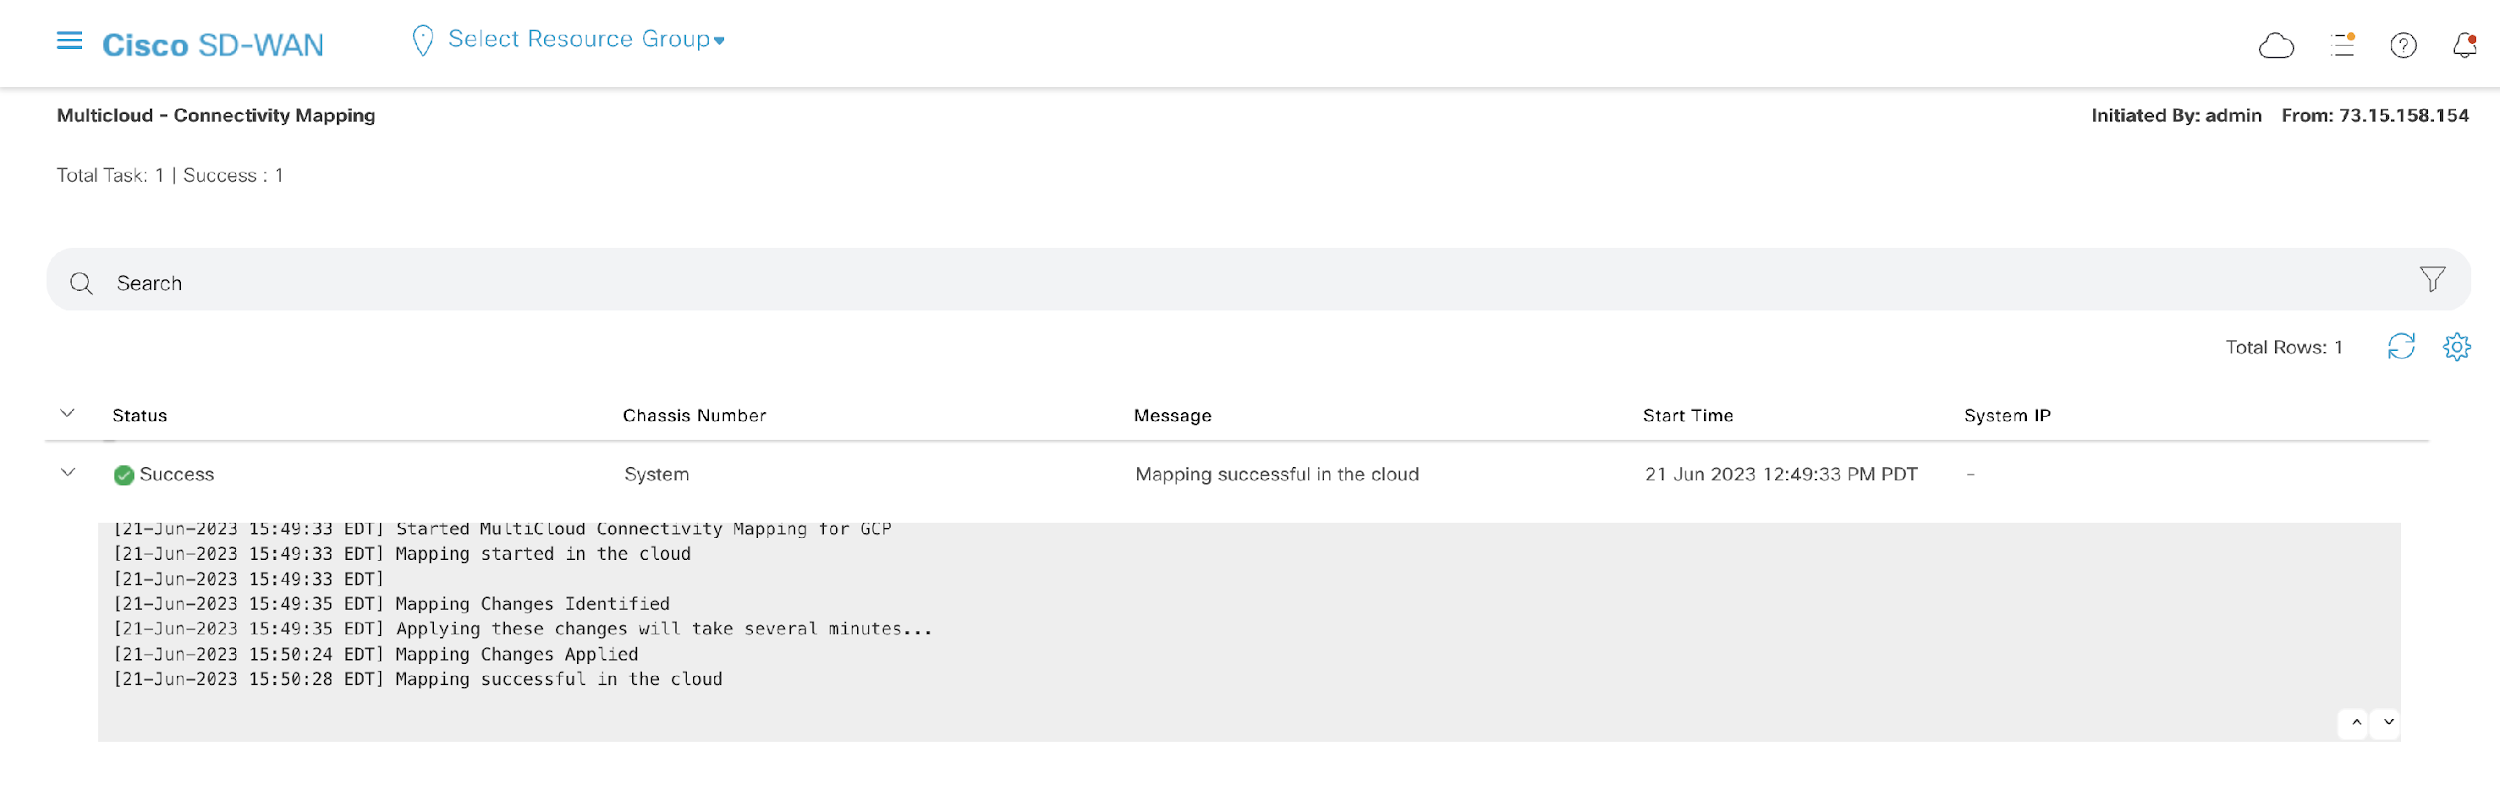
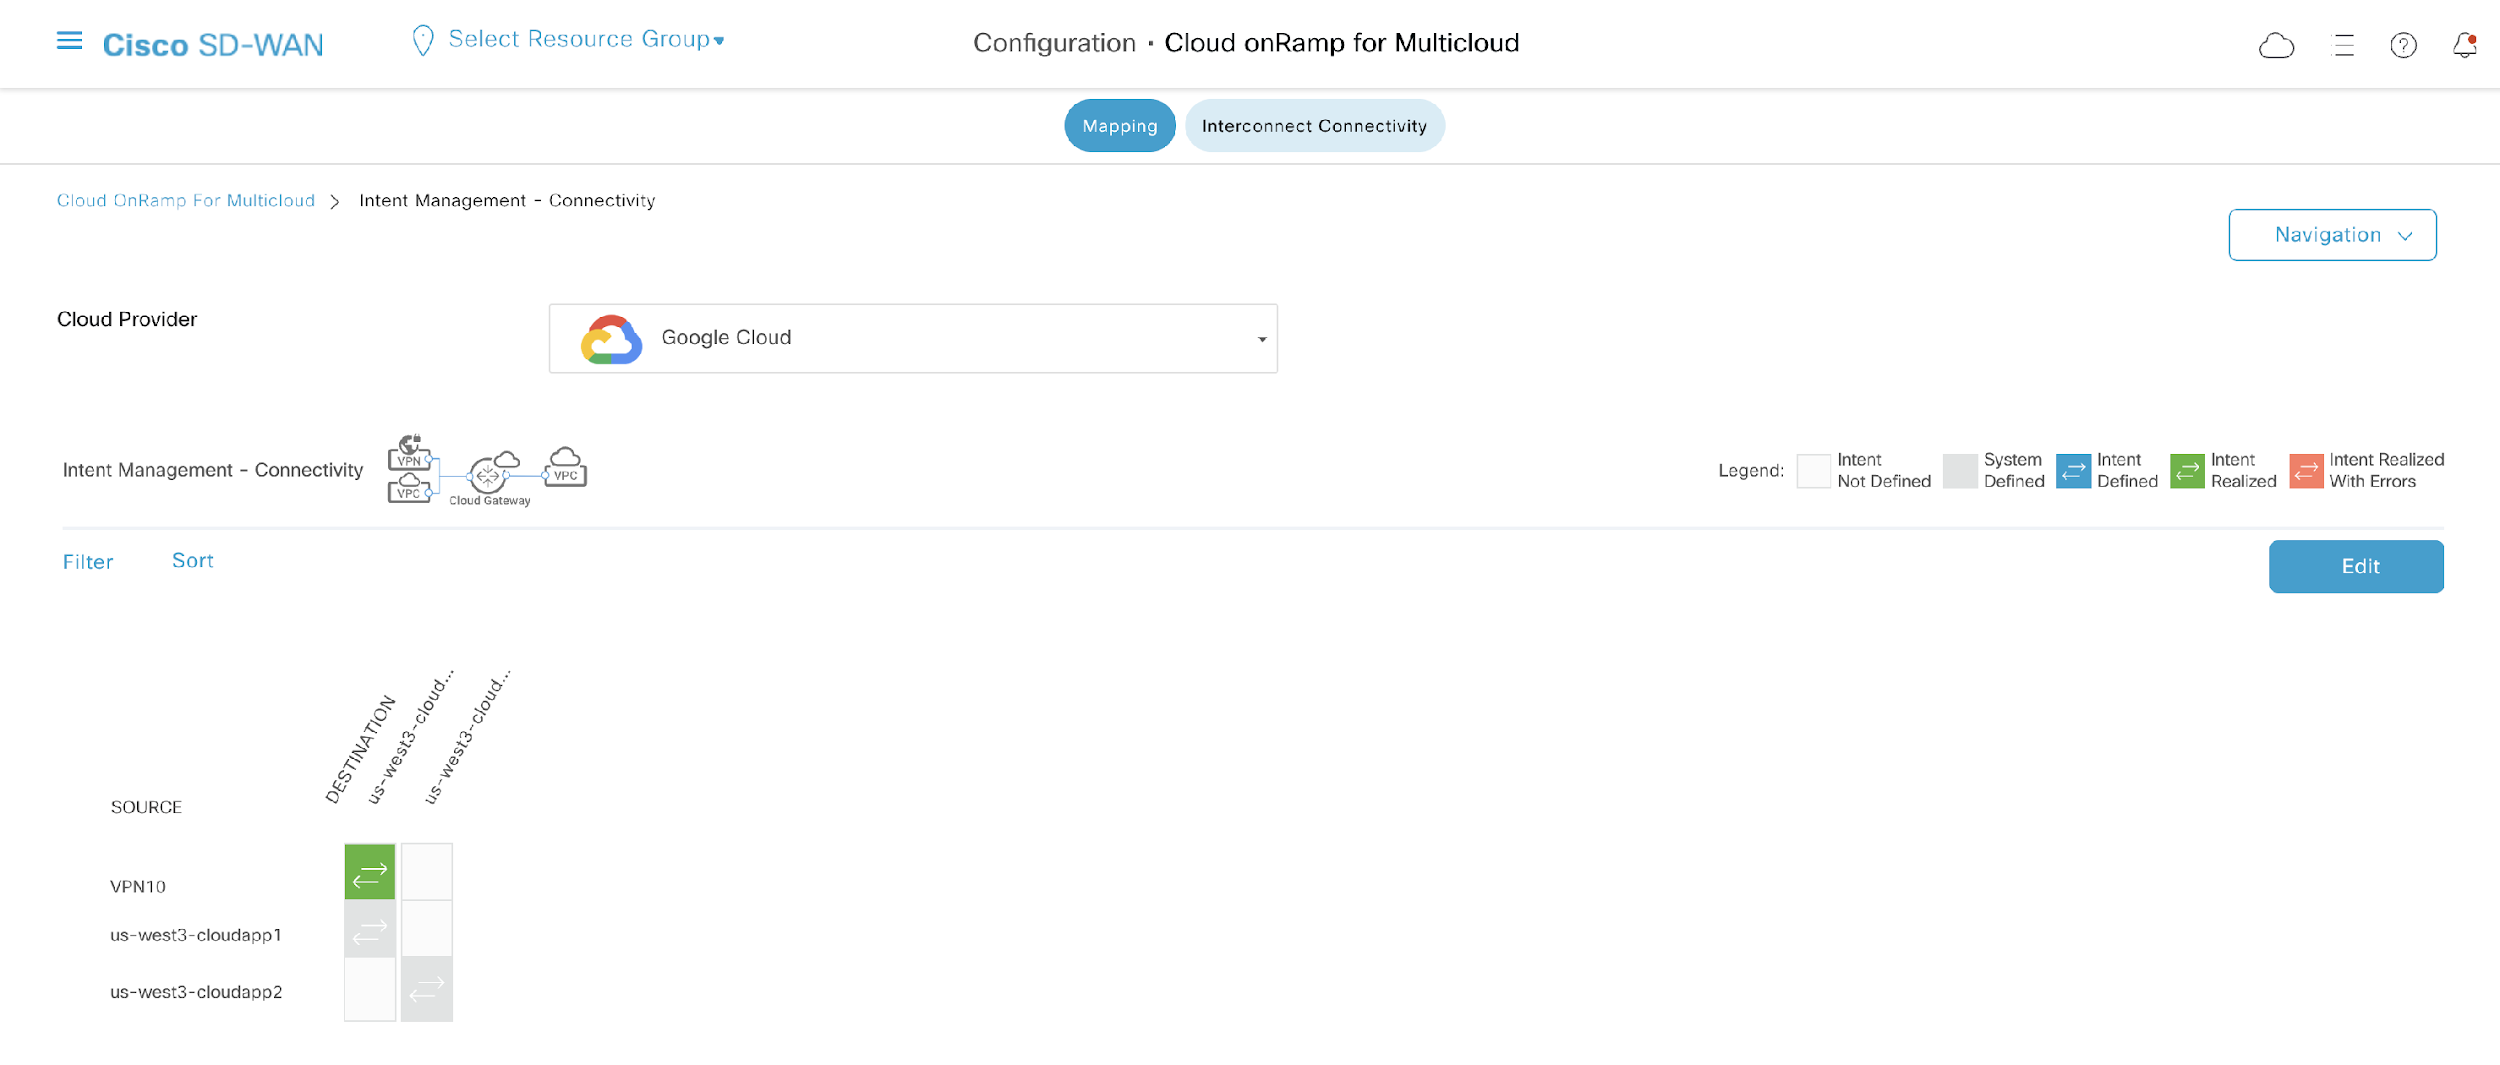
In Sync – this indicates that the Google Cloud state is in sync with the Cisco vManage state.
Now let's simulate a cloud error so we can demonstrate the power of the Cloud Audit in Cisco vManage.
Go back to Google Cloud and be sure you are in the second project: (
If you are still on the VPC network peering page, click REFRESH. Otherwise, navigate back to the VPC network peering page by either searching ‘VPC network peering' in the search bar above or using the Navigation Menu as demonstrated previously.
Once back to the VPC network peering page, we will simulate a cloud error by killing the VPC peering with hostvpc1.
hostvpc1 as the Peered VPC Network and click DELETE.

Once deleted, only the peering connection we manually created earlier remains.
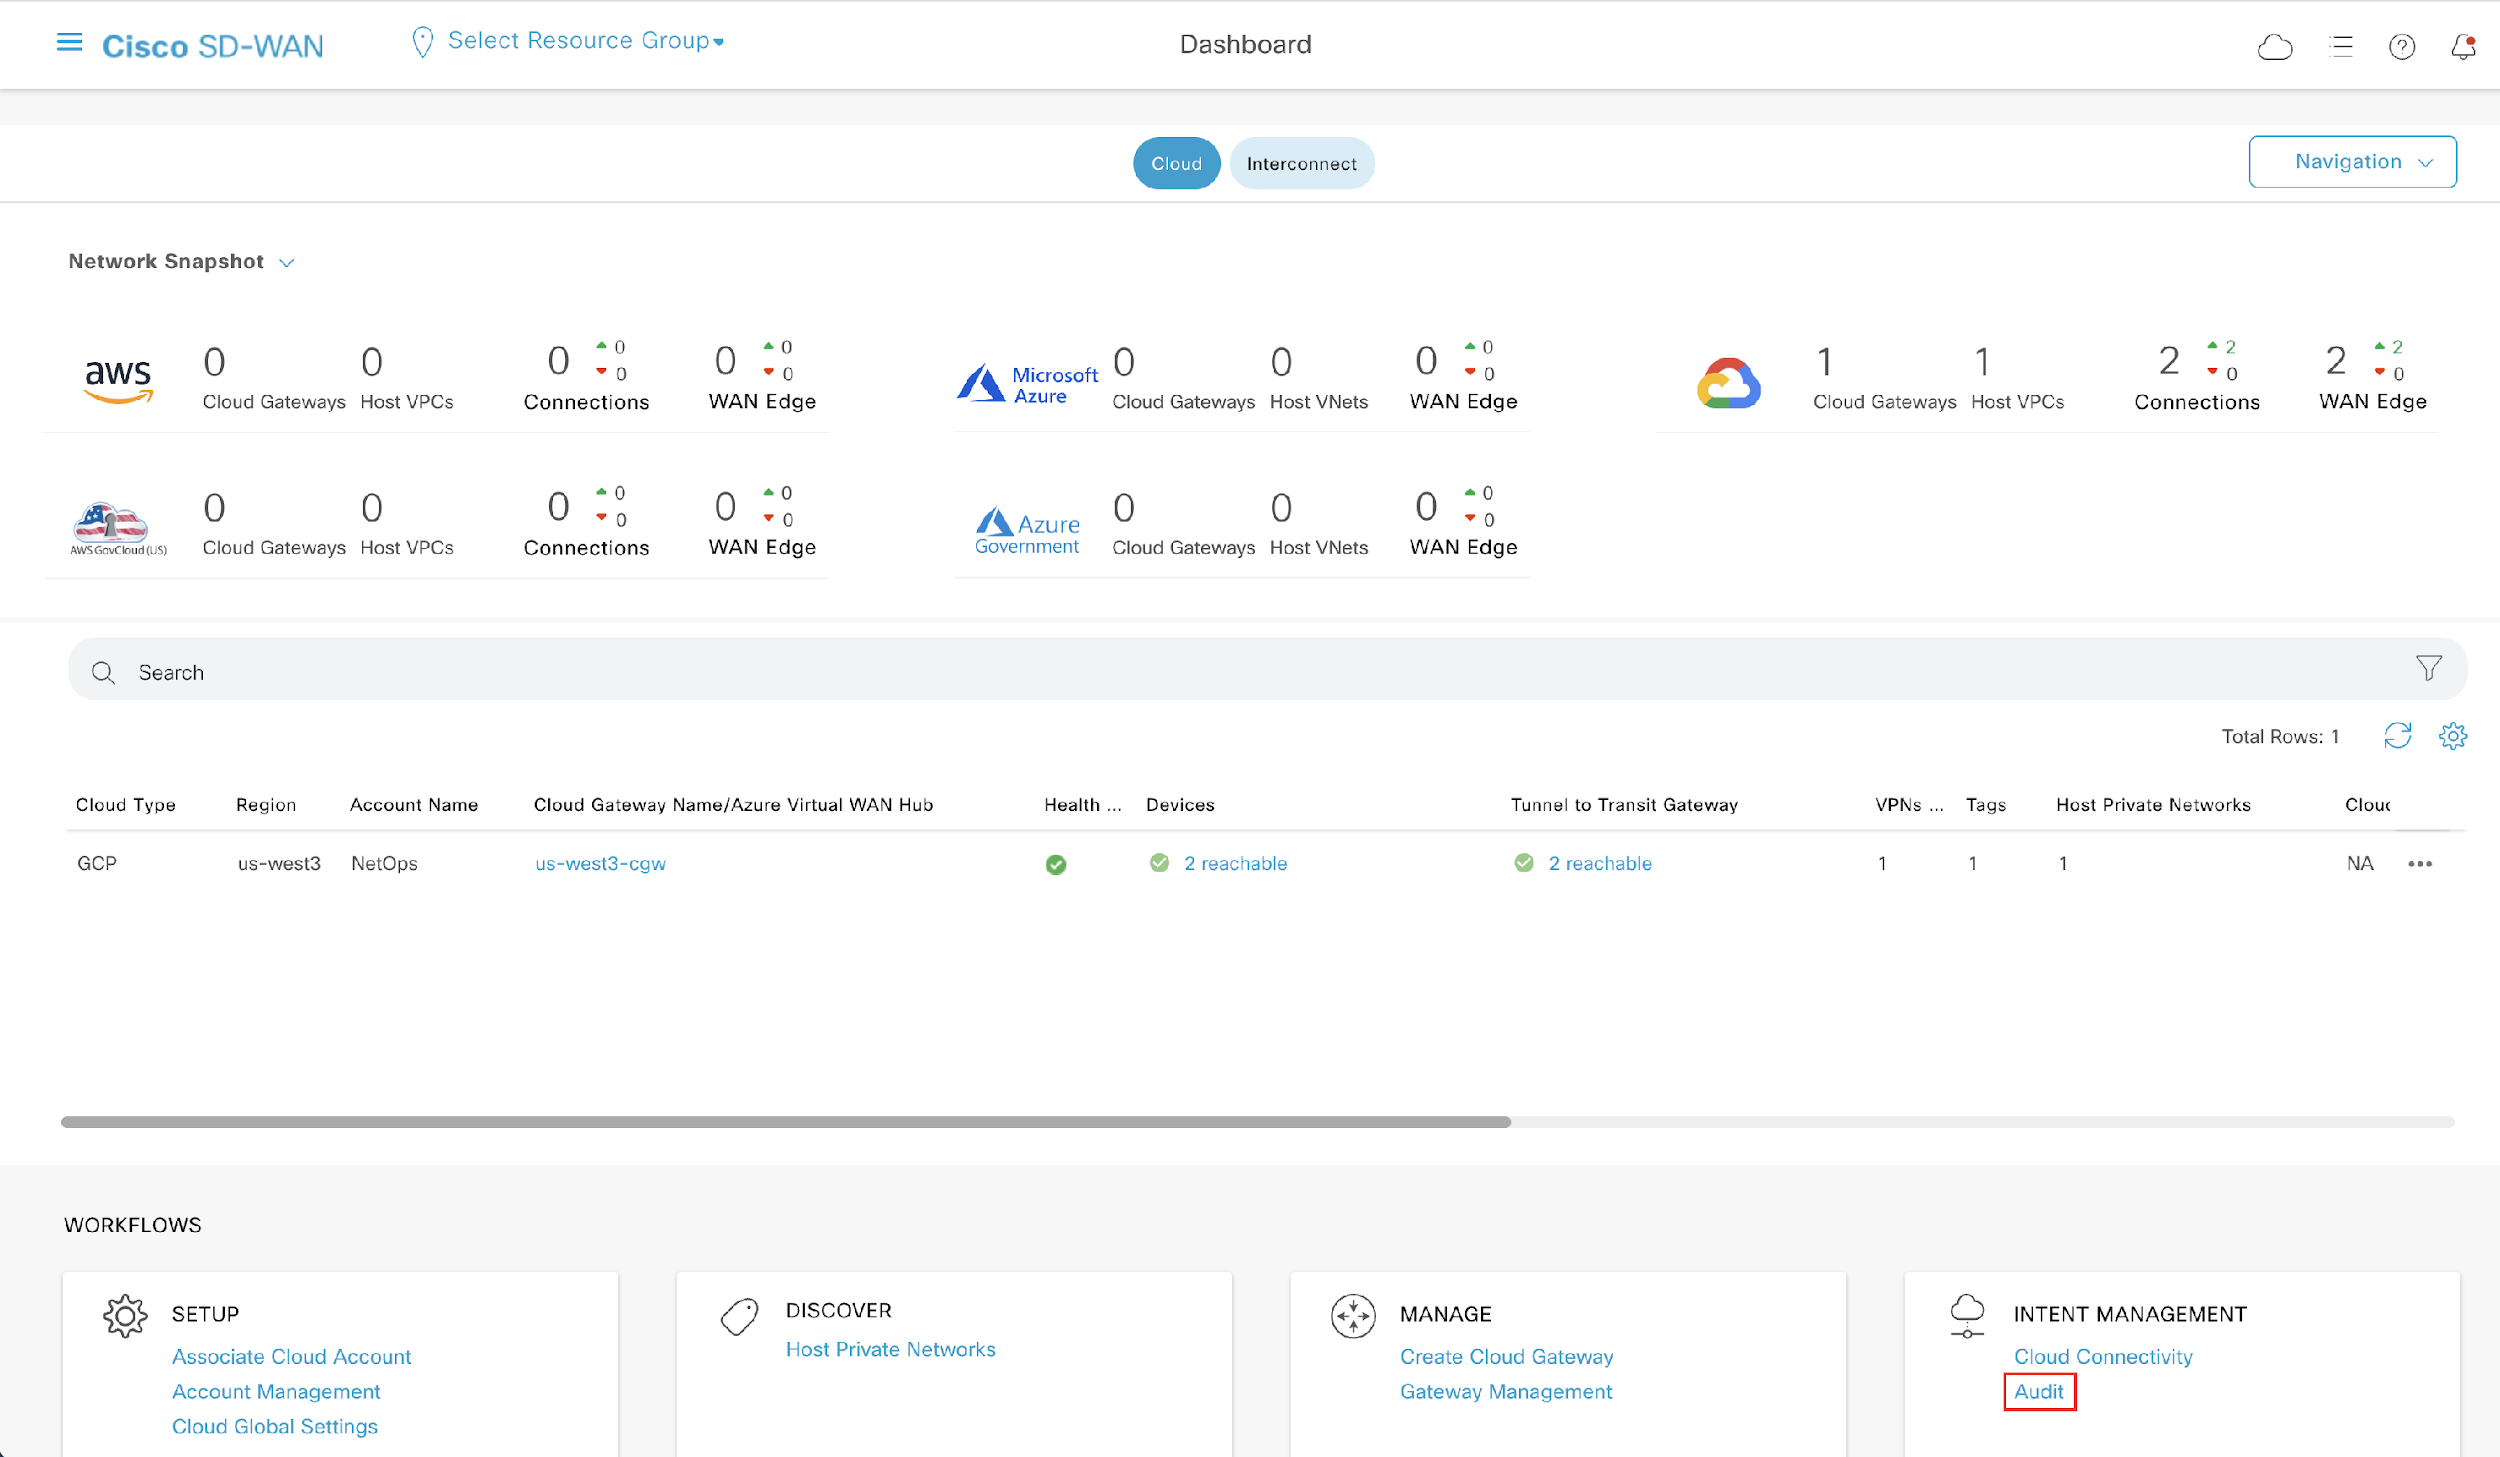
Now we will re-run the cloud audit. Go back to Cisco vManage and the Cloud onRamp for Multicloud main page. Once again, click Audit under INTENT MANAGEMENT in the Workflows section.
Once on the Audit page, select Google Cloud as the Cloud Provider and wait a moment while the audit runs.
Once the audit is complete, we now see that the Status is red and Out of Sync.
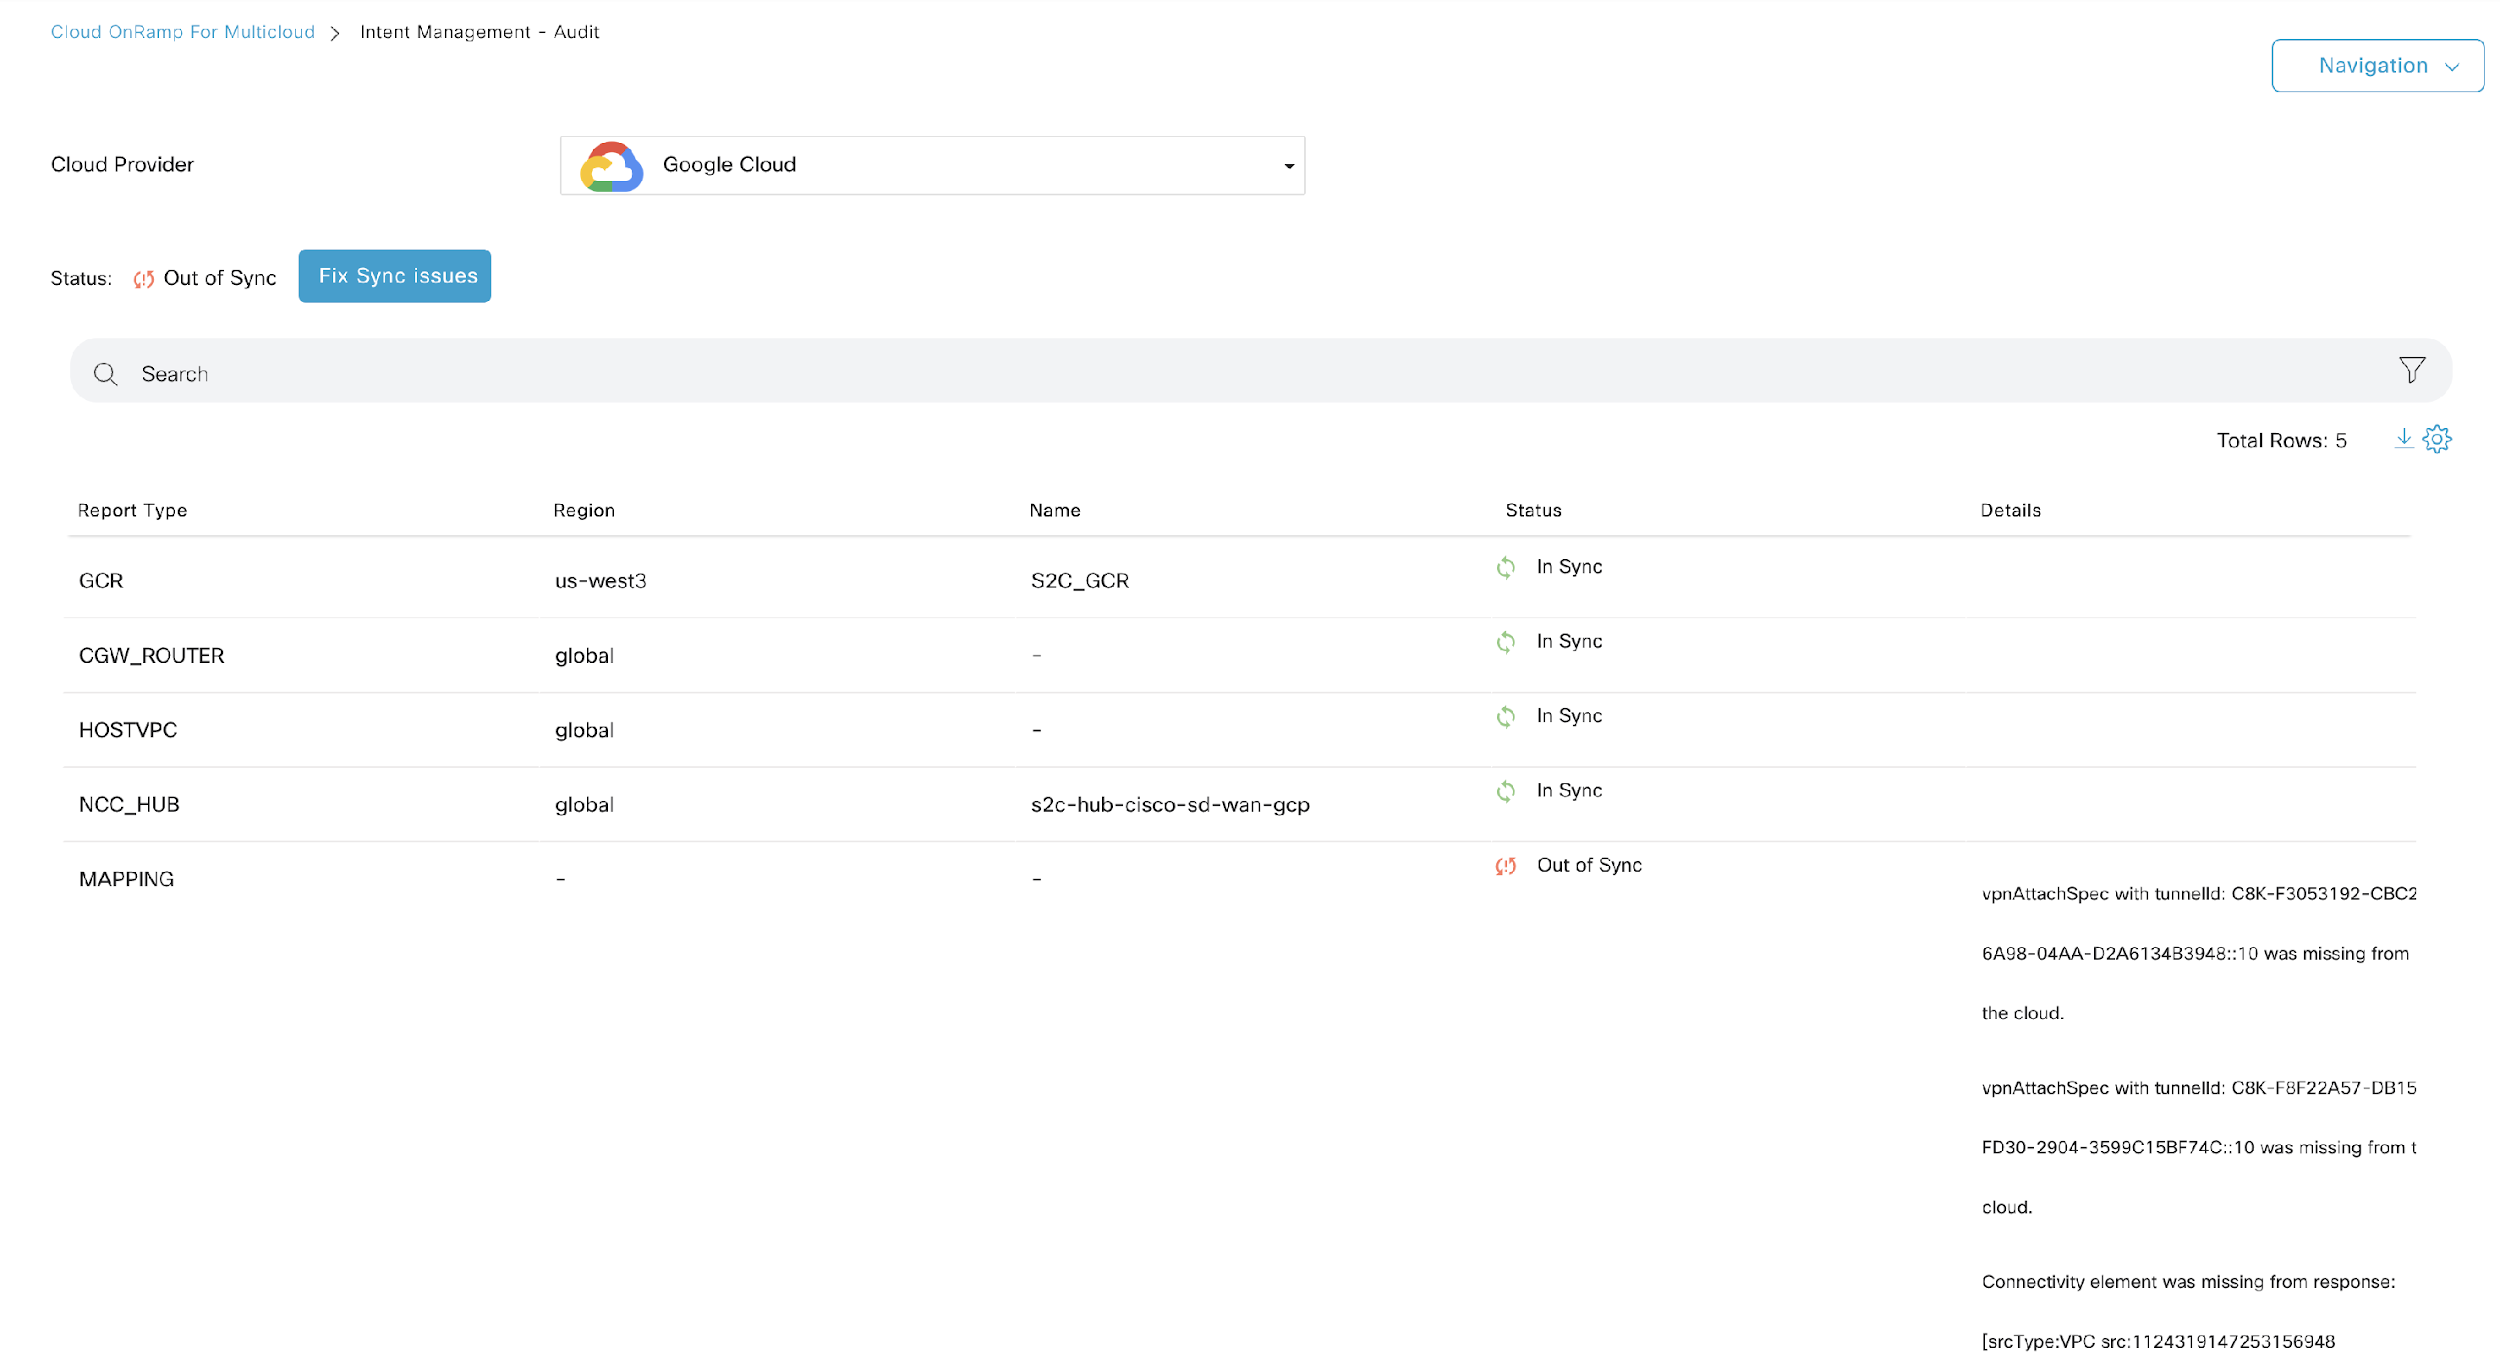
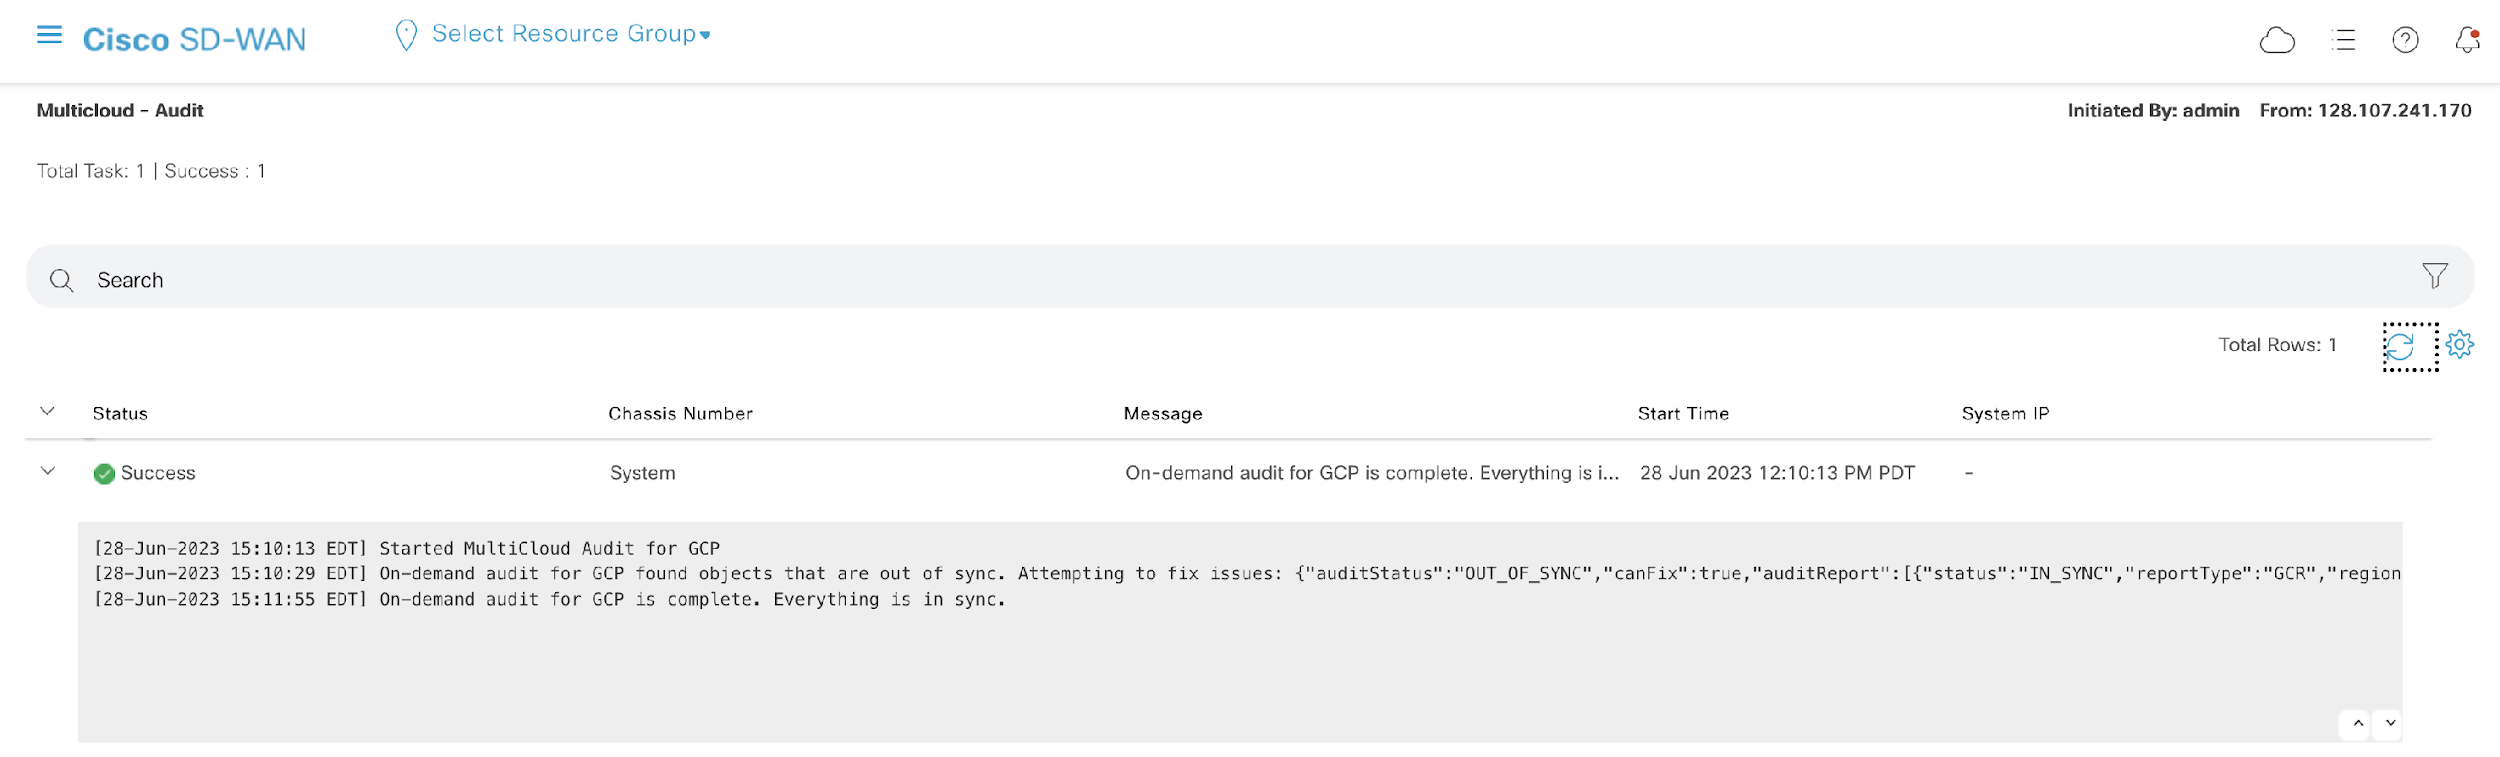
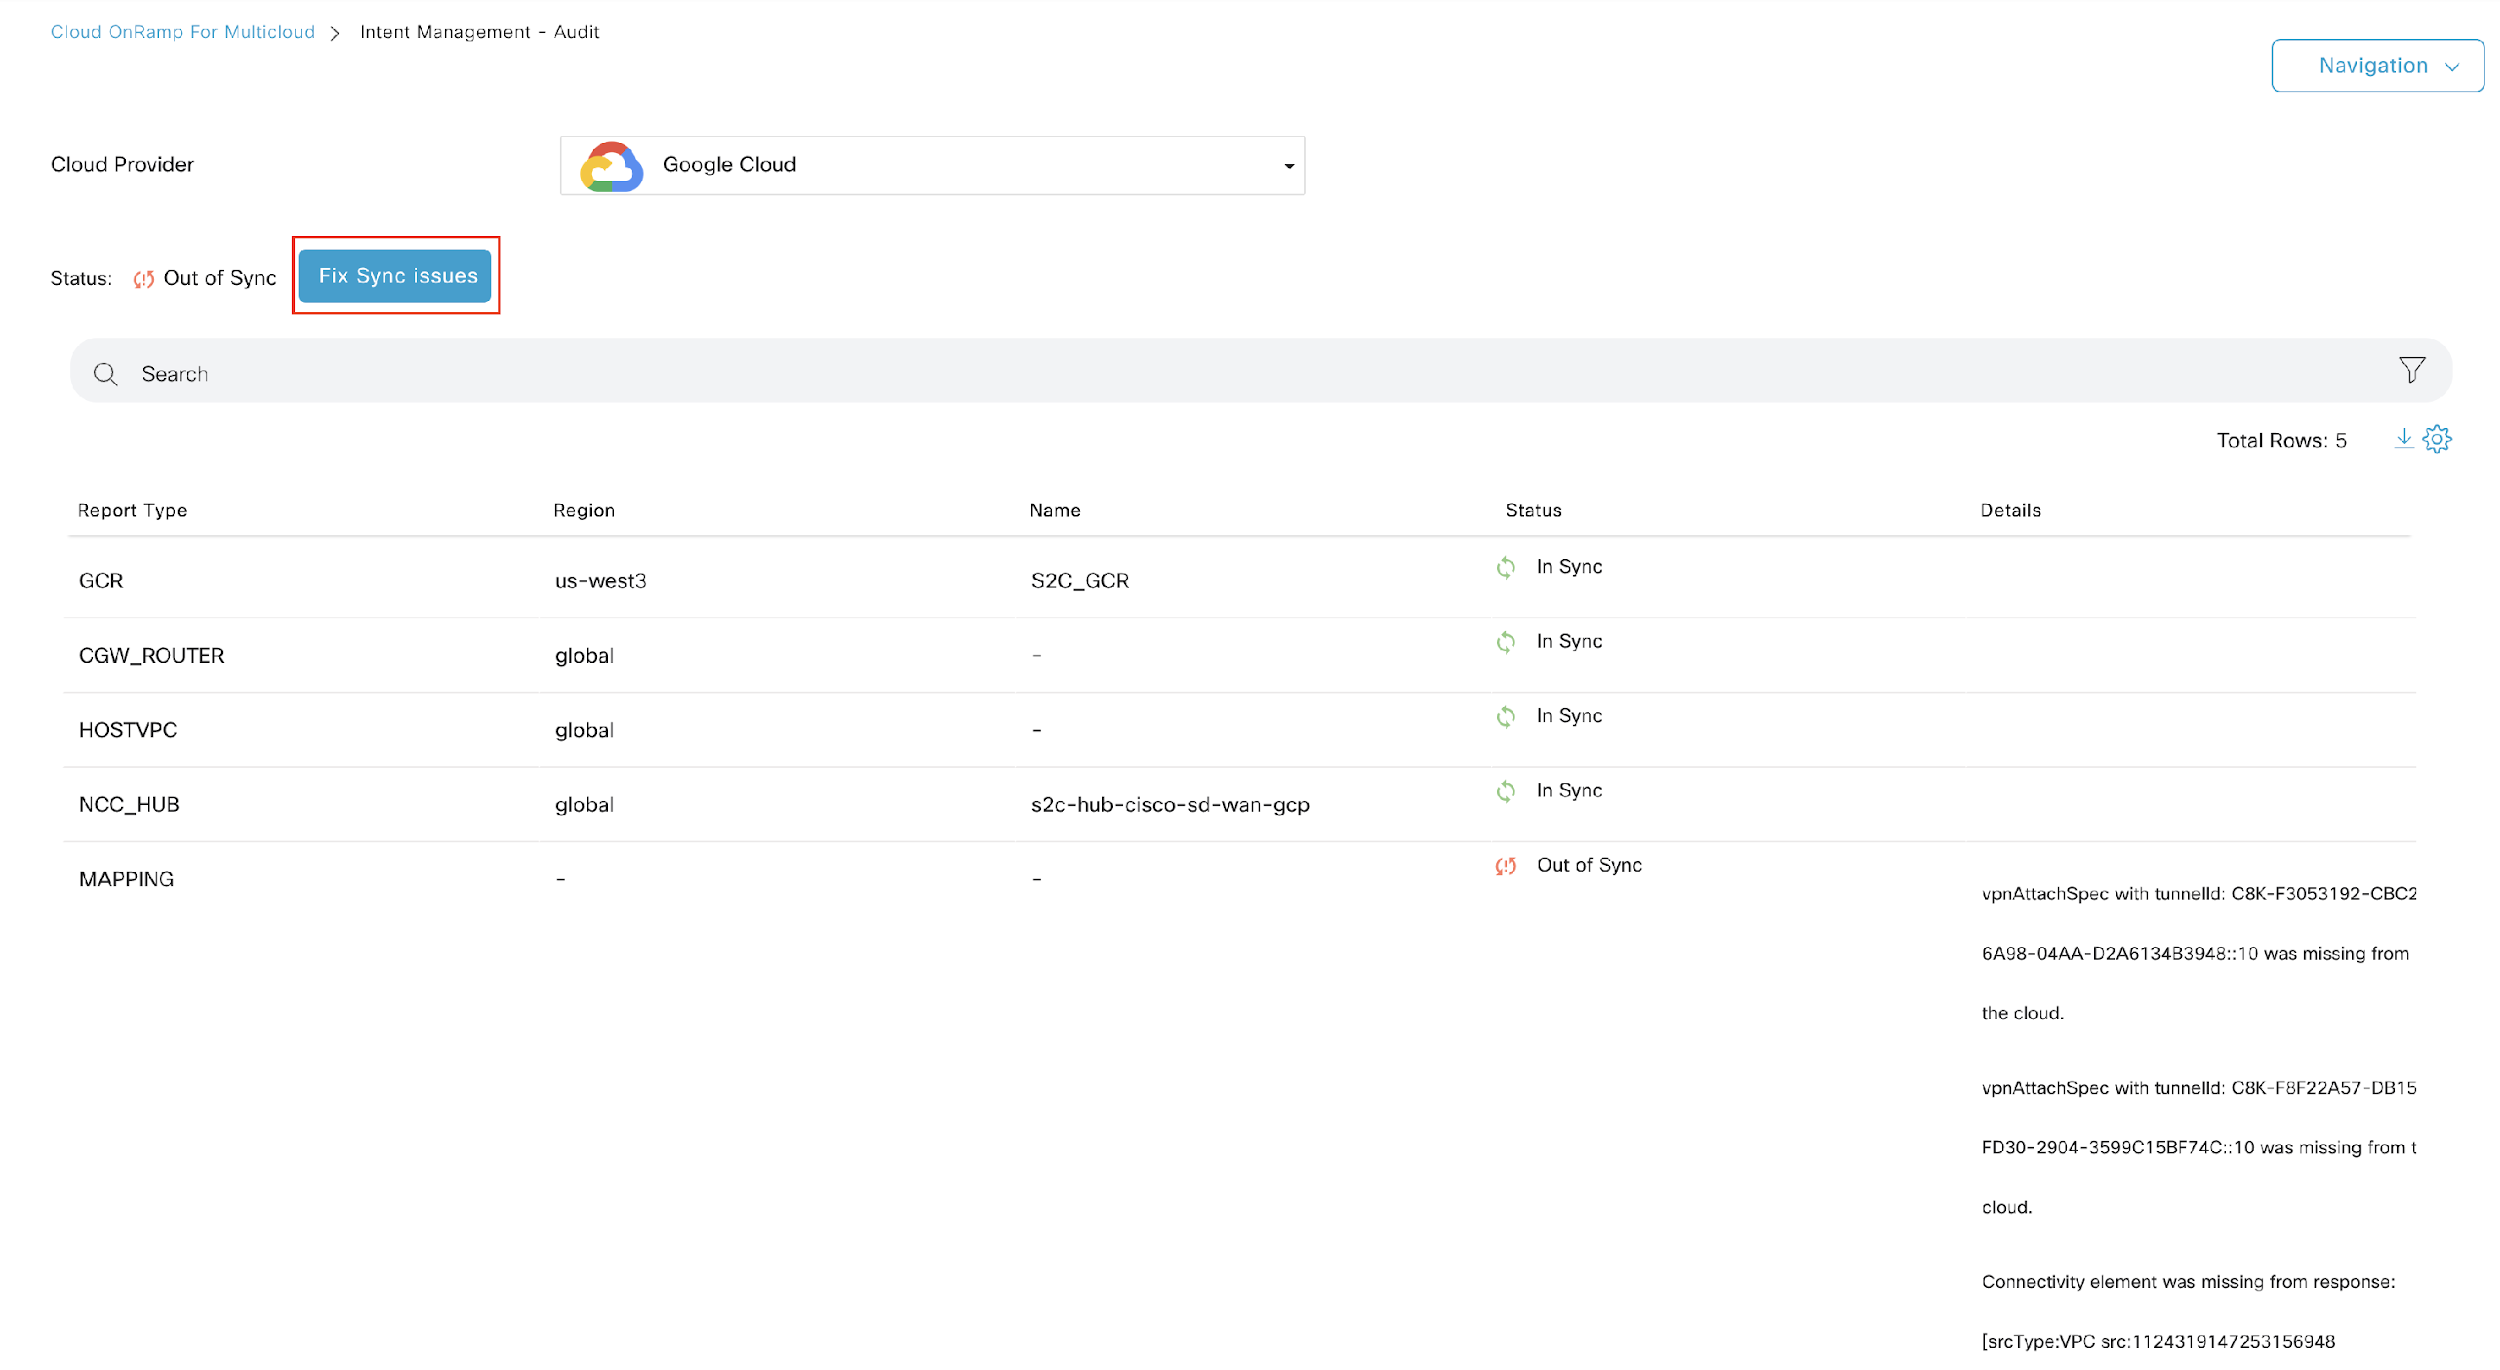 to expand the messages field and watch as Cisco vManage fixes the cloud problem in less than a few minutes.
Once the fix is successful and complete, you will see a Success message under Status.
To confirm that our problem is fixed, let's re-run the cloud audit one last time. Go back to Cisco vManage and the Cloud onRamp for Multicloud main page. Again, click Audit under INTENT MANAGEMENT in the Workflows section.
Once on the Audit page, select Google Cloud as the Cloud Provider and wait a moment while the audit runs.
When the audit is complete, we see that the Status is now green and In Sync once again!

We see the second peering connection is back again, all thanks to Cisco vManage.

You have successfully completed the lab!
In this lab, we saw the simplified workflow that Cisco Cloud onRamp for Multicloud provides within Cisco vManage’s single pane of glass. Cisco Cloud onRamp for Multicloud automates and seamlessly connects enterprise networks to public cloud providers with site-to-cloud connectivity, allowing SD-WAN policy to be extended into the cloud infrastructure. We saw this solution with Google Cloud today, however other cloud providers (e.g., AWS and Microsoft Azure) are also supported. This workflow normalizes the user experience across different cloud provider networks and accelerates reachability to multicloud workloads – all from Cisco vManage.
Continue your quest with Cisco: SD-WAN Cloud Hub with Google Cloud.
Be sure to check out the following resources to learn more:
...helps you make the most of Google Cloud technologies. Our classes include technical skills and best practices to help you get up to speed quickly and continue your learning journey. We offer fundamental to advanced level training, with on-demand, live, and virtual options to suit your busy schedule. Certifications help you validate and prove your skill and expertise in Google Cloud technologies.
Manual Last Updated October 4, 2024
Lab Last Tested April 9, 2024
Copyright 2025 Google LLC. All rights reserved. Google and the Google logo are trademarks of Google LLC. All other company and product names may be trademarks of the respective companies with which they are associated.

This content is not currently available
We will notify you via email when it becomes available

Great!
We will contact you via email if it becomes available

One lab at a time
Confirm to end all existing labs and start this one