


Before you begin
- Labs create a Google Cloud project and resources for a fixed time
- Labs have a time limit and no pause feature. If you end the lab, you'll have to restart from the beginning.
- On the top left of your screen, click Start lab to begin
In this lab, you use Python SDKs to build a forecasting pipeline, where you can train a Vertex AI AutoML Forecasting model and then use that model to make batch predictions.
This lab takes about 3 hours including the model training for 2 hours and the batch prediction for 30 min. It's an optional lab associated with the course titled Vertex Forecasting and Time Series in Practice. If you don't have sufficient time to complete the lab, you're recommended to browse the coding (Vertex_AI_Forecasting.ipynb) to get the sense of using SDKs to create a forecasting pipeline.
In this lab, you learn how to:
This Qwiklabs hands-on lab lets you do the lab activities yourself in a real cloud environment, not in a simulation or demo environment. It does so by giving you new, temporary credentials that you use to sign in and access Google Cloud for the duration of the lab.
To complete this lab, you need:
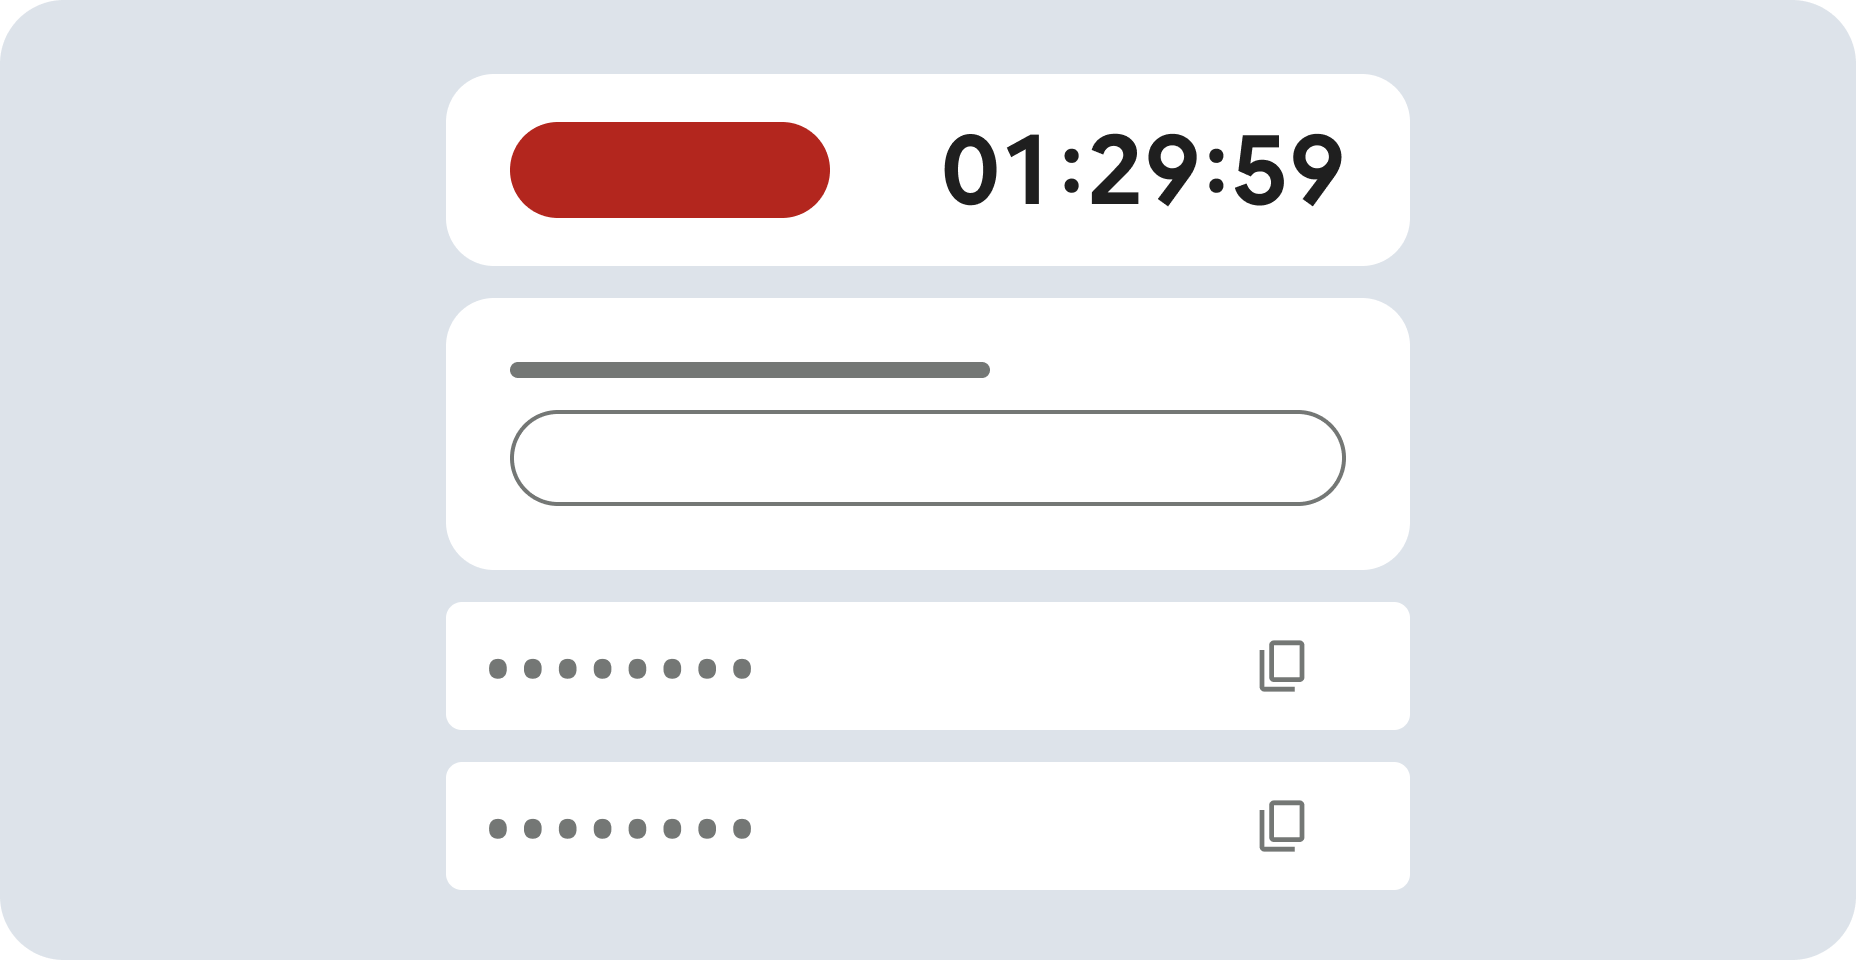
Click the Start Lab button. If you need to pay for the lab, a pop-up opens for you to select your payment method. On the left is a panel populated with the temporary credentials that you must use for this lab.
Copy the username, and then click Open Google Console. The lab spins up resources, and then opens another tab that shows the Choose an account page.
On the Choose an account page, click Use Another Account. The Sign in page opens.
Paste the username that you copied from the Connection Details panel. Then copy and paste the password.
After a few moments, the Cloud console opens in this tab.

In this task, you create the Vertex AI Workbench JupyterLab (iPython) notebook that is used for the rest of the lab.
In the Google Cloud Console, navigate to Vertex AI > Dashboard and click the dropdown Show API list and click Enable on the Vertex AI API tile.
In the Cloud Console, navigate to Vertex AI > Workbench and click the Enable Notebooks API button.
On the Workbench menu bar, click +New Notebook.
In the Customize... pop-up menu, select Python3.
In the New notebook instance dialog for Notebook Name enter vertex-ai.
For Region, select us-central1.
Leave all other fields with their default options and click Create.
After a few minutes, the Vertex AI console displays your instance name, followed by Open JupyterLab. The UI might not automatically refresh so you may need to refresh the page to see the link.
Once you get into it, you find a screen like this.
In this task, you create a Vertex AI Forecasting Model using the Python SDK in a JupyterLab notebook.
In the JupyterLab tab, in the Other launcher section, click Terminal to open a new Terminal window.
In the Terminal console shell, paste the following command to copy the JupyterLab notebook for the lab into your JupyterLab instance:
Double-click the filename Vertex_AI_Forecasting.ipynb in the file list to open your lab notebook.
Follow the instructions in the Notebook to prepare the dataset and start training your model.
The model will take approximately 2 hours to train completely. Once the training job reports that it has started, you can return here for instructions on how to load and explore example batch prediction result data so that you can see what the output data looks like and use the code supplied to display the prediction data using Looker Studio.
This step guides you through the process of accessing sample batch prediction result data and using a JupyterLab notebook and Looker Studio to visualize the predictions.
Open the JupyterLab notebook file called Results.ipynb and run all the cells to generate a clickable link that will display the data in Looker Studio.
Click the link that is displayed to open the Looker Studio report that will display a chart showing the prediction data.
You can now also explore the BigQuery example batch prediction output data in the iowa_liquor_sales_predictions_example.errors_example and iowa_liquor_sales_predictions_example.predictions_example BigQuery tables if you want to see what the output data and schemata look like.
If you want to wait for the model to complete, you can return to the original notebook and wait until the job.run cell in the Train the Vertex AI AutoML Forecasting model section has finished.
You can monitor progress there or via the Vertex AI console under the Vertex AI > Training page. Remember that the Vertex AI AutoML Forecasting training task takes approximately 2 hours to complete.
Once the model is trained, you can then run the remaining cells to display the model evaluation metrics, and perform a batch prediction. Your final output data should be similar to the example data you viewed in the last task.
You have successfully used the Python SDK to build and train a Vertex AI AutoML Forecasting model and then used that model to make batch predictions.
You are now ready to create models and run batch predictions with Vertex AI AutoML Forecasting with the Python SDK!
When you have completed your lab, click End Lab. Google Cloud Skills Boost removes the resources you’ve used and cleans the account for you.
You will be given an opportunity to rate the lab experience. Select the applicable number of stars, type a comment, and then click Submit.
The number of stars indicates the following:
You can close the dialog box if you don't want to provide feedback.
For feedback, suggestions, or corrections, please use the Support tab.
Copyright 2022 Google LLC All rights reserved. Google and the Google logo are trademarks of Google LLC. All other company and product names may be trademarks of the respective companies with which they are associated.

This content is not currently available
We will notify you via email when it becomes available

Great!
We will contact you via email if it becomes available

One lab at a time
Confirm to end all existing labs and start this one