


Before you begin
- Labs create a Google Cloud project and resources for a fixed time
- Labs have a time limit and no pause feature. If you end the lab, you'll have to restart from the beginning.
- On the top left of your screen, click Start lab to begin
Create the app
/ 25
Set up your app with a second data source
/ 25
Regenerate your app's data structure
/ 25
Create relationships between tables
/ 25
The goal of this lab is to connect and configure data from multiple data sources for your app using AppSheet.
In this lab, you use AppSheet to enhance a basic application with additional functionality using data from a second data source. Using the AppSheet editor, you configure the type of data used in the app, and create a relationship between the data sources or tables to provide additional functionality in your app.
In this lab, you learn how to perform the following tasks:
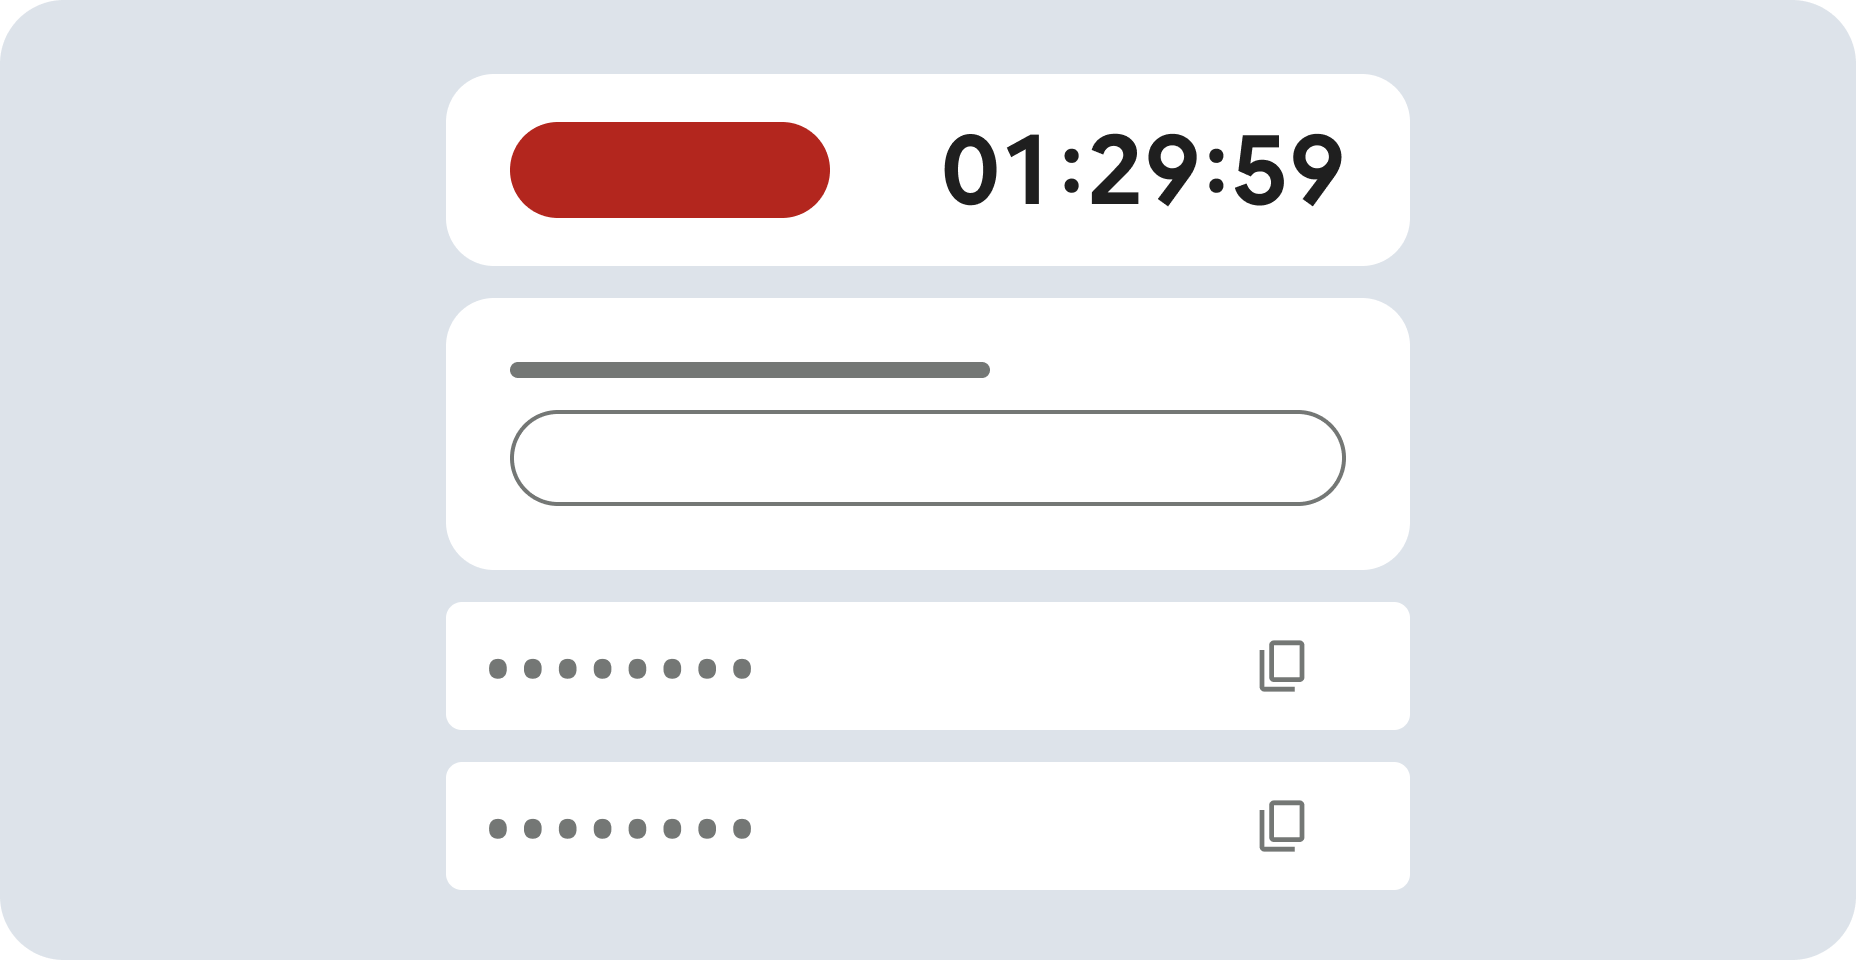
Read these instructions. Labs are timed and you cannot pause them. The timer, which starts when you click Start Lab, shows how long lab resources are made available to you.
This hands-on lab lets you do the lab activities in a real cloud environment, not in a simulation or demo environment. It does so by giving you new, temporary credentials that you use to sign in and access AppSheet for the duration of the lab.
To complete this lab, you need:
When ready, click Start Lab.
The Lab Details pane appears with the temporary credentials that you must use to sign in to Appsheet for this lab.
If you need to pay for the lab, a dialog opens for you to select your payment method.
Click Open AppSheet.
The lab spins up resources, and then opens another tab that shows the Sign in page.
Tip: Arrange the tabs in separate windows, side-by-side.
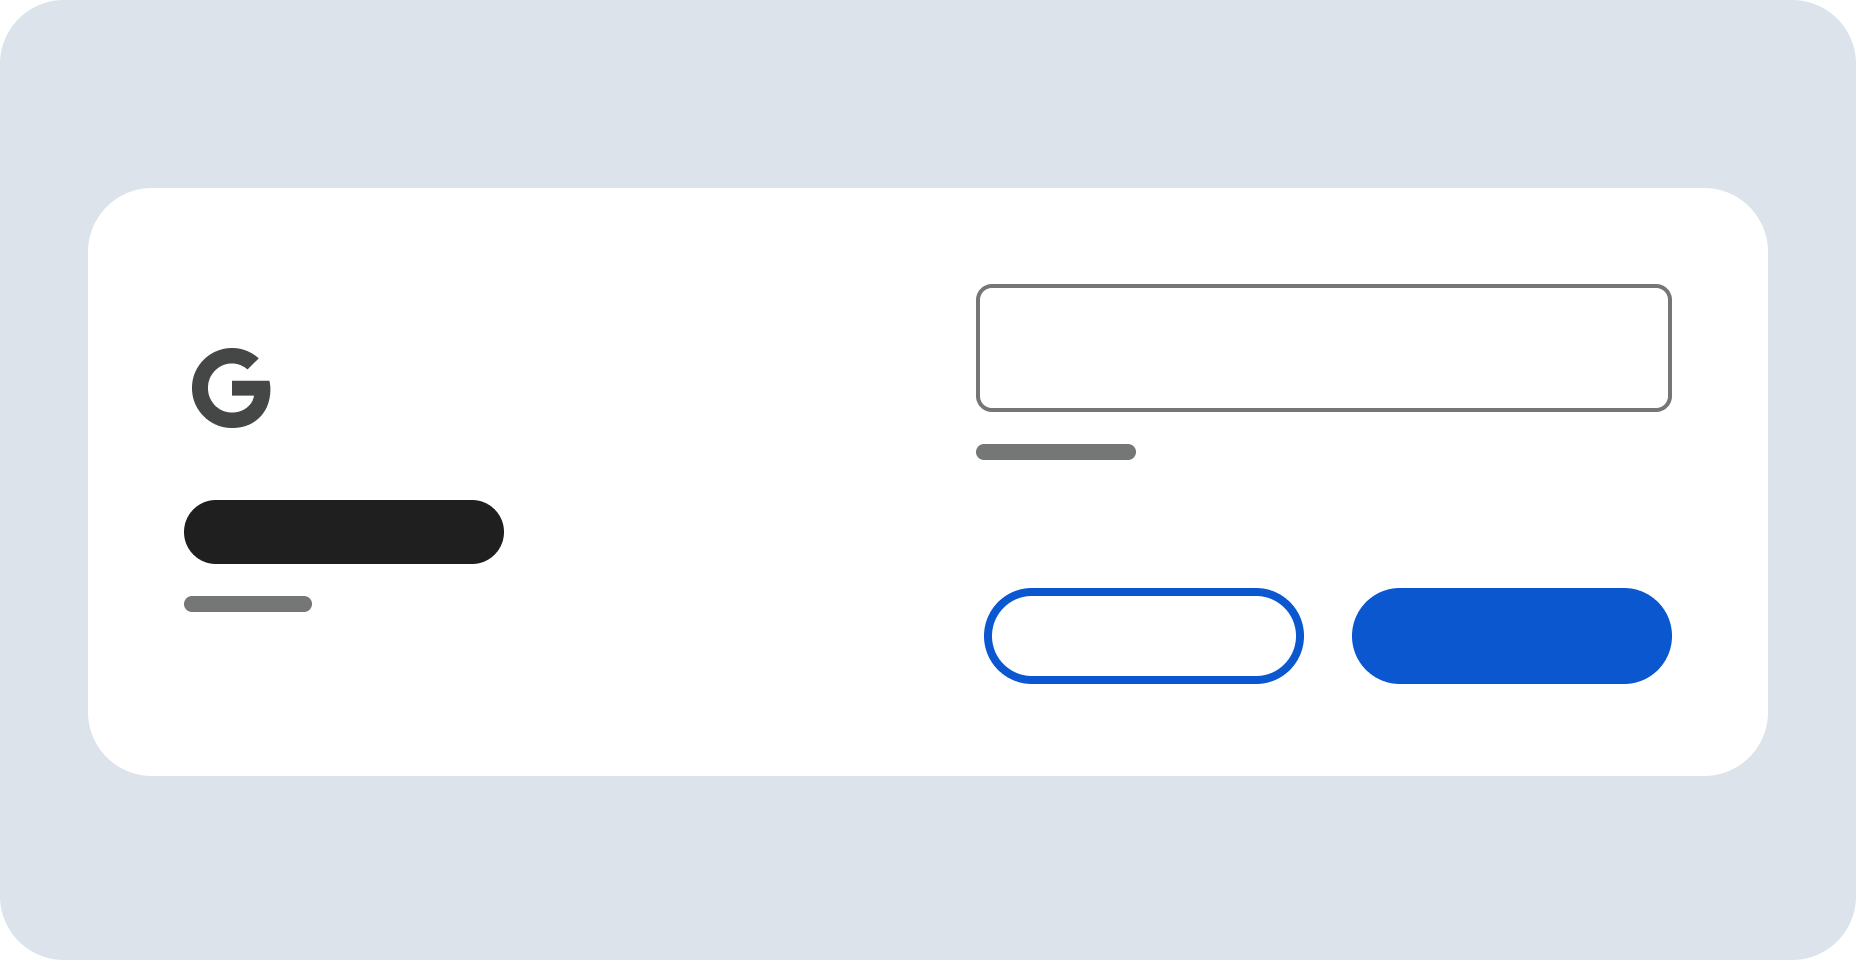
Sign in with Google.
If necessary, copy the Username below and paste it into the Sign in dialog.
Click Next.
Copy the Password below and paste it into the Welcome dialog.
Click Next.
Click I Understand to accept the terms.
Click Continue to accept Google AppSheet's policy and terms.
On the AppSheet consent page, click Allow. This allows AppSheet access to the Google Drive folders associated with your Google Cloud Skills Boost account.
You are now signed in to AppSheet.
If necessary, close the Tell us about you so we can make better recommendations dialog to view the AppSheet MyApps page.
The MyApps page is empty since you do not yet have any apps.
When working on your own or your company's app, you normally would incrementally build the app over a continuous project timeline.
In order to continue building the app in this lab environment, you must first copy the app that was previously built in the previous lab.
Open the link in another browser tab to copy the Customer Contacts app to your AppSheet account: Customer Contacts app.
Click Copy app from the left pane.
On the Copy App form, specify the following, and leave the remaining settings as their defaults:
App name |
Customer Contacts |
Click Copy app.
You can also access the app from the My apps page in the AppSheet UI under Apps.
Your app is set up with the original contacts data source, and you can now continue to build out the app's functionality.
Click Check my progress to verify the objective.
Our Customer contacts app currently uses a Google sheet containing sample person contact information.
In this task, you add a second Google sheet that contains information about companies to the app.
AppSheet refers to data files used in your app as tables. A table is a description of the rows and columns in your spreadsheet. While all of the data is stored in your spreadsheet, this description becomes part of your app definition.
Adding a table to your app is usually one of the first steps involved in creating an app.
To add additional tables after you have created your app, perform the following steps:
Copy and paste the link below in a separate browser tab: A copy of companies.
Click Make a copy to make a copy of the spreadsheet in your Google drive folder.
At the top left corner of the sheet, click anywhere in the filename and change the name to companies.
Navigate to drive.google.com to confirm the file has been saved to your My Drive folder.
In the Customer Contacts - AppSheet UI, use the left navigation bar and go to Data > Contacts.
To add a second data source to your app, click Add new Data (+) next to Data.
In Add data form, select Google Sheets.
In the file picker, select the companies sheet that you uploaded in the previous step and click Select.
In the Create a new table form, leave the default settings and click Add 1 table.
The settings in this dialog allow you to select a specific worksheet from the spreadsheet or a different type of data source; and lets you allow or disallow modifications to the data by users of the app.
AppSheet adds the companies table to your app. This table contains information about various sample companies.
Preview the data from the new table using the app live preview feature in AppSheet.
Click Check my progress to verify the objective.
When a data source is added as a table for your app, AppSheet reads each column header to define the column structure of the app. You need a column header in your data source for each column in which you store data.
In this task, you inspect and if needed update the columns' type and properties (the default structure) that AppSheet has inferred and set for the app.
In the AppSheet editor left navigation menu, select Data.
To inspect the structure of the columns in the contacts table, click the contacts.
The table below lists the columns and some of their properties as inferred by AppSheet.
Determine if you need to change the type or other properties of each column (Scroll to the right in the AppSheet editor to view all the column properties).
Name |
Type |
Key? |
Label? |
Formula |
Show? |
Editable? |
Require? |
_RowNumber |
Number |
||||||
ID |
Number |
checked |
checked |
checked |
checked |
||
Email Address |
checked |
checked |
checked |
||||
First Name |
Name |
checked |
checked |
checked |
|||
Last Name |
Name |
checked |
checked |
||||
Phone |
Text |
checked |
checked |
||||
_ComputedName |
Name |
checked |
CONCATENATE([First Name]," ",[Last Name]) |
checked |
Which of the above columns' properties do you think needs to be updated?
This generally depends on your app's requirements. For the purposes of this lab, the highlighted columns in the table above are candidates whose properties should be changed.
Given that this is a person contact app, there must be valid data in all cells of the First Name column, so the Require? property for this column should be checked.
Notice that AppSheet has set the type property of the Phone column as text.
This allows the column to contain a single line of text. Since this column is intended to store a valid phone number, change the type to Phone using the drop-down list.
Follow the same process to update the structure of the columns of the companies table, where required.
Perform this step by referring to the highlighted items in the table below as a guide to update the column properties:
Name |
Type |
Key? |
Label? |
Formula |
Show? |
Editable? |
Require? |
_RowNumber |
Number |
||||||
ID |
Number |
checked |
checked |
checked |
checked |
||
Phone |
Text |
checked |
checked |
checked |
|||
Company Name |
Name |
checked |
checked |
checked |
|||
Industry |
Text |
checked |
checked |
checked |
|||
Business Address |
Address |
checked |
checked |
checked |
|||
Shipping Information |
LongText |
checked |
checked |
checked |
Repeat the previous step for each of the highlighted columns in the table above, except the Industry column which is updated in the next step.
AppSheet supports the Enumerated Type for columns. Columns of these types are constrained to having one or more allowed values from a fixed list. In this step, you change the Industry column's type property to use the Enum (single value) or EnumList (multiple values) type.
Click the pencil icon to the left of the Industry column.
On the column details form, specify the following, and leave the remaining settings as their defaults:
Property |
Value |
Type |
Enum |
|
Type Details Values |
Accounting Finance Healthcare Retail Travel and Hospitality |
Click Add for each enum value to be added to the list of allowed values.
After all the values are entered, click Done in the form.
Click SAVE to save the app configuration changes.
To preview the changes in the AppSheet editor, you create a view for the companies data.
In the AppSheet editor, navigate to App (

To add a new view for Primary navigation, click +.
In the Add a new view form, click Create a new view. Specify the following, and leave the remaining settings as their defaults:
Property |
Value (type or select) |
View name |
companies |
For this data |
companies |
To save the new view, click Save.
Preview the change in the live app preview:
Select the companies table, and select any one of the company cards from the view.
On the company detail page, to edit the company record, click the pencil.
Scroll to select the Industry column using the drop-down. The enum values are displayed. Select any of the values.
Click Save to save the data changes.
For more information, refer to the Column data types documentation.
AppSheet reads column metadata from your data source to define the column structure of the app. For spreadsheets, AppSheet uses the column headers to derive this information. Every time you modify the columns in the spreadsheet, you need to regenerate the column structure within the app, or AppSheet won't know how to locate the columns to read and write data and your app will stop functioning.
In this task, you regenerate your app's data structure after adding a new column to the sheet on Google drive.
Open a browser tab and navigate to Google drive. If you already have it open then switch to that tab.
In Google drive, open the appsheet/data folder, by double-clicking appsheet then double-clicking data.
Open the CustomerContacts-NNNNNNN folder.
Open the contacts sheet.
Add a new column header in row 1, column F with a value of: Last Contacted.
We will use this new column to store the last contacted date and time when the person was contacted.
Switch to the AppSheet editor in your browser and navigate to Data > contacts.
Click More(three dots) of the contacts tile and then select Regenerate Schema.
Click Regenerate to confirm.
AppSheet regenerates the column structure for the contacts table, and re-syncs the app in the live preview.
AppSheet also infers the type of the new column which may not be the intented column type.
Using the Type dropdown list, change the type of the Last Contacted column to DateTime.
Since it is not mandatory for every contact to have a value for this column, scroll the column properties to the right and verify that the Require? property is unchecked. If checked, then select it to uncheck the property.
Click SAVE to save your app configuration changes.
In the app live preview, select one of the contacts from the list.
Click the pencil icon to edit the contact.
Scroll to the bottom and click the calendar icon to set the Last Contacted value for the contact.
Click Save in the app preview to save the data for this contact.
View the contacts sheet on Google drive to verify that the contact that was updated using the app reflects the updated value in the Last Contacted column.
Click Check my progress to verify the objective.
The person contacts in the contacts sheet are likely employed at the companies whose information is stored in the companies sheet.
This implies that there is a relationship between the two tables. Appsheet allows you to define references between rows in related tables using a special column type called Ref.
In this task, you use the Ref column type to define the relationship between rows in the two tables.
Read the AppSheet documentation to learn more about the Ref column type.
In the contacts sheet on Google drive add a new column header in row 1, column G with a value of: Company ID.
This new column will be used to store the ID of the company that the contact is associated with.
Switch to the AppSheet editor in your browser and navigate to Data > Contacts.
Click More(three dots) of the contacts tile and then select Regenerate Schema.
then Click Regenerate to confirm. AppSheet regenerates the column structure of the contacts table and adds the new Company ID column to the list of columns.
Click the pencil icon to the left of the Company ID column to edit its properties.
On the column details form, specify the following, and leave the remaining settings as their defaults:
Property |
Value |
Type |
Ref |
Source table |
companies |
This changes the type of the column to be a reference that refers to the companies table.
When contacts are added or updated in the app to include the company that is associated with the contact, AppSheet automatically stores the Company ID in this column in the contacts sheet.
Since the value displayed in the app for this column is the actual company name, you should change the display name of the column. To do this, scroll down in the same form and expand the Display section. Then, click the expression assistant icon in the Display name field.
In the Expression Assistant form for Display Name expression for column Company ID (Text), type Company.
Click Save in the expression assistant form.
Click Done to save the changes to the column properties.
Finally, click Save in the AppSheet editor to save the changes and refresh the app in the live preview.
In the app live preview, select one of the contacts from the contacts list.
Click the pencil icon to edit the contact.
Scroll to the bottom and select a Company from the drop-down list of companies. AppSheet has automatically populated the list from the companies table.
Click Save in the app preview to save the data for this contact.
View the contacts sheet on Google drive to verify that the contact that was updated using the app, contains the ID of the company that was selected.
Click Check my progress to verify the objective.
You have successfully configured data from multiple data sources for your app using AppSheet.
In this lab you learned how to:
...helps you make the most of Google Cloud technologies. Our classes include technical skills and best practices to help you get up to speed quickly and continue your learning journey. We offer fundamental to advanced level training, with on-demand, live, and virtual options to suit your busy schedule. Certifications help you validate and prove your skill and expertise in Google Cloud technologies.
Manual Last Updated: October 30, 2024
Lab Last Tested: October 30, 2024
Copyright 2025 Google LLC. All rights reserved. Google and the Google logo are trademarks of Google LLC. All other company and product names may be trademarks of the respective companies with which they are associated.

This content is not currently available
We will notify you via email when it becomes available

Great!
We will contact you via email if it becomes available

One lab at a time
Confirm to end all existing labs and start this one