GSP1254

Overview
Memorystore for Redis Cluster is a fully managed Redis service for Google Cloud. Applications running on Google Cloud can achieve extreme performance by leveraging this highly scalable, available, and secure service.
In this lab, you will interact with Memorystore for Redis Cluster on Google Cloud. You'll learn how to use Memorystore for caching, perform zero-downtime scaling, and enable data persistence.
Objectives
In this lab, you will learn how to:
- Connect to the Redis cluster using a client application and perform basic operations like storing and retrieving data.
- Configure Redis data persistence to ensure durability in the event of unexpected outages or restarts.
- Scale a Redis cluster to accommodate increased workloads while minimizing disruption to existing applications.
- Scale a Redis cluster to accommodate increased workloads without taking any downtime.
Setup and requirements
Before you click the Start Lab button
Read these instructions. Labs are timed and you cannot pause them. The timer, which starts when you click Start Lab, shows how long Google Cloud resources are made available to you.
This hands-on lab lets you do the lab activities in a real cloud environment, not in a simulation or demo environment. It does so by giving you new, temporary credentials you use to sign in and access Google Cloud for the duration of the lab.
To complete this lab, you need:
- Access to a standard internet browser (Chrome browser recommended).
Note: Use an Incognito (recommended) or private browser window to run this lab. This prevents conflicts between your personal account and the student account, which may cause extra charges incurred to your personal account.
- Time to complete the lab—remember, once you start, you cannot pause a lab.
Note: Use only the student account for this lab. If you use a different Google Cloud account, you may incur charges to that account.
How to start your lab and sign in to the Google Cloud console
-
Click the Start Lab button. If you need to pay for the lab, a dialog opens for you to select your payment method.
On the left is the Lab Details pane with the following:
- The Open Google Cloud console button
- Time remaining
- The temporary credentials that you must use for this lab
- Other information, if needed, to step through this lab
-
Click Open Google Cloud console (or right-click and select Open Link in Incognito Window if you are running the Chrome browser).
The lab spins up resources, and then opens another tab that shows the Sign in page.
Tip: Arrange the tabs in separate windows, side-by-side.
Note: If you see the Choose an account dialog, click Use Another Account.
-
If necessary, copy the Username below and paste it into the Sign in dialog.
{{{user_0.username | "Username"}}}
You can also find the Username in the Lab Details pane.
-
Click Next.
-
Copy the Password below and paste it into the Welcome dialog.
{{{user_0.password | "Password"}}}
You can also find the Password in the Lab Details pane.
-
Click Next.
Important: You must use the credentials the lab provides you. Do not use your Google Cloud account credentials.
Note: Using your own Google Cloud account for this lab may incur extra charges.
-
Click through the subsequent pages:
- Accept the terms and conditions.
- Do not add recovery options or two-factor authentication (because this is a temporary account).
- Do not sign up for free trials.
After a few moments, the Google Cloud console opens in this tab.
Note: To access Google Cloud products and services, click the Navigation menu or type the service or product name in the Search field.

Task 1. Deploy a client and interact with the Redis cluster
In this section, you will connect to the Redis cluster using a client application. We will run RedisSim to simulate load on the cluster. RedisSim is a command line tool to simulate various scenarios running against a Redis compatable cluster. The Redis client is running on the client VM deployed as part of the lab.
-
From the Navigation menu, select Compute Engine > VM instances.
-
Click on the SSH button next to the redis-client instance to open a terminal window.
-
Verify that the environment variables MEMORY_STORE_HOST and MEMORY_STORE_PORT are set correctly by running the following commands:
echo $MEMORYSTORE_HOST
echo $MEMORYSTORE_PORT
- Verify the output:
-
MEMORYSTORE_HOST: The output should match the actual hostname or IP address where your Memorystore Redis Cluster is running.
-
MEMORYSTORE_PORT: The output should match the port number on which your Memorystore Redis Cluster is listening (typically 6379).
Your output should be similar to the following:
10.128.0.2
6379
- Run the following RedisSim command to connect to the Redis cluster:
RedisSim --server $MEMORYSTORE_HOST --port $MEMORYSTORE_PORT --clients 2 --cluster stringfill --string-count 1000000 --prefix hi
- Increase the number of clients to 500 by running the following command:
RedisSim --server $MEMORYSTORE_HOST --port $MEMORYSTORE_PORT --clients 500 --cluster stringfill --string-count 1000000 --prefix hi
-
Monitor the performance of the Redis cluster by navigating to the Memorystore page in the Google Cloud Console and selecting the redis-cluster instance.
-
Navigate to the Monitoring tab to view the performance metrics. You can view metrics like CPU Utilization, Memory Utilization, Received connections, Cache hit ratio, and Calls.
SET and GET keys
In this section, you will use Redis commands like SET, GET, HSET, HGET to store and retrieve data.
- Run the following command to connect to the Redis cluster:
redis-cli -c -h $MEMORYSTORE_HOST -p $MEMORYSTORE_PORT
- Run the following command to store a key-value pair in the Redis cluster:
SET mykey myvalue
- Run the following command to retrieve the value of the key:
GET mykey
- Run the following command to store a hash key-value pair in the Redis cluster:
HSET myhash key1 value1
- Run the following command to retrieve the value of the hash key:
HGET myhash key1
- Run the following command to store a list of values in the Redis cluster:
LPUSH mylist value1
LPUSH mylist value2
LPUSH mylist value3
- Run the following command to retrieve the values of the list:
LRANGE mylist 0 -1
- Run the following command to store a set of values in the Redis cluster:
SADD myset value1
SADD myset value2
SADD myset value3
- Run the following command to retrieve the values of the set:
SMEMBERS myset
- Exit the Redis CLI by running the following command:
exit
Click Check my progress to verify the objective.
Interact with the Redis cluster.
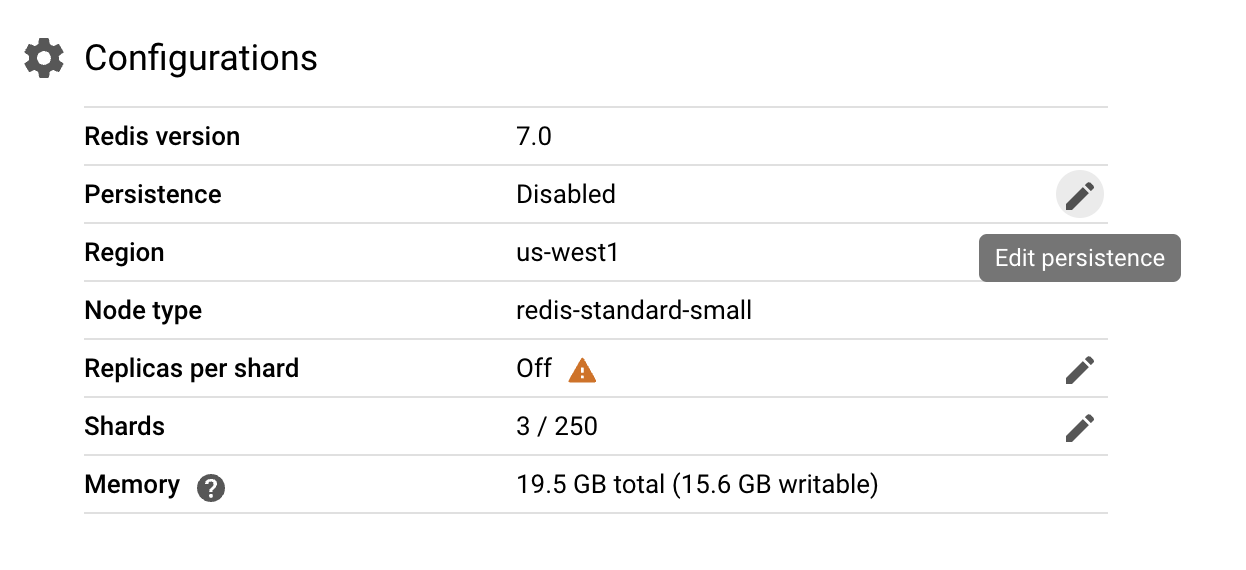
Task 2. Enable persistence
In this section, you will enable and disable persistence in the Redis cluster. Memorystore persistence ensures data durability in the event of unexpected outages or restarts. While high availability should protect the cluster from data loss in most scenarios, in some rare cases of cascading failures, having persistence would ensure a low RPO and protection of data.
-
From the Navigation menu, select Memorystore. Select the redis-cluster instance.
-
Under Configurations, next to Persistence click on the Edit button.
-
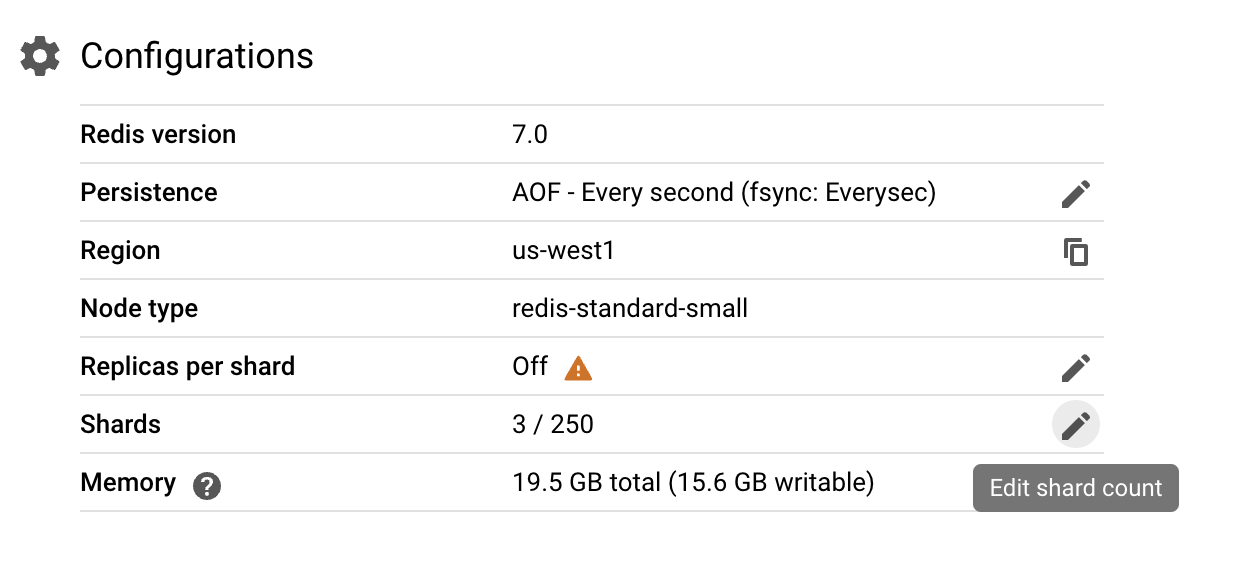
Select Append Only File (AOF) as the persistence mode, and use Every Second as the frequency. This setting determines how often Redis writes the AOF log to disk. While "Every Write" would provide the highest level of data safety (every change is immediately logged), it can impact performance due to the constant disk I/O. "Every Second" strikes a balance, offering frequent persistence while minimizing the performance overhead.
-
Click on Update Cluster. This could take up to 30 minutes to apply.
Click Check my progress to verify the objective.
Enable persistence in the Redis cluster.
Task 3. Scale Out the Cluster
Memorystore for Redis Cluster provides one click or one command scale-in or scale-out support. Google invested heavily in the engine, adding enhancements above and beyond what OSS Redis offers, to ensure that these scaling commands are non-disruptive and cause zero downtime.
-
Navigate to the SSH terminal window for the redis-client instance.
-
Run the following command to run RedisSim with 500 clients:
RedisSim --server $MEMORYSTORE_HOST --port $MEMORYSTORE_PORT --clients 500 --cluster stringfill --string-count 100000000 --prefix hi
You will now scale out the Redis cluster to 10 shards while the RedisSim is running.
-
From the Navigation menu, select Memorystore. Select the redis-cluster instance.
-
Under Configurations, next to Shards, click on the Edit button.
- Increase the number of shards to
10 and click on Update Cluster. This could take up to 30 minutes to apply.
This demonstrates how you can easily scale out the Redis cluster to accommodate increased workloads while minimizing disruption to existing applications. If the load reduces in the future, you may scale in (reduce the number of shards) via the same interface to ensure that your cluster remains right-sized.
Click Check my progress to verify the objective.
Scale out the Redis cluster.
Congratulations!
Congratulations! In this lab, you explored Memorystore for Redis Cluster. You connected to the Redis cluster using a client application and performed basic operations like storing and retrieving data. You configured Redis data persistence to ensure durability in the event of unexpected outages or restarts. You scaled a Redis cluster to accommodate increased workloads while minimizing disruption to existing applications. You also scaled a Redis cluster to accommodate increased workloads without taking any downtime.
Google Cloud training and certification
...helps you make the most of Google Cloud technologies. Our classes include technical skills and best practices to help you get up to speed quickly and continue your learning journey. We offer fundamental to advanced level training, with on-demand, live, and virtual options to suit your busy schedule. Certifications help you validate and prove your skill and expertise in Google Cloud technologies.
Manual Last Updated March 31, 2025
Lab Last Tested July 18, 2024
Copyright 2025 Google LLC All rights reserved. Google and the Google logo are trademarks of Google LLC. All other company and product names may be trademarks of the respective companies with which they are associated.


