Points de contrôle
Build and Deploy the Application to Cloud Run
/ 100
Deploy a Streamlit App Integrated with Gemini Pro on Cloud Run
GSP1229

Overview
Gemini is a family of generative AI models developed by Google DeepMind that is designed for multimodal use cases. The Gemini API gives you access to the Gemini Pro Vision and Gemini Pro models. In this lab you will understand how to integrate Vertex AI Gemini API with applications and build and deploy the developed sample application on Google Cloud Run.
Vertex AI Gemini API
The Vertex AI Gemini API provides a unified interface for interacting with Gemini models. There are currently two models available in the Gemini API:
-
Gemini Pro model (
gemini-pro): Designed to handle natural language tasks, multiturn text and code chat, and code generation. -
Gemini Pro Vision model (
gemini-pro-vision): Supports multimodal prompts. You can include text, images, and video in your prompt requests and get text or code responses.
You can interact with the Gemini API using the following methods:
- Use the Vertex AI Studio for quick testing and command generation
- Use cURL commands
- Use the Vertex AI SDK
This lab focuses on integrating the Gemini Pro model with a Streamlit application and deploying the application on Google Cloud Run.
For more information, see the Generative AI on Vertex AI documentation.
Objectives
In this lab, you will learn how to:
- Integrate Vertex AI Gemini API with applications
- Build and deploy the developed sample application on Google Cloud Run
- Use the Streamlit framework to build a Cloud Run application
Setup and requirements
Before you click the Start Lab button
Read these instructions. Labs are timed and you cannot pause them. The timer, which starts when you click Start Lab, shows how long Google Cloud resources will be made available to you.
This hands-on lab lets you do the lab activities yourself in a real cloud environment, not in a simulation or demo environment. It does so by giving you new, temporary credentials that you use to sign in and access Google Cloud for the duration of the lab.
To complete this lab, you need:
- Access to a standard internet browser (Chrome browser recommended).
- Time to complete the lab---remember, once you start, you cannot pause a lab.
How to start your lab and sign in to the Google Cloud console
-
Click the Start Lab button. If you need to pay for the lab, a pop-up opens for you to select your payment method. On the left is the Lab Details panel with the following:
- The Open Google Cloud console button
- Time remaining
- The temporary credentials that you must use for this lab
- Other information, if needed, to step through this lab
-
Click Open Google Cloud console (or right-click and select Open Link in Incognito Window if you are running the Chrome browser).
The lab spins up resources, and then opens another tab that shows the Sign in page.
Tip: Arrange the tabs in separate windows, side-by-side.
Note: If you see the Choose an account dialog, click Use Another Account. -
If necessary, copy the Username below and paste it into the Sign in dialog.
{{{user_0.username | "Username"}}} You can also find the Username in the Lab Details panel.
-
Click Next.
-
Copy the Password below and paste it into the Welcome dialog.
{{{user_0.password | "Password"}}} You can also find the Password in the Lab Details panel.
-
Click Next.
Important: You must use the credentials the lab provides you. Do not use your Google Cloud account credentials. Note: Using your own Google Cloud account for this lab may incur extra charges. -
Click through the subsequent pages:
- Accept the terms and conditions.
- Do not add recovery options or two-factor authentication (because this is a temporary account).
- Do not sign up for free trials.
After a few moments, the Google Cloud console opens in this tab.

Task 1. Run the Application Locally
In this section, you will run the Streamlit application locally in Cloud Shell.
Clone the Repository
-
Open a new Cloud Shell terminal by clicking on the Cloud Shell icon in the top right corner of the Cloud console.
-
Run the following commands to clone the repo and navigate to
gemini-streamlit-cloudrundirectory in Cloud Shell using the following commands.
To run the Streamlit Application, you will need to perform some additional steps.
Run the application
- Setup the Python virtual environment and install the dependencies:
- Your application requires access to two environment variables:
-
GCP_PROJECT: This the Google Cloud project ID. -
GCP_REGION: This is the region in which you are deploying your Cloud Run app. For e.g.us-central1.
These variables are needed since the Vertex AI initialization needs the Google Cloud project ID and the region. The specific code line from the app.py function is shown here: vertexai.init(project=PROJECT_ID, location=LOCATION)
In Cloud Shell, execute the following commands:
- To run the application locally, execute the following command.
Output:
-
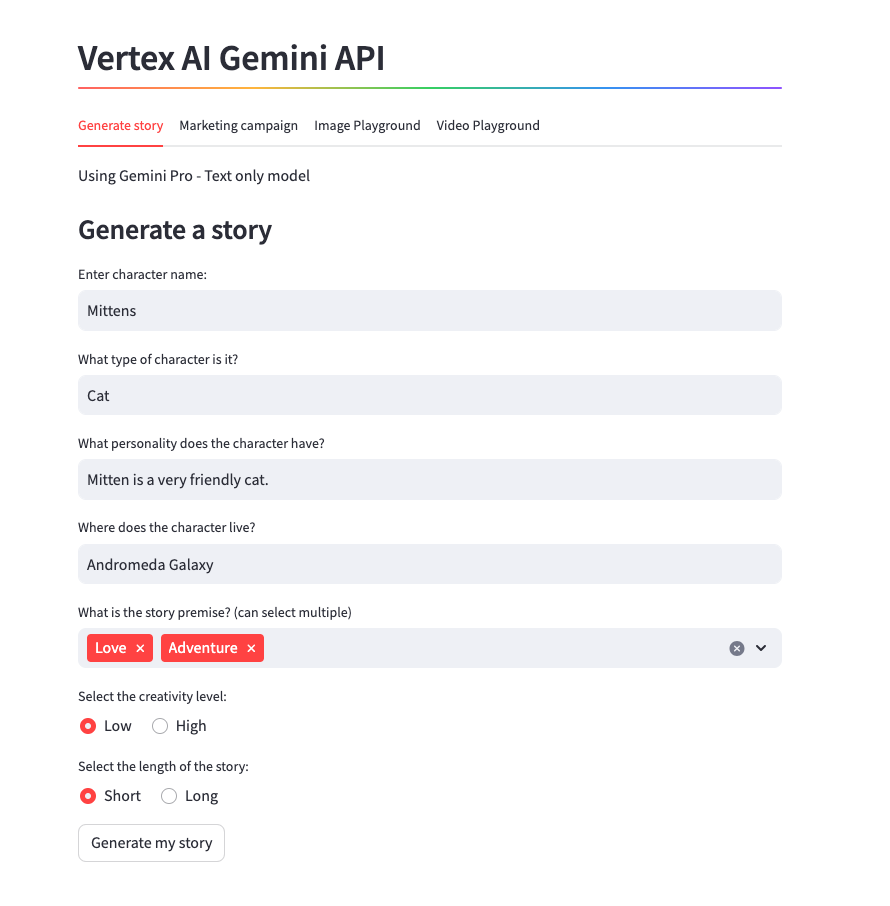
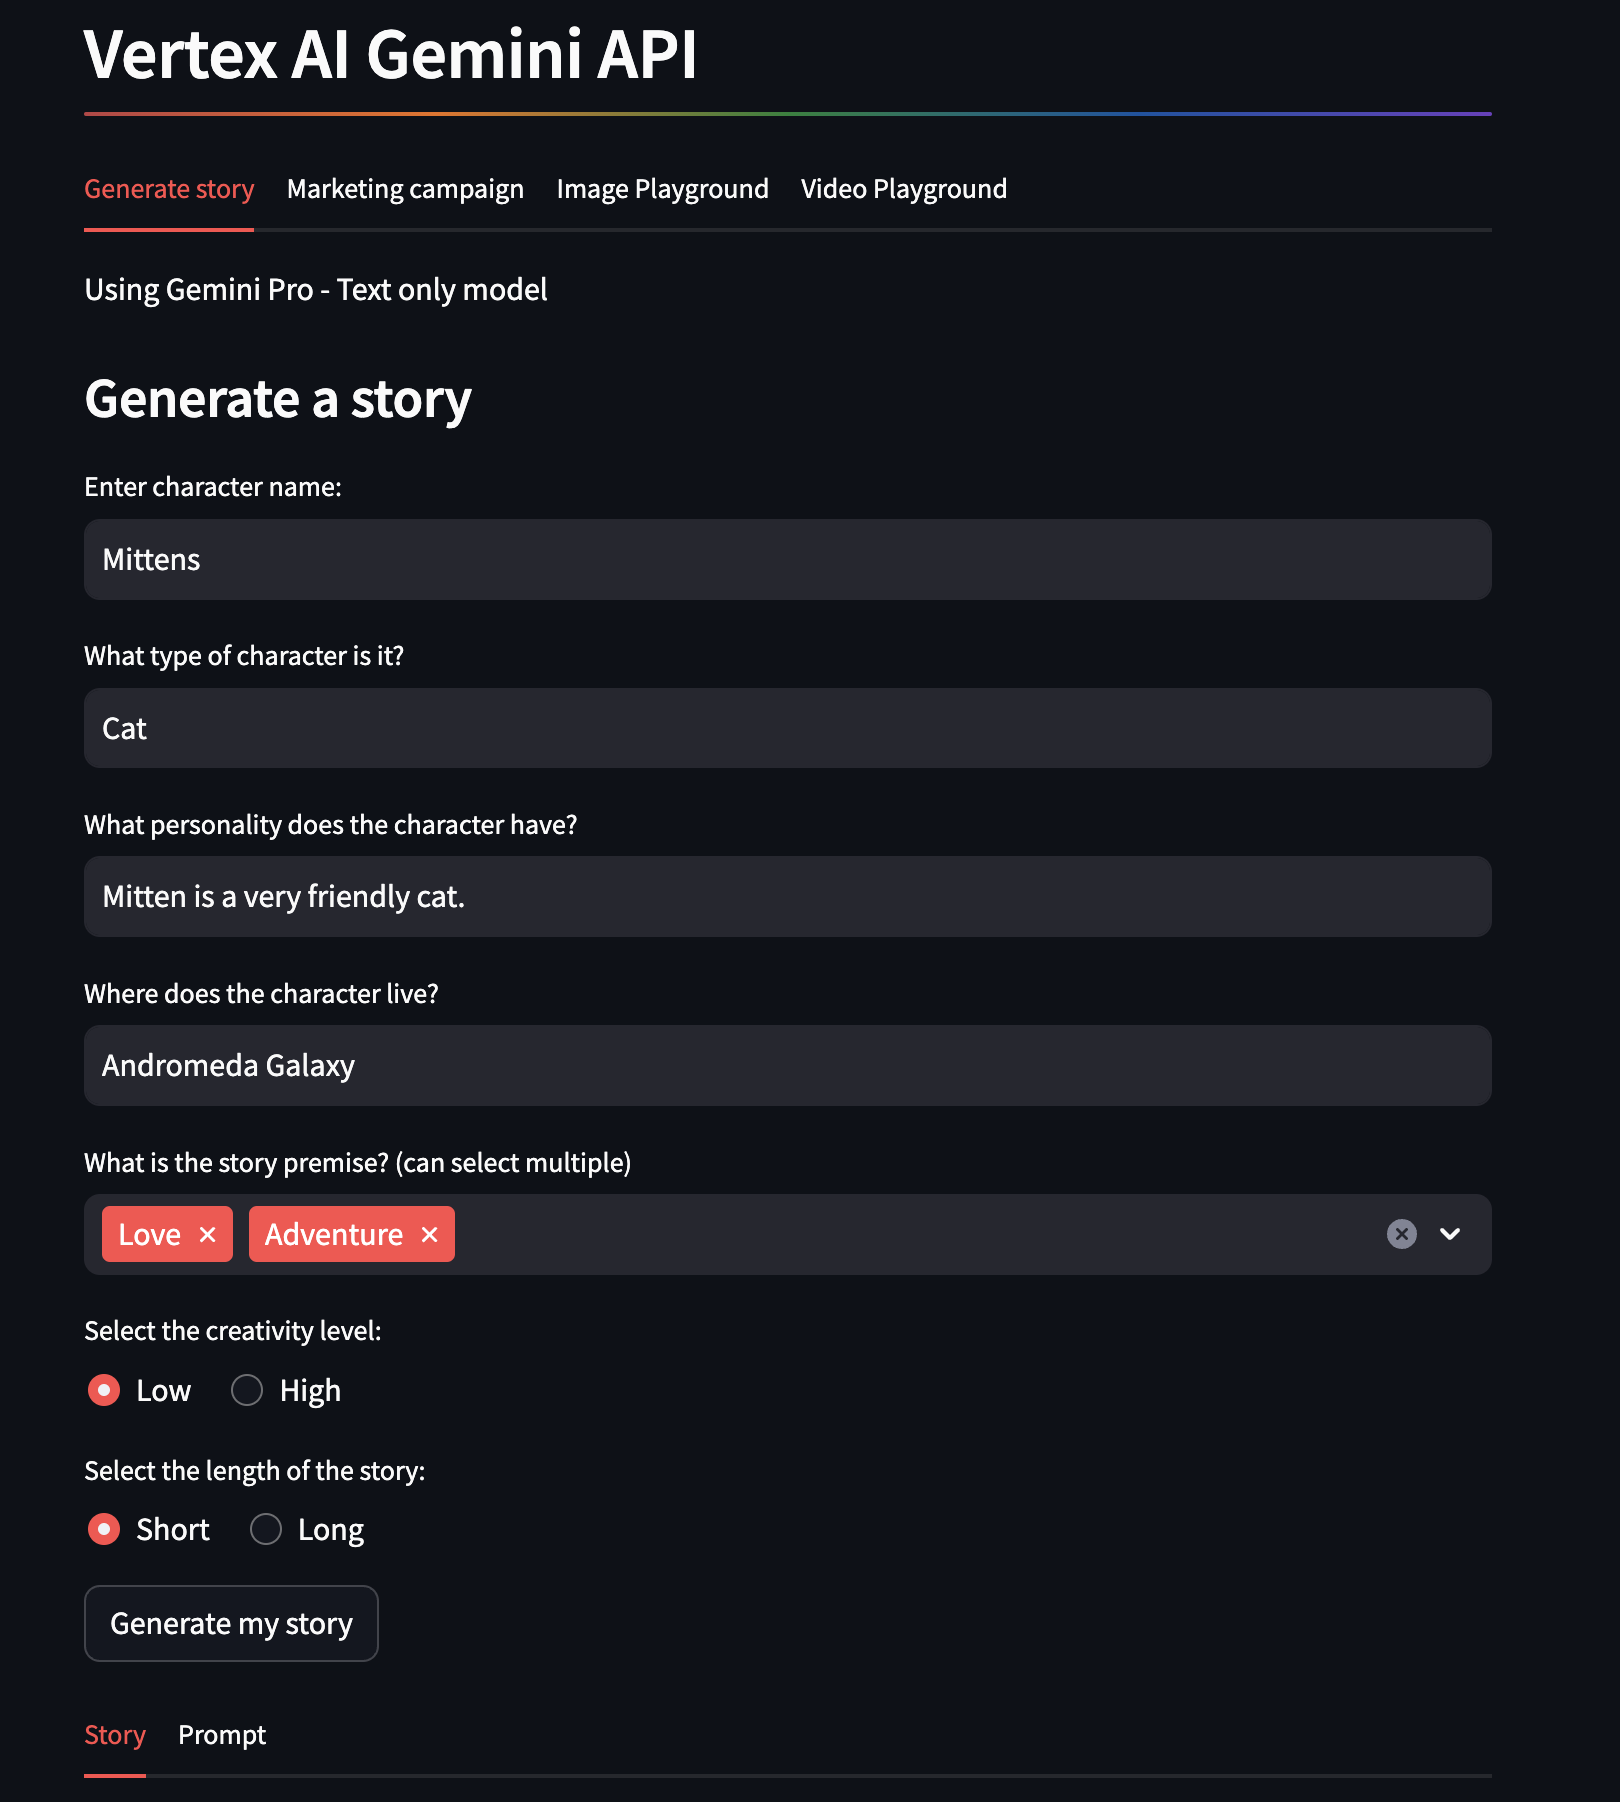
The application will startup and you will be provided a URL to the application. Click the link to view the application in the browser or use Cloud Shell's web preview function to launch the preview page.
-
Adjust the parameters for the story generation and click Generate my story.
-
Navigate back to Cloud Shell and authorize the application to access the Gemini API. Once you have authorized the application, you can navigate back to the application to see the response.
- After you have finished testing the application, you can stop the application by entering Ctrl + C in Cloud Shell.
Task 2. Build and Deploy the Application to Cloud Run
In this section, you will deploy the Streamlit Application in Cloud Run.
You will now build the Docker image for the application and push it to Artifact Registry. To do this, you will need one environment variable set that will point to the Artifact Registry name. The commands below will create this Artifact Registry repository for you.
- In Cloud Shell, execute the following command:
Output:
- The final step is to deploy the service in Cloud Run with the image that we had built and had pushed to the Artifact Registry in the previous step.
On successful deployment, you will be provided a URL to the Cloud Run service. You can visit that in the browser to view the Cloud Run application that you just deployed.
Output:
Choose the functionality that you would like to check out and the application will prompt the Vertex AI Gemini API and display the responses.
Click Check my progress to verify the objective.
Congratulations!
Congratulations! In this lab, you have learned how to integrate Vertex AI Gemini API with applications and build and deploy the developed sample application on Google Cloud Run.
Next steps / learn more
- Check out the Generative AI on Vertex AI documentation.
- Learn more about Generative AI on the Google Cloud Tech YouTube channel.
- Google Cloud Generative AI official repo
- Example Gemini notebooks
Google Cloud training and certification
...helps you make the most of Google Cloud technologies. Our classes include technical skills and best practices to help you get up to speed quickly and continue your learning journey. We offer fundamental to advanced level training, with on-demand, live, and virtual options to suit your busy schedule. Certifications help you validate and prove your skill and expertise in Google Cloud technologies.
Manual Last March 07, 2024
Lab Last Tested March 07, 2024
Copyright 2024 Google LLC All rights reserved. Google and the Google logo are trademarks of Google LLC. All other company and product names may be trademarks of the respective companies with which they are associated.