Checkpoints
Enable the Vertex AI API
/ 25
Extract the content of the image
/ 25
Create prompts with text
/ 25
Create conversations with chat prompt
/ 25
Get Started with Vertex AI Studio
GSP1154

Overview
Vertex AI is a comprehensive machine learning development platform that provides both predictive and generative AI capabilities. It allows you to train, evaluate, and deploy predictive machine learning models for forecasting purposes. Additionally, you can utilize the platform to discover, tune, and serve generative AI models to produce content.
Vertex AI Studio lets you quickly test and customize generative AI models so you can leverage their capabilities in your applications. It provides a variety of tools and resources including both UI (user interface) and coding examples that make it easy to start with generative AI, even if you don't have a background in machine learning.
This hands-on lab guides you through Vertex AI Studio, where you'll unlock the potential of cutting-edge generative AI models. You'll explore Gemini multimodal and use it to analyze images, design prompts, and generate conversations directly on the Google Cloud console. No need for API or Python SDKs - it's all accessible through the intuitive user interface.
Objectives
In this lab, you perform the following tasks:
- Analyze images with Gemini multimodal.
- Explore multimodal capabilities.
- Design prompts with free-form and structured mode.
- Generate conversations.
Setup and requirements
Before you click the Start Lab button
Read these instructions. Labs are timed and you cannot pause them. The timer, which starts when you click Start Lab, shows how long Google Cloud resources will be made available to you.
This hands-on lab lets you do the lab activities yourself in a real cloud environment, not in a simulation or demo environment. It does so by giving you new, temporary credentials that you use to sign in and access Google Cloud for the duration of the lab.
To complete this lab, you need:
- Access to a standard internet browser (Chrome browser recommended).
- Time to complete the lab---remember, once you start, you cannot pause a lab.
How to start your lab and sign in to the Google Cloud console
-
Click the Start Lab button. If you need to pay for the lab, a pop-up opens for you to select your payment method. On the left is the Lab Details panel with the following:
- The Open Google Cloud console button
- Time remaining
- The temporary credentials that you must use for this lab
- Other information, if needed, to step through this lab
-
Click Open Google Cloud console (or right-click and select Open Link in Incognito Window if you are running the Chrome browser).
The lab spins up resources, and then opens another tab that shows the Sign in page.
Tip: Arrange the tabs in separate windows, side-by-side.
Note: If you see the Choose an account dialog, click Use Another Account. -
If necessary, copy the Username below and paste it into the Sign in dialog.
{{{user_0.username | "Username"}}} You can also find the Username in the Lab Details panel.
-
Click Next.
-
Copy the Password below and paste it into the Welcome dialog.
{{{user_0.password | "Password"}}} You can also find the Password in the Lab Details panel.
-
Click Next.
Important: You must use the credentials the lab provides you. Do not use your Google Cloud account credentials. Note: Using your own Google Cloud account for this lab may incur extra charges. -
Click through the subsequent pages:
- Accept the terms and conditions.
- Do not add recovery options or two-factor authentication (because this is a temporary account).
- Do not sign up for free trials.
After a few moments, the Google Cloud console opens in this tab.

Enable the Vertex AI API
-
In the Google Cloud Console, enter Vertex AI API in the top search bar.
-
Click on the result for Vertex AI API under Marketplace & APIs.
-
Click Enable.
Click Check my progress to verify the objectives.
Task 1. Analyze images with Gemini multimodal
- In the Google Cloud console, navigate to Navigation menu (
)>Artificial Intelligence > Vertex AI> Vertex AI Studio> Overview.
You find four features: Multimodal, Language, Vision, and Speech. You focus on the first two in this lab.
- For Multimodal powered by Gemini, click Try Gemini.
-
Name your prompt as Image analysis.
-
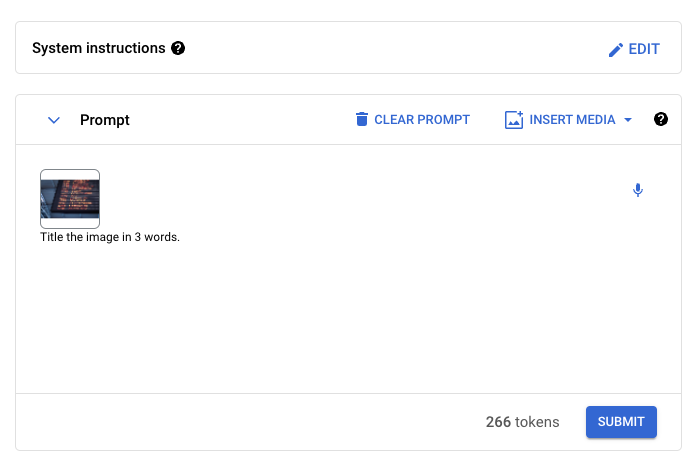
Download the sample image. Right click the timetable image and then save it to your desktop.
-
Generate a title for the image. Click Insert media > Upload from computer on top right and upload the timetable image. The media can be either images or videos.
-
Select
for the Region. -
Copy the following text and click Submit.

Or be more specific:
Does the title meet your expectations? Try to modify the prompt to see if you get different results.
- Describe the image. Replace the previous prompt with the following and click Submit.
- Tune the parameter. Adjust the temperature by scrolling from left (0) to right (1). Resubmit the prompt to observe any changes in the outcome compared to the previous result.
- Extract the text from the image. Replace the previous prompt with the following:
Further on, if you want to format the output to a list, replace the previous prompt with the following:
Your turn - try out some different prompts! How do these results differ from before?
- Analyze the information on the image. Replace the previous prompt with the following:
Does the result meet your expectations? You are highly encouraged to try different prompts for various tasks. You are also encouraged to experiment with different temperature settings to observe the changes in the result.
- Save the prompt. Once you finish the prompt design, save the prompt by clicking Save and if prompted to select the region select
from the dropdown and then confirm Save. To find your saved prompts, navigate to Multimodal>My prompts.
Click Check my progress to verify the objectives.
Task 2. Explore multimodal capabilities
In addition to images and text, Gemini multimodal is capable of accepting videos as inputs and generating text as an output.
-
Navigate to Cloud Storage > Bucket and copy the name of your Cloud Storage bucket and save it to use in the further step.
-
Click Activate Cloud shell, and run the command below to copy the sample video
gs://spls/gsp154/video/train.mp4(preview) to your Cloud Storage bucket.
- Again navigate to Vertex AI> Vertex AI Studio> Overview.
- For Multimodal powered by Gemini, click Try Gemini.
- Click Inset Media > Import from Cloud Storage.
- Click on your bucket name and then click on the sample video i.e.,
train.mp4and click Select. - Generate any information of the video by inserting your own prompt.
For example to get a title for the video copy the following and click Submit.
Multimodal powered by Gemini offers many capabilities such as writing stories from images, analyzing videos, and generating multimedia ads. Explore more multimodal use cases by clicking Multimodal>Sample Prompts. Check out more information about design multimodal prompts.
Task 3. Design prompts with free-form and structured mode
- Navigate back to the Vertex AI Studio > Overview page. Click Open for Language Powered by Gemini.
Create prompt
Create Prompt lets you design prompts for tasks relevant to your business use case including code generation.
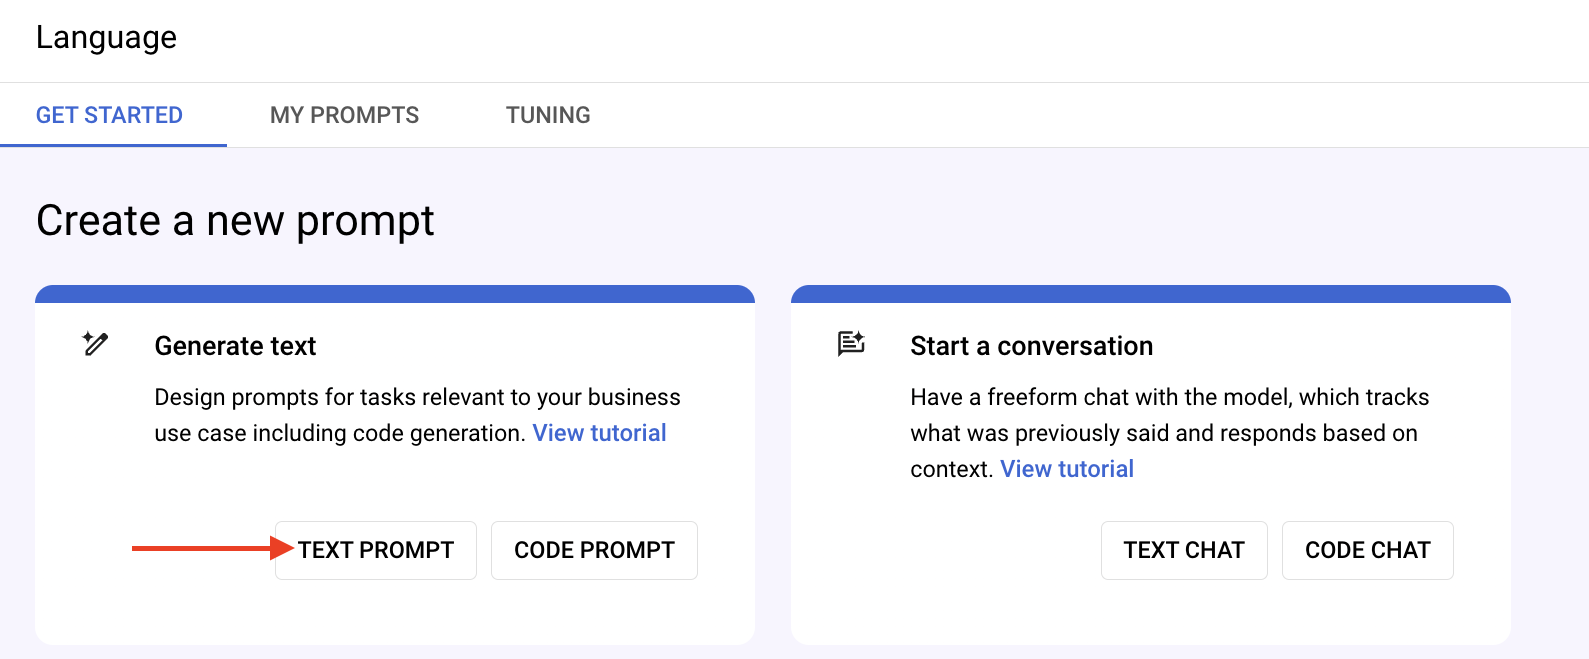
Click on the Text Prompt button as shown in the image below. The UI may differ slightly from this screenshot.
You can hover or click on ? buttons on the right side of the page to learn more about each field and parameter such as Temperature and Token limit.
Prompt design
You can feed your desired input text, e.g. a question, to the model. The model will then provide a response based on how you structured your prompt. The process of figuring out and designing the best input text (prompt) to get the desired response back from the model is called Prompt Design.
There is no best way to design the prompts yet. There are 3 methods you can use to shape the model's response:
- Zero-shot prompting - This is a method where the LLM is given only a prompt that describes the task and no additional data. For example, if you want the LLM to answer a question, you just prompt "what is prompt design?".
- One-shot prompting - This is a method where the LLM is given a single example of the task that it is being asked to perform. For example, if you want the LLM to write a poem, you might give it a single example poem.
- Few-shot prompting - This is a method where the LLM is given a small number of examples of the task that it is being asked to perform. For example, if you want the LLM to write a news article, you might give it a few news articles to read.
You may also notice the FREE-FORM and STRUCTURED tabs. Those are the two modes that you can use when designing your prompt.
- FREE-FORM - This mode provides a free and easy approach to design your prompt. It is suitable for small and experimental prompts with no additional examples. You will be using this to explore zero-shot prompting.
- STRUCTURED - This mode provides an easy-to-use template approach to prompt design. Context and multiple examples can be added to the prompt in this mode. This is especially useful for one-shot and few-shot prompting methods which you will be exploring later.
FREE-FORM mode
Try zero-shot prompting in FREE-FORM mode.
- Copy the following over to the prompt input field. Keep the current default model setting, which is Gemini Pro.
Note: The model name may change with the release of new models.
- Click on the SUBMIT button on the right side of the page.
The model will respond to a comprehensive definition of the term prompt gallery.
Here are some exploratory exercises to explore.
- adjust the
Output token limitparameter to1and click the SUBMIT button - adjust the
Output token limitparameter to1024and click the SUBMIT button - adjust the
Temperatureparameter to0.5and click the SUBMIT button - adjust the
Temperatureparameter to1.0and click the SUBMIT button
Inspect how the responses change as to change the parameters.
STRUCTURED mode
With STRUCTURED mode, you can design prompts in more organized ways. You can provide Context and Examples in their respective input fields. This is a good opportunity to learn one-shot and few-shot prompting.
In this section, you will ask the model to complete a sentence.
- Return to the Text Prompt window.
- At the top of the page, click on the STRUCTURED tab.
- Remove any text from the Context
- In the Test field, copy the following in Write an input field.
- Click on the SUBMIT button on the right side of the page.
Instead of completing the sentence, the model gave a full sentence as a response which is not what you wanted. Try to influence the model's response with one-shot prompting. This time around, add an example for the model to base its output from.
Under Examples field, do the following:
- Add this to the INPUT field:
- Add this to the OUTPUT field:
- Click on the SUBMIT button on the right side of the page.
You have successfully influenced the way the model produces response.
For the next practice, you will use the model to perform sentiment analysis on a sentence, such as determining whether a movie review is positive or negative.
- Return to the Text Prompt window.
- In the Examples field, delete the previous text for INPUT and OUTPUT for green grass.
- For Test field, copy the following prompt over to the Write an input field.
- Click on the SUBMIT button on the right side of the page.
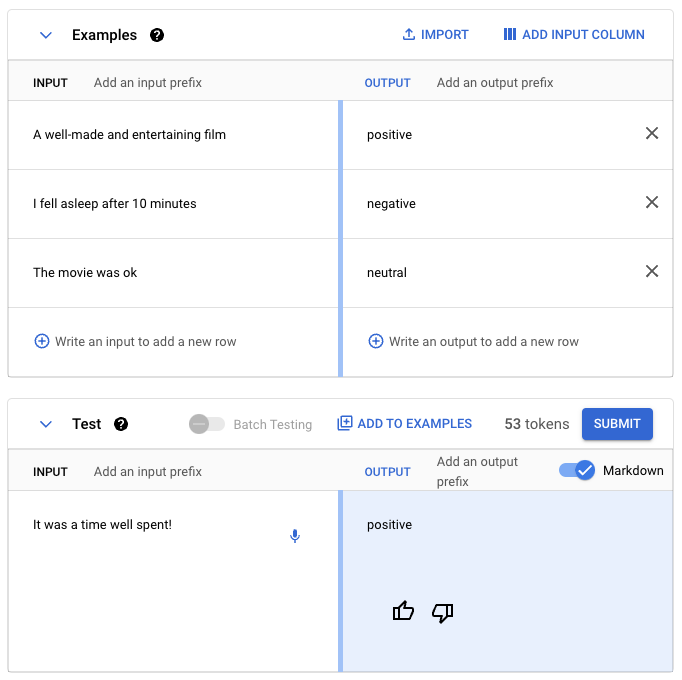
The model did not have enough information to know that you were asking it to do sentiment analysis. This can be improved by providing the model with a few examples of what you are looking for.
Try adding these examples as shown in the image below:
| INPUT | OUTPUT |
|---|---|
| A well-made and entertaining film | positive |
| I fell asleep after 10 minutes | negative |
| The movie was ok | neutral |
Then click on the SUBMIT button on the right side of the page.
The model now provides a sentiment for the input text. For the text It was a time well spent!, the sentiment is labeled as positive.
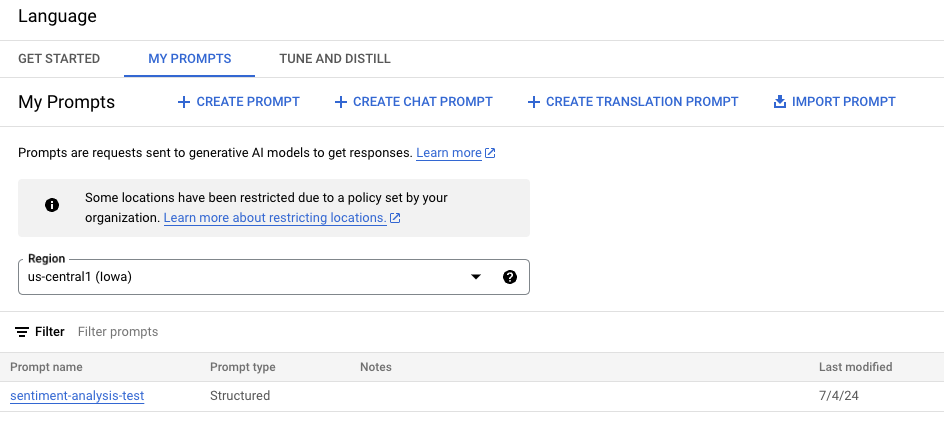
You can also save the newly designed prompt. To save the prompt, name the prompt any way you like, such as sentiment-analysis-test and click on Save button and then select the region
(If you encounter an error while saving, please click Retry )
The saved prompt will appear at the MY PROMPTS tab.
Click Check my progress to verify the objectives.
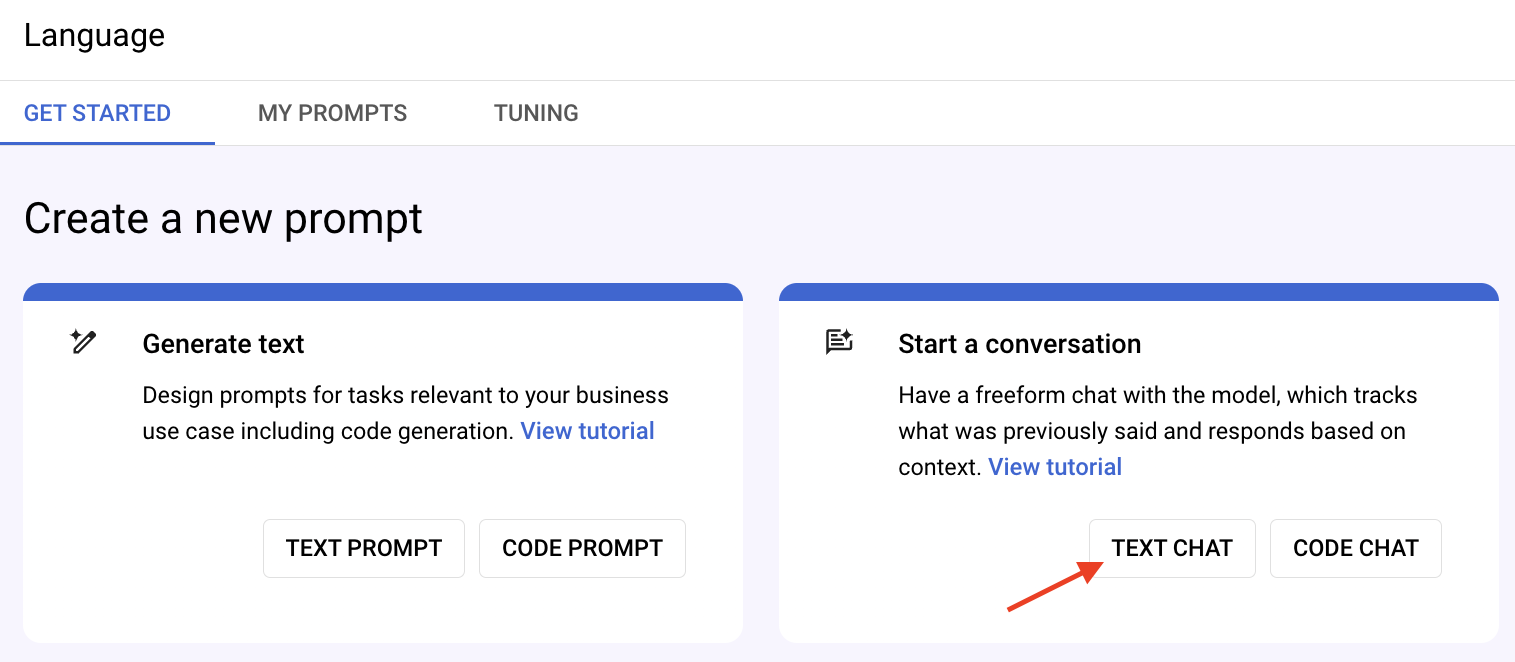
Task 4. Generate conversations
Create Chat Prompt lets you have a freeform chat with the model, which tracks what was previously said and responds based on context.
- Return to the Language page.
- Click on the TEXT CHAT button to create a new chat prompt.
- For Model, select gemini-1.5-flash-001.
For this section, you will add context to the chat and let the model respond based on the context provided.
- Then add the following context to the System instructions field by clicking the EDIT button.
- Add the following text to the chatbox under Responses.
- Press Enter key or click Send message (right arrow-head button).
The model would consider the provided additional context and answer the questions within the constraints.
- Name the prompt anyway you like and click on Save button and then select the region
of your lab. Click SAVE
Click Check my progress to verify the objectives.
Congratulations!
You learned how to analyze an image with multimodal, explore multimodal capabilities, create and test a prompt, and generate a conversation. You have taken the first step to start your journey using Vertex AI Studio and Gemini multimodal!
Google Cloud training and certification
...helps you make the most of Google Cloud technologies. Our classes include technical skills and best practices to help you get up to speed quickly and continue your learning journey. We offer fundamental to advanced level training, with on-demand, live, and virtual options to suit your busy schedule. Certifications help you validate and prove your skill and expertise in Google Cloud technologies.
Manual Last Updated July 15, 2024
Lab Last Tested May 22, 2024
Copyright 2024 Google LLC All rights reserved. Google and the Google logo are trademarks of Google LLC. All other company and product names may be trademarks of the respective companies with which they are associated.