Checkpoints
Open and copy a sample spreadsheet
/ 25
Import and convert old spreadsheets to Sheets
/ 25
Customize your spreadsheet
/ 25
Share a link to a file or folder
/ 25
Google Sheets: Getting Started
GSP469

Overview
Google Sheets is a cloud-based application that provides advanced, fast, online spreadsheets. Designed with collaboration and convenience in mind, you can analyze data with charts and filters, handle task lists, create project plans, and more with your team from any online device. All changes are saved automatically and in one place. Use Google Sheets to create, edit, and collaborate wherever you are.
What you'll learn
In this lab, you use Sheets to do the following:
- Create, update, and customize a spreadsheet
- Analyze data
- Share a spreadsheet
- Access other apps from a spreadsheet
Setup and requirements
Before you click the Start Lab button
Read these instructions. Labs are timed and you cannot pause them. The timer, which starts when you click Start Lab, shows how long Google Cloud resources will be made available to you.
This hands-on lab lets you do the lab activities yourself in a real cloud environment, not in a simulation or demo environment. It does so by giving you new, temporary credentials that you use to sign in and access Google Cloud for the duration of the lab.
To complete this lab, you need:
- Access to a standard internet browser (Chrome browser recommended).
- Time to complete the lab---remember, once you start, you cannot pause a lab.
Start your lab
When you are ready, click Start Lab in the upper left panel.
Find your lab's User Email and Password
To access the resources and console for this lab, locate the User Email and Password in the left panel. These are the credentials you use to log in to Google Drive.
If your lab requires other resource identifiers or connection-related information, these will also appear on this panel.
Sign in to Google Sheets
- Click Open Google Sheets
Tip: Open the tabs in separate windows, side-by-side.
-
Notice the User Email field has been pre-filled. Click Next.
-
Enter the Password and click Next.
-
Accept all terms and conditions as prompted.
Google Sheets opens and you are signed in to your Student Google Account.
Task 1. Open a sample spreadsheet
To open a sample spreadsheet:
-
Click Explore this data to open a sample spreadsheet.
-
Make a copy. Select File > Make a copy.
-
Leave the Name and Folder fields at the default values and click Make a copy.
Click Check my progress to verify the objective.
Export data
Export the spreadsheet data to your local device to use later in this lab.
- Select File > Download > Comma-separated values (.csv).
- Close the browser tab to close this spreadsheet.
- Also close the original
Explore this data (budget request by department)spreadsheet if it is still open.
Only these lab instructions and Sheets are open in the remaining browser tabs or windows.
- Find the .csv file you downloaded to your local computer and rename it
exported-data.
Task 2. Import a spreadsheet
You can easily import data from other spreadsheets and convert into Sheets.
In this section you import the data file you exported earlier, exported-data.csv to your Drive, and then open the file with Sheets to create a new spreadsheet.
-
Open Google Drive in a new browser tab.
-
In the upper left corner, click New > File Upload.
-
Choose
exported-data.csvfrom your computer to add it to Drive.
Alternatively, you can drag the csv file from your local computer to your Drive.
- To convert
exported-data.csvto a Google Sheet:
- In Drive, right-click
exported-data.csv. - Select Open with and choose Google Sheets.
When you import or convert a spreadsheet, Sheets creates a copy of the original file in Sheets format. You can then edit the new file in your browser as you would with any other Sheet.
Have other types of spreadsheets? If so, try importing it to Drive and converting it to a Google Sheet.
If you upload a Microsoft® Excel® spreadsheet into Drive, you can also update them without converting to Sheets.
Click Check my progress to verify the objective.
Task 3. Create a spreadsheet
In this section, you learn how to:
- Enter and edit your data
- Customize your spreadsheet
- Work with rows, columns, and cells
- Work with multiple sheets
Create a new spreadsheet
-
Go back to the MyDrive browser tab.
-
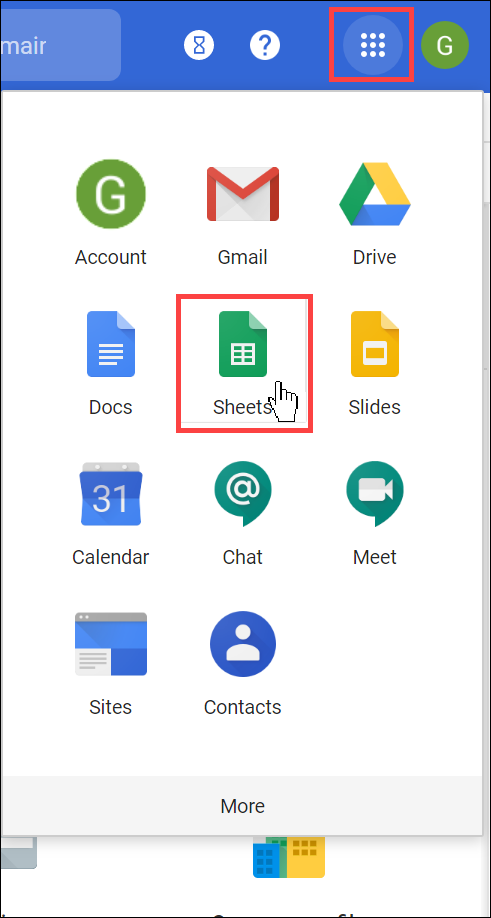
Click on the Google apps icon and select Google Sheets.
- In the Start a new spreadsheet section, click the plus sign to create a blank template.
Enter and edit your data
- Rename your spreadsheet: click Untitled spreadsheet and enter
important-data. - Enter a header row and data: click a cell, type content, and then press Enter or click outside of the cell.
An example spreadsheet:
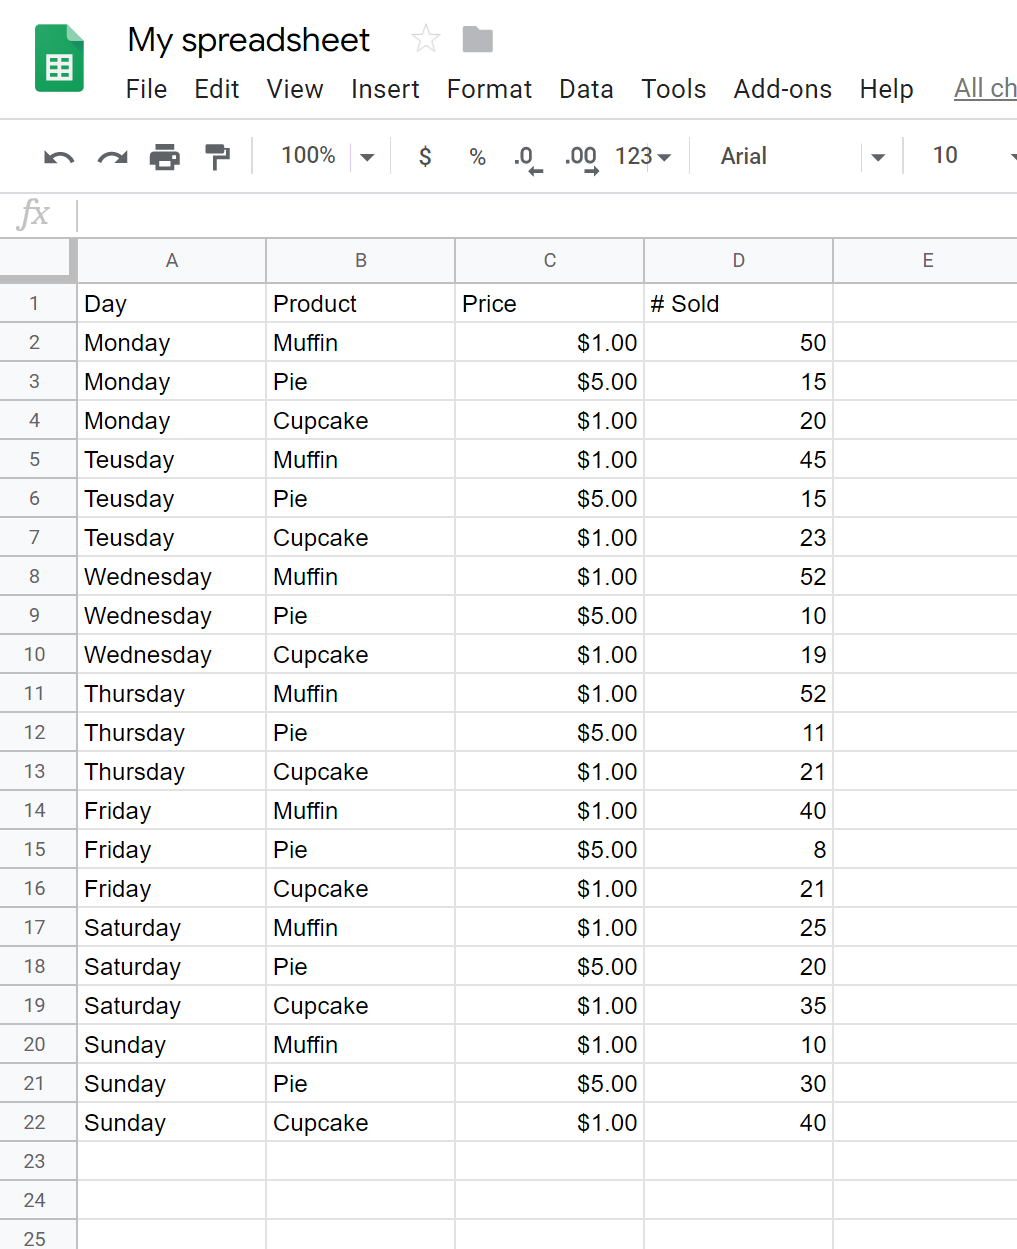
Notice in the example spreadsheet above, the numbers in column C have a currency format applied. To do this you would:
- Select the C column.
- Choose Format > Number > Currency from the menu bar.
- Insert more items, click Insert and experiment by adding charts, images, drawings, functions, notes, and more.
- (Optional) Use the Explore feature to analyze your spreadsheet.
- Experiment with analysis suggestions.
- Can you put a pie chart in your spreadsheet?
Customize your spreadsheet
Experiment with the spreadsheet you made in the last section. Select cells in your spreadsheet and then format them using the toolbar options.
Work with rows, columns, and cells
- Add rows, columns, and cells — Select a cell or block of cells. Then, on the menu bar, click Insert and choose where to add the row column, or cells.
- Delete or hide rows and columns — Right-click the row number or column letter and select Delete or Hide.
- Delete a cell or a block of cells — Select the cells you want to delete. Click Edit > Delete cells and shift up, or Edit > Delete cells and shift left.
- Move rows and columns — Click the row number or column letter to select it. Then, drag it to a new location.
- Freeze header rows and columns — Keep some data in the same place as you scroll through the rest of your spreadsheet. On the menu bar, click View > Freeze and choose an option.
Work with multiple sheets
Rename a sheet:
- At the bottom of your spreadsheet, double-click
Sheet1. - When you see it highlighted, rename it Overview.
Add a sheet:
- At the bottom left of your spreadsheet, click Add Sheet (+) to add another sheet.
- Name this sheet
Detail.
Copy a sheet:
- At the bottom of your spreadsheet, click the down arrow of
Detail. - Select Duplicate.
Delete a sheet:
- At the bottom of your spreadsheet, click the down arrow of
Copy of Detail. Select Delete. - Click OK to confirm.
Click Check my progress to verify the objective.
Task 4. Share and collaborate
Share your spreadsheet with your team or people outside your company. When you collaborate, people can make changes at the same time, and you can see their changes as they happen.
In this section, you learn how to:
- Share spreadsheets
- Unshare spreadsheets
- Add comments and replies
- Chat with people directly
Share spreadsheets
Share a file or folder with specific people:
You can only share files that you own or have edit access to.
- Using the same
important-datafile, in Sheets, in the upper right, select Share. - Under Share with people and groups, enter the email address of the person or group you want to share with.
- Click Editor (on the right) and choose the access level:
- Editor: Collaborators can add and edit content as well as add comments.
- Commenter (Select files only): Collaborators can add comments, but can't edit content.
- Viewer: People can view the file, but cannot edit or add comments.
- Click Send.
Everyone you share with receives an email with a link to the file or folder.
- (Optional) To add a note to the email, enter your note. To skip sending an email, uncheck the Notify people box.
Share a link to a file or folder:
Send other people a link to a file or folder so that anyone with the link can open it. When you share a link, your name appears as the owner.
You can only share files that you own or have edit access to.
- In Sheets, in the upper right, select Share.
- Click Restricted and select Qwiklabs.
- Click Viewer (to the right of Qwiklabs) and choose the access level:
- Editor: Collaborators can add and edit content as well as add comments.
- Commenter (Select files only): Collaborators can add comments, but can't edit content.
- Viewer: People can view the file, but not edit or add comments.
- Click Copy link.
- Click Done.
- You can now paste the link in an email or any place you want to share it.
Click Check my progress to verify the objective.
Unshare spreadsheets
Stop sharing a file or folder you own:
- In Drive, select the shared file or folder.
- Right-click on the file and select Share.
- If you had successfully shared the file to a person in the previous step, click the access level (i.e. Editor, Viewer, Commenter) next to the person you want to stop sharing the file or folder with and click Remove.
- Click Save changes.
Delete a link to a file or folder you own:
When you delete a link to a file or folder that you own, the only people who can still see it are you and anyone you share it with.
- In Drive, right-click on a file or folder and select Share.
- Click Qwiklabs and select Restricted.
- Click Done.
Add comments and replies
- In an open spreadsheet, select a cell or cells you'd like to comment on.
- Do one of the following:
- Click the comment icon
in the formatting bar at the top.
- Right click on the cell or cells and click Comment.
- Enter your comment in the box.
- (Optional) To direct your task or comment to a specific person, enter an At Sign (@) followed by their email address. You can add as many people as you want. Each person will get an email with your comment and a link to the file.
- (Optional) To assign the comment to a specific person, check the Assign to box.
- Click Comment or Assign.
Chat with people directly with Google Chat (information only)
You can collaborate in real time over Google Chat, too. If more than one person has your spreadsheet open, just click Show chat to open a group chat.
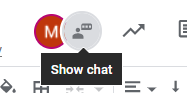
You can get instant feedback without ever leaving your spreadsheet.
Present your spreadsheet directly from Google Meet (information only)
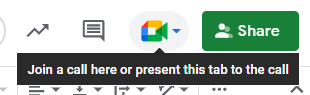
To discuss your spreadsheet with team members, open Google Meet directly from Sheets to present and discuss your data. Click Join a call here or present this tab to a call to start or join a meeting.
Congratulations!
You learned Google Sheet basics! You imported and created a spreadsheet, entered and shared data, and reviewed how to chat with collaborators.
Next steps / Learn more
- See the handy Googel Sheets cheat sheet.
- Look like a pro when you know all the Googel Workspace keyboard shortcuts.
- Did you know you could do this? See 21 Awesome Things Google Sheets Can Do – Tips & Tricks.
- See the Productivity Guides for what else you can do with Sheets.
- Google Workspace Learning Center
Google Cloud training and certification
...helps you make the most of Google Cloud technologies. Our classes include technical skills and best practices to help you get up to speed quickly and continue your learning journey. We offer fundamental to advanced level training, with on-demand, live, and virtual options to suit your busy schedule. Certifications help you validate and prove your skill and expertise in Google Cloud technologies.
Manual Last Updated February 27, 2024
Lab Last Tested February 26, 2024
Copyright 2024 Google LLC All rights reserved. Google and the Google logo are trademarks of Google LLC. All other company and product names may be trademarks of the respective companies with which they are associated.