


Before you begin
- Labs create a Google Cloud project and resources for a fixed time
- Labs have a time limit and no pause feature. If you end the lab, you'll have to restart from the beginning.
- On the top left of your screen, click Start lab to begin
Build Docker image
/ 100
Container virtualization is a fast evolving technology, which aims to simplify the deployment and management of distributed applications. When people discuss containers, they usually mean Linux-based containers. This makes sense, because native Linux kernel features like cgroups introduced the idea of resource isolation, eventually leading to containers as we know them today. Until recently, only Linux processes could be containerized, but Microsoft introduced support for Windows-based containers in Windows Server 2016 and Windows 10.
You can take an existing Windows application, containerize it using Docker, and run it as an isolated container on Windows. There are two flavors of Windows containers: Windows Server and Hyper-V. You can build Windows containers on either the microsoft/windowsservercore and microsoft/nanoserver base images. You can read more about Windows containers in the Microsoft Windows containersdocumentation.
Google Cloud provides container-optimized VM images on which to run containers on Compute Engine. There is also a Windows VM image for containers. It comes with Docker, microsoft/windowsservercore, and microsoft/nanoserver base images installed.
In this lab you will create a container app and deploy the container app to Compute Engine.
Read these instructions. Labs are timed and you cannot pause them. The timer, which starts when you click Start Lab, shows how long Google Cloud resources are made available to you.
This hands-on lab lets you do the lab activities in a real cloud environment, not in a simulation or demo environment. It does so by giving you new, temporary credentials you use to sign in and access Google Cloud for the duration of the lab.
To complete this lab, you need:
Click the Start Lab button. If you need to pay for the lab, a dialog opens for you to select your payment method. On the left is the Lab Details pane with the following:
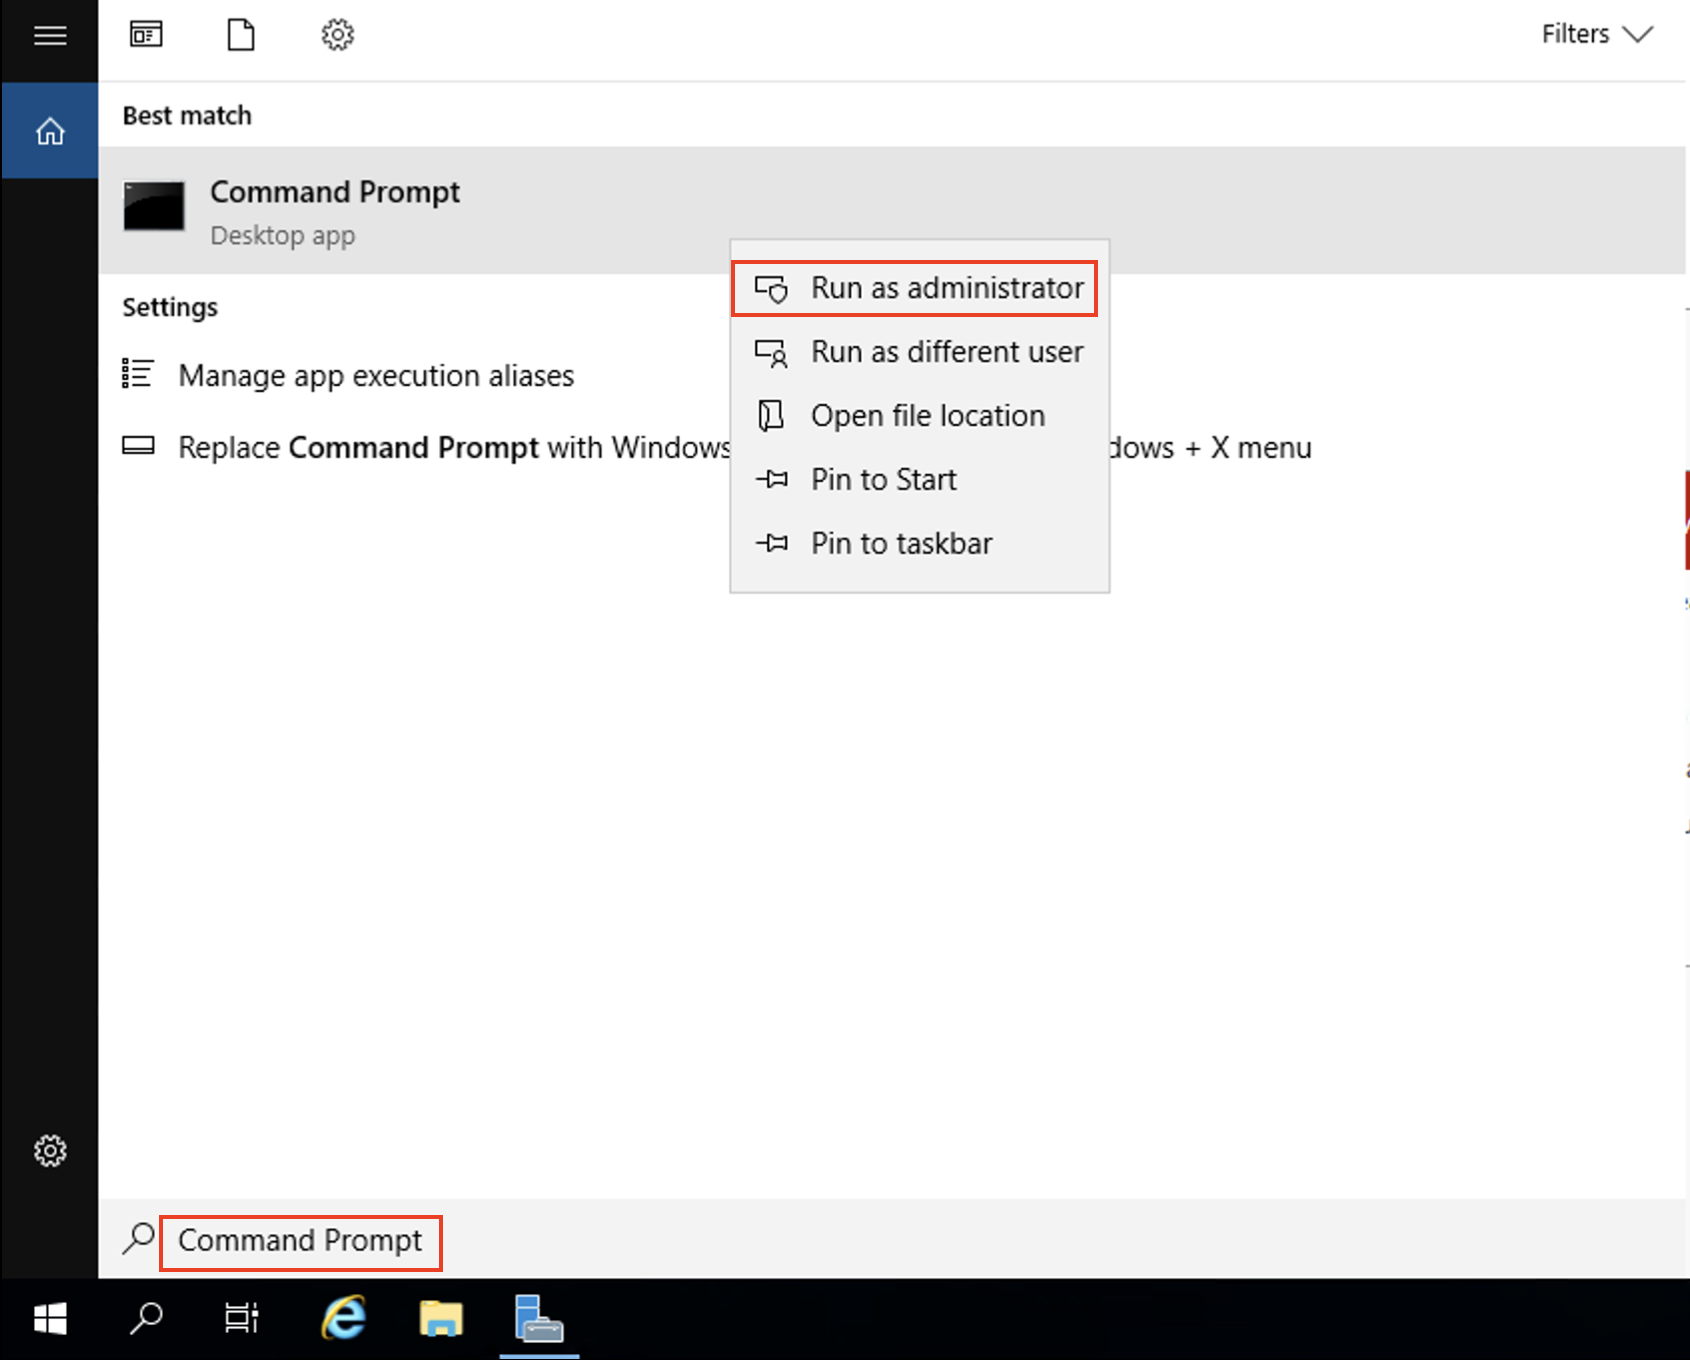
Click Open Google Cloud console (or right-click and select Open Link in Incognito Window if you are running the Chrome browser).
The lab spins up resources, and then opens another tab that shows the Sign in page.
Tip: Arrange the tabs in separate windows, side-by-side.
If necessary, copy the Username below and paste it into the Sign in dialog.
You can also find the Username in the Lab Details pane.
Click Next.
Copy the Password below and paste it into the Welcome dialog.
You can also find the Password in the Lab Details pane.
Click Next.
Click through the subsequent pages:
After a few moments, the Google Cloud console opens in this tab.

From the Navigation menu click on Compute Engine. Here you'll see a Windows VM provisioned for you.
Click the RDP button next to the windows-instance instance or you can use any Remote Desktop client Tools (or use your own RDP client if you like).
User name |
demouser |
Password |
P@ssw0rd |
Output:
Once you are securely logged into your instance, you may find yourself copying and pasting commands from the lab manual.
To paste, hold the CTRL-V keys (if you are a Mac user, using CMND-V will not work.) If you are in a Powershell window, be sure that you have clicked into the window or else the paste shortcut won't work.
If you are pasting into putty, right click.
For the app inside the Windows container, use an IIS Web Server. IIS has an image for Windows Server 2019. You can use the image as is and it will serve the default IIS page, but fot this lab, do something more interesting and have IIS serve a page you define.
Your folder and file structure should look like:
my-windows-app and enter into the directory:content, a file named index.html within it:index.html:index.html
This is the page IIS will serve.
You're using the IIS Container image version compatible with Windows Server 2019.
Save the Dockerfile.
Build the Docker image and tag it with Google Container Registry (GCR) and your project id. This will be useful when we push the image to GCR later:
Once the Docker image is built, you can see it along with its IIS dependency:
Sample output:
Click Check my progress to verify the objective.
You're now ready to run the Windows container.
Sample output:
To see the web page, grab the External IP from of Compute Engine instance in Cloud Console, and simply open it with HTTP (not https) in the browser (click Continue if prompted by the browser):
Type exit to leave the VM.
Close the RDP window by clicking the X in the top right corner and confirm that you want to be disconnected.
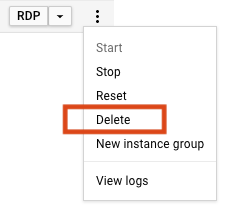
When you are done with experimenting with Windows containers, it is a good idea to either stop or delete the VM you created.
In this lab, you learned how to create a Windows Server VM for containers on Compute Engine, create a HelloWorld Windows container app, containerize the app using Docker, and run the Windows container app on Compute Engine.
...helps you make the most of Google Cloud technologies. Our classes include technical skills and best practices to help you get up to speed quickly and continue your learning journey. We offer fundamental to advanced level training, with on-demand, live, and virtual options to suit your busy schedule. Certifications help you validate and prove your skill and expertise in Google Cloud technologies.
Manual last updated July 1, 2025
Lab last tested July 1, 2025
Copyright 2025 Google LLC. All rights reserved. Google and the Google logo are trademarks of Google LLC. All other company and product names may be trademarks of the respective companies with which they are associated.


This content is not currently available
We will notify you via email when it becomes available

Great!
We will contact you via email if it becomes available

One lab at a time
Confirm to end all existing labs and start this one