

시작하기 전에
- 실습에서는 정해진 기간 동안 Google Cloud 프로젝트와 리소스를 만듭니다.
- 실습에는 시간 제한이 있으며 일시중지 기능이 없습니다. 실습을 종료하면 처음부터 다시 시작해야 합니다.
- 화면 왼쪽 상단에서 실습 시작을 클릭하여 시작합니다.
Create Cloud Composer environment
/ 5
Create a Cloud Storage bucket
/ 5
Uploading the DAG to Cloud Storage
/ 5
Workflows are a common theme in data analytics - they involve ingesting, transforming, and analyzing data to figure out the meaningful information within. In Google Cloud Platform (GCP), the tool for hosting workflows is Cloud Composer which is a hosted version of the popular open source workflow tool Apache Airflow.
In this lab, you use the GCP Console to set up a Cloud Composer environment. You then use Cloud Composer to go through a simple workflow that verifies the existence of a data file, creates a Cloud Dataproc cluster, runs an Apache Hadoop wordcount job on the Cloud Dataproc cluster, and deletes the Cloud Dataproc cluster afterwards.
Use GCP Console to create the Cloud Composer environment
View and run the DAG (Directed Acyclic Graph) in the Airflow web interface
View the results of the wordcount job in storage.
For each lab, you get a new Google Cloud project and set of resources for a fixed time at no cost.
Sign in to Qwiklabs using an incognito window.
Note the lab's access time (for example, 1:15:00), and make sure you can finish within that time.
There is no pause feature. You can restart if needed, but you have to start at the beginning.
When ready, click Start lab.
Note your lab credentials (Username and Password). You will use them to sign in to the Google Cloud Console.
Click Open Google Console.
Click Use another account and copy/paste credentials for this lab into the prompts.
If you use other credentials, you'll receive errors or incur charges.
Accept the terms and skip the recovery resource page.
Cloud Shell is a virtual machine that contains development tools. It offers a persistent 5-GB home directory and runs on Google Cloud. Cloud Shell provides command-line access to your Google Cloud resources. gcloud is the command-line tool for Google Cloud. It comes pre-installed on Cloud Shell and supports tab completion.
Click the Activate Cloud Shell button (
Click Continue.
It takes a few moments to provision and connect to the environment. When you are connected, you are also authenticated, and the project is set to your PROJECT_ID.
(Output)
(Example output)
(Output)
(Example output)
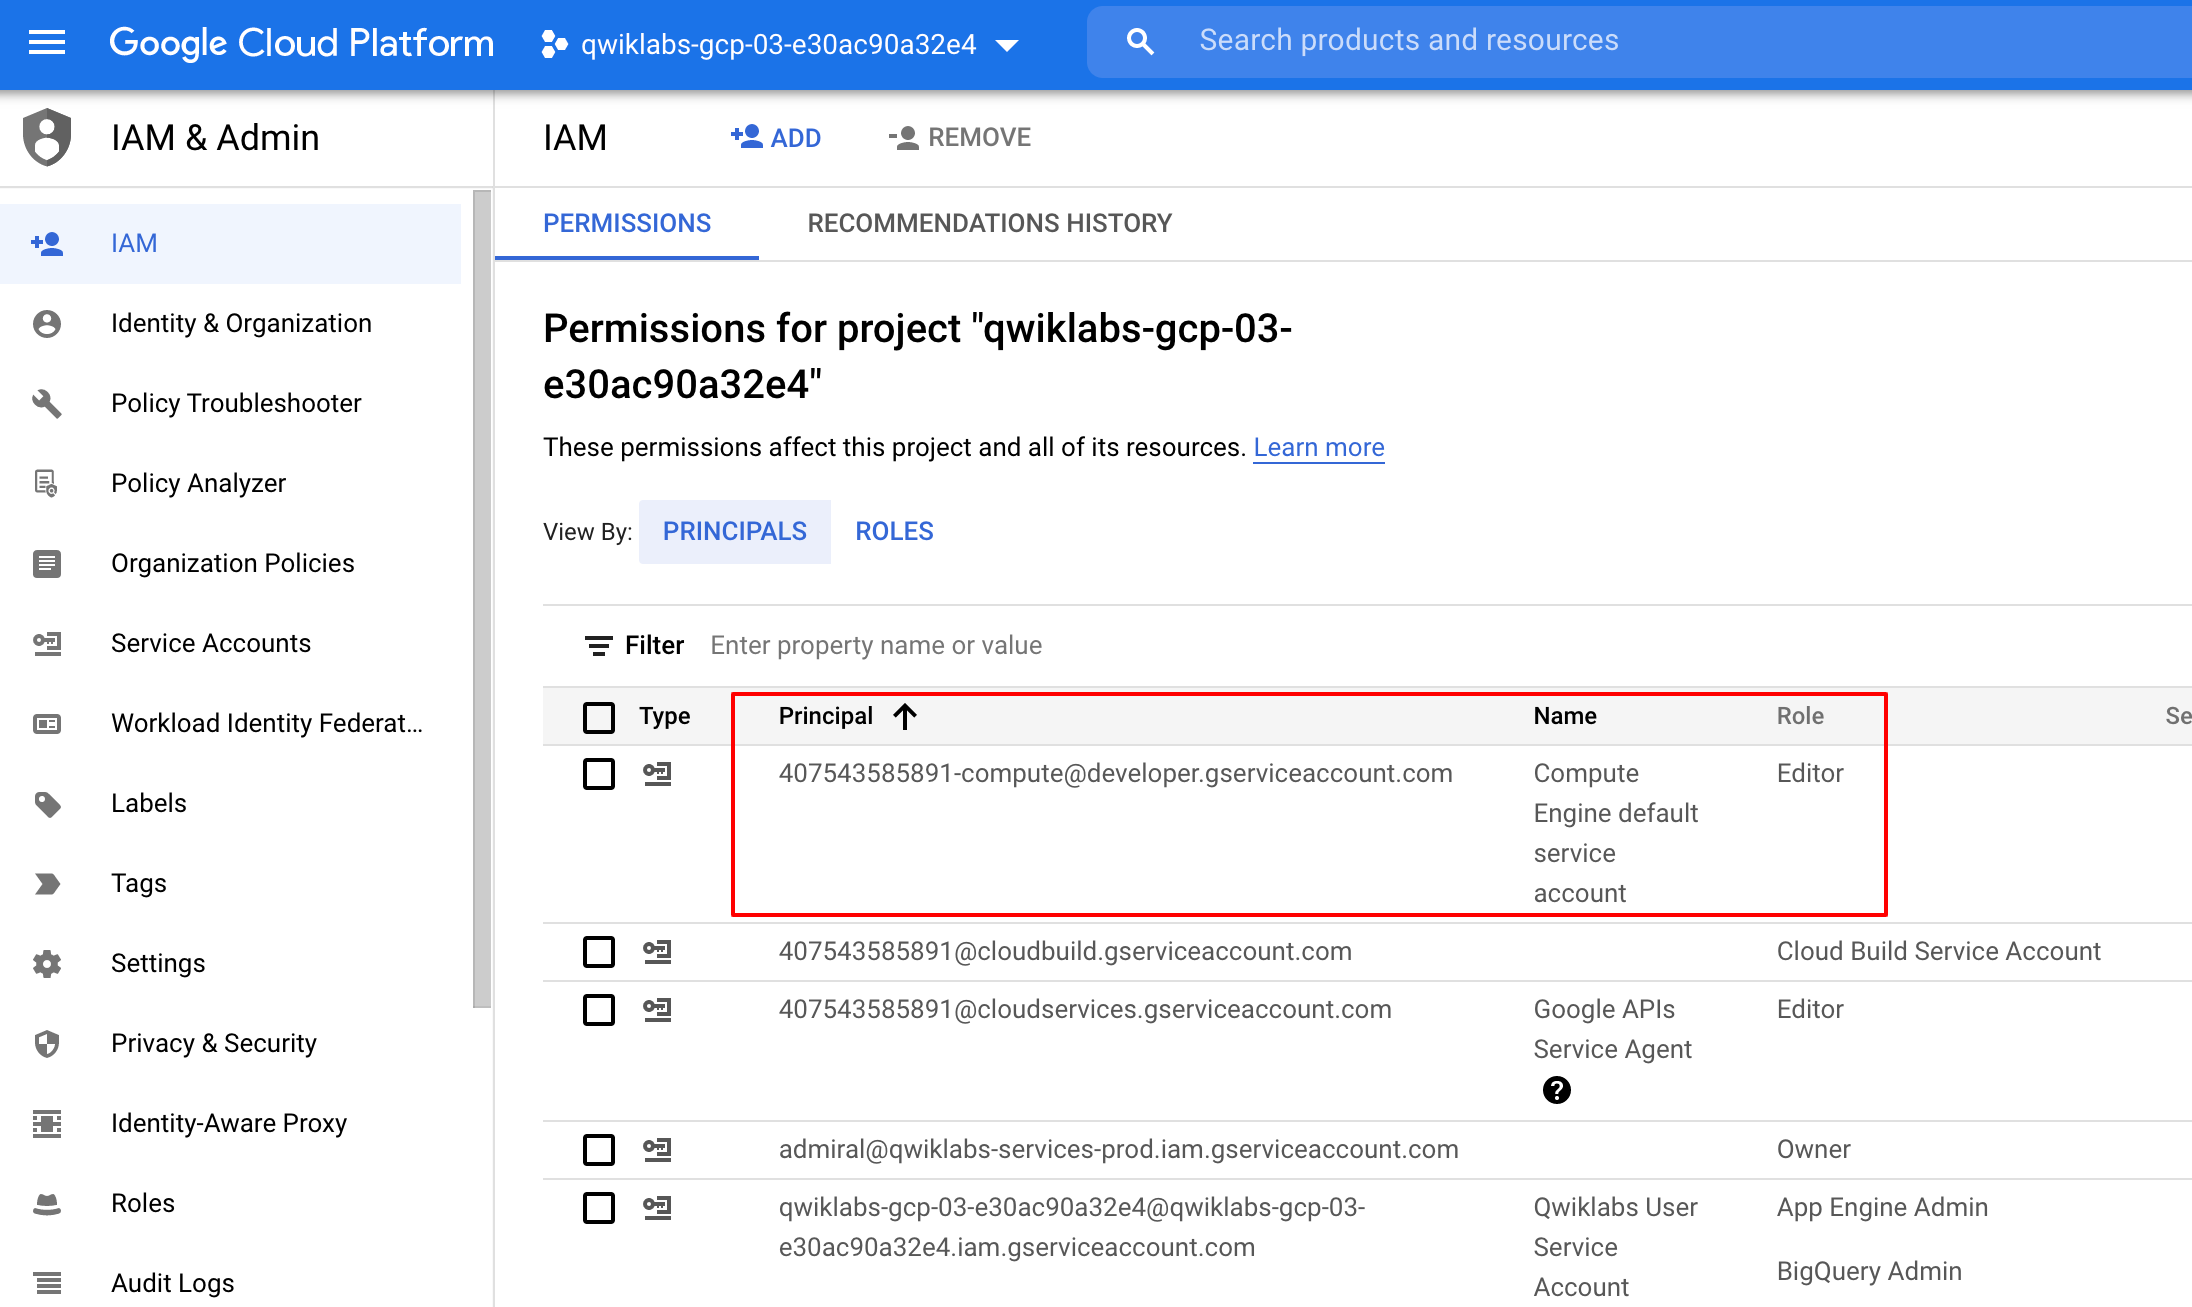
Before you begin working on Google Cloud, you must ensure that your project has the correct permissions within Identity and Access Management (IAM).
In the Google Cloud console, on the Navigation menu (
Confirm that the default compute Service Account {project-number}-compute@developer.gserviceaccount.com is present and has the editor role assigned. The account prefix is the project number, which you can find on Navigation menu > Cloud overview.
If the account is not present in IAM or does not have the editor role, follow the steps below to assign the required role.
In the Google Cloud console, on the Navigation menu, click Cloud overview.
From the Project info card, copy the Project number.
On the Navigation menu, click IAM & Admin > IAM.
At the top of the IAM page, click Add.
For New principals, type:
Replace {project-number} with your project number.
For Select a role, select Basic (or Project) > Editor.
Click Save.
To ensure access to the necessary APIs, restart the connection to the Kubernetes Engine API.
In the Google Cloud console, find and record the Project number in the Project info box
In the console, enter Kubernetes Engine API in the top search bar. Click on the result for Kubernetes Engine API.
Click Manage.
Click Disable API.
If asked to confirm, click Disable.
Again, when prompted Do you want to disable Kubernetes Engine API and its dependent APIs?, click Disable.
Click Enable.
When the API has been enabled again, the page will show the option to disable.
Restart the connection to the Cloud Composer API. In the prior step, restarting the Kubernetes Engine API forced the Cloud Composer API to be disabled.
In the Google Cloud Console, enter Cloud Composer API in the top search bar. Click on the result for Cloud Composer API.
Click Enable.
When the API has been enabled again, the page will show the option to disable.
In this section, you create a Cloud Composer environment.
On the Google Cloud console title bar, in the Search field, type cloud composer, and then click Composer.
Click Create Environment and select Composer 3.
Set the following for your environment:
| Property | Value |
|---|---|
| Name | highcpu |
| Location | |
| Image Version | composer-3-airflow-n.n.n-build.n (Note: select the highest number image available) |
Leave all other settings as default.
Under Environment resources, Select Small.
Click Create.
The environment creation process is completed when the green checkmark displays to the left of the environment name on the Environments page in the GCP Console.
It can take 10-20 minutes for the environment to complete the setup process. Continue with the lab while the environment spins up.
Click Check my progress to verify the objective.
Create a Cloud Storage bucket in your project. This bucket will be used as output for the Hadoop job from Dataproc.
Go to Navigation menu > Cloud Storage > Buckets and then click + Create.
Give your bucket a universally unique name, then click Create. If prompted Public access will be prevented, click Confirm.
Remember the Cloud Storage bucket name as you'll use it as an Airflow variable later in the lab.
Click Check my progress to verify the objective.
While waiting for your Composer environment to get created, review some terms that are used with Airflow.
Airflow is a platform to programmatically author, schedule and monitor workflows.
Use Airflow to author workflows as directed acyclic graphs (DAGs) of tasks. The airflow scheduler executes your tasks on an array of workers while following the specified dependencies.
DAG: A Directed Acyclic Graph is a collection of all the tasks you want to run, organized in a way that reflects their relationships and dependencies.
Operator: The description of a single task, it is usually atomic. For example, the BashOperator is used to execute bash commands.
Task: A parameterised instance of an Operator; a node in the DAG.
Task Instance: A specific run of a task; characterized as: a DAG, a Task, and a point in time. It has an indicative state: running, success, failed, skipped, ...
You can read more about the concepts from the Concepts documentation.
Now let's discuss the workflow you'll be using. Cloud Composer workflows are comprised of DAGs (Directed Acyclic Graphs). DAGs are defined in standard Python files that are placed in Airflow's DAG_FOLDER. Airflow will execute the code in each file to dynamically build the DAG objects. You can have as many DAGs as you want, each describing an arbitrary number of tasks. In general, each one should correspond to a single logical workflow.
Below is the hadoop_tutorial.py workflow code, also referred to as the DAG:
To orchestrate the three workflow tasks, the DAG imports the following operators:
DataprocClusterCreateOperator: Creates a Cloud Dataproc cluster.DataProcHadoopOperator: Submits a Hadoop wordcount job and writes results to a Cloud Storage bucket.DataprocClusterDeleteOperator: Deletes the cluster to avoid incurring ongoing Compute Engine charges.The tasks run sequentially, which you can see in this section of the file:
The name of the DAG is quickstart, and the DAG runs once each day.
Because the start_date that is passed in to default_dag_args is set to yesterday, Cloud Composer schedules the workflow to start immediately after the DAG uploads.
Go back to Composer to check the status of your environment.
Once your environment has been created, click the name of the environment (highcpu) to see its details.
On the Environment configuration tab you'll see information such as the Airflow web UI URL, GKE cluster, and a link to the DAGs folder, which is stored in your bucket.
/dags folder.To access the Airflow web interface using the GCP Console:
Airflow variables are an Airflow-specific concept that is distinct from environment variables.
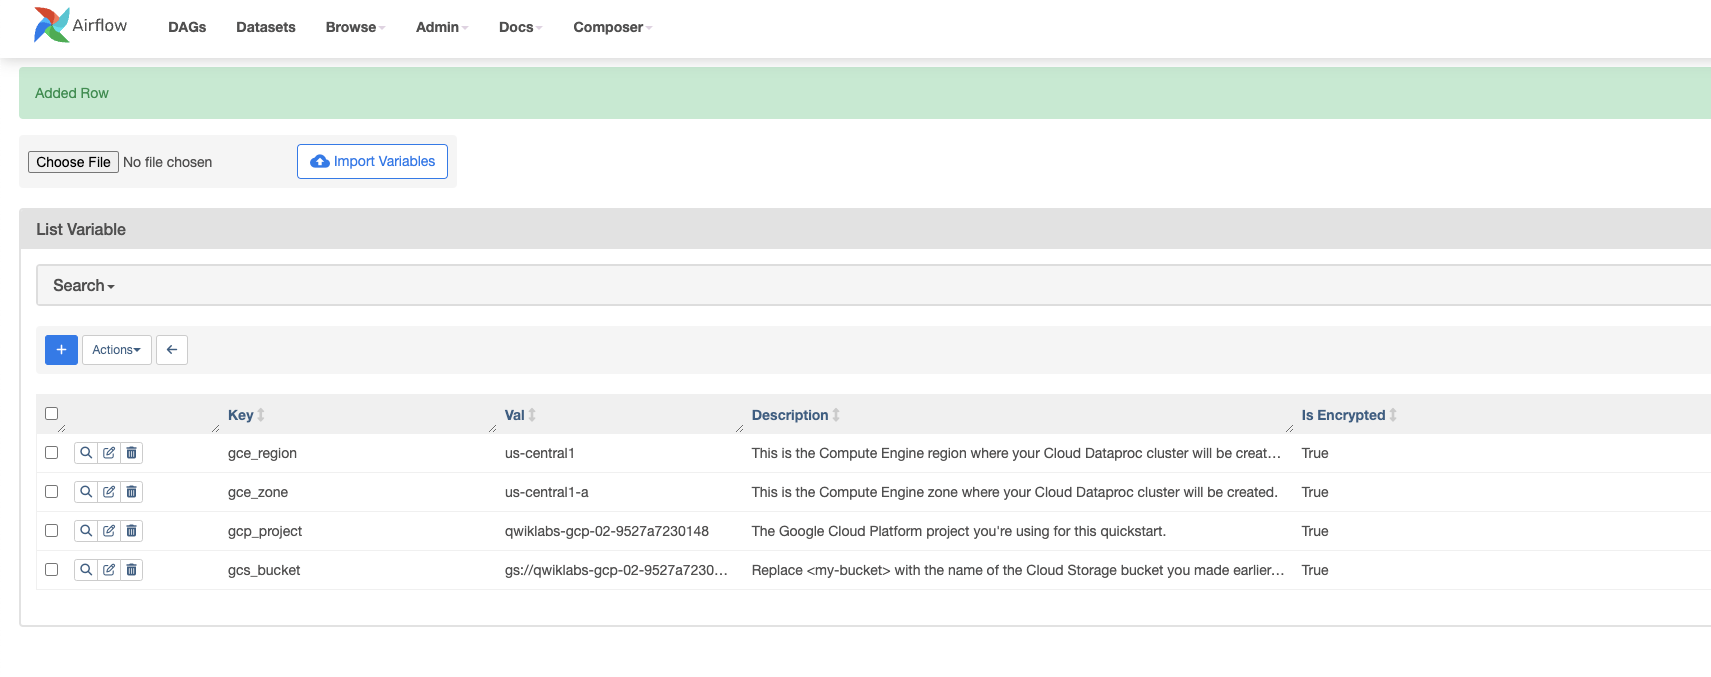
From the Airflow interface, select Admin > Variables from the menu bar.
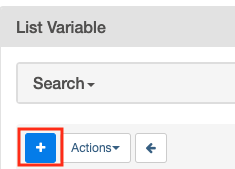
Click + icon to add a new record.
gcp_project, gcs_bucket, and gce_zone:| Key | Val | Details |
|---|---|---|
gcp_project |
The Google Cloud Platform project you're using for this lab. | |
gcs_bucket |
gs://<my-bucket> | Replace <my-bucket> with the name of the Cloud Storage bucket you made earlier. This bucket stores the output from the Hadoop jobs from Dataproc. |
gce_zone |
This is the Compute Engine zone where your Cloud Dataproc cluster will be created. | |
gce_region |
This is the Compute Engine region where your Cloud Dataproc cluster will be created. |
To upload the DAG:
In the Cloud Shell run the below command to upload a copy of the hadoop_tutorial.py file to the Cloud Storage bucket that was automatically created when you created the environment.
Replace <DAGs_folder_path> in the following command with the path to the DAGs folder:
DAGs folder and copy the path..The revised command to upload the file will look similar to the one below:
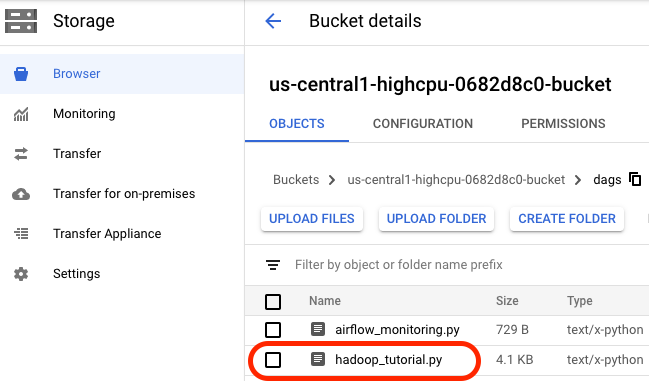
dags folder in the bucket and you will see the file in the Objects tab of the Bucket details.When a DAG file is added to the DAGs folder, Cloud Composer adds the DAG to Airflow and schedules it automatically. DAG changes occur within 3-5 minutes.
You can see the task status of the composer_hadoop_tutorial DAG in the Airflow web interface.
Click Check my progress to verify the objective.
When you upload your DAG file to the dags folder in Cloud Storage, Cloud Composer parses the file. If no errors are found, the name of the workflow appears in the DAG listing, and the workflow is queued to run immediately.
Make sure that you're on the DAGs tab in the Airflow web interface. It takes several minutes for this process to complete. Refresh your browser to make sure you're looking at the latest information.
Make sure that you're on the DAGs tab in the Airflow web interface. It takes several minutes for this process to complete. Refresh your browser to make sure you're looking at the latest information.
In Airflow, click composer_hadoop_tutorial to open the DAG details page. This page includes several representations of the workflow tasks and dependencies.
In the toolbar, click Graph. Mouseover the graphic for each task to see its status. Note that the border around each task also indicates the status (green border = running; red = failed, etc.).
Click the "Refresh" link to make sure you're looking at the most recent information. The borders of the processes change color as the state of the process changes
Once the status for create_dataproc_cluster has changed to "running", go to Navigation menu > Dataproc, then click on:
Once Dataproc gets to a state of "Running", return to Airflow and click Refresh to see that the cluster is complete.
When the run_dataproc_hadoop process is complete, go to Navigation menu > Cloud Storage > Buckets and click on the name of your bucket to see the results of the wordcount in the wordcount folder.
You've successfully run a Cloud Composer workflow!
When you have completed your lab, click End Lab. Qwiklabs removes the resources you’ve used and cleans the account for you.
You will be given an opportunity to rate the lab experience. Select the applicable number of stars, type a comment, and then click Submit.
The number of stars indicates the following:
You can close the dialog box if you don't want to provide feedback.
For feedback, suggestions, or corrections, please use the Support tab.
Copyright 2022 Google LLC All rights reserved. Google and the Google logo are trademarks of Google LLC. All other company and product names may be trademarks of the respective companies with which they are associated.


현재 이 콘텐츠를 이용할 수 없습니다
이용할 수 있게 되면 이메일로 알려드리겠습니다.

감사합니다
이용할 수 있게 되면 이메일로 알려드리겠습니다.

한 번에 실습 1개만 가능
모든 기존 실습을 종료하고 이 실습을 시작할지 확인하세요.