


Before you begin
- Labs create a Google Cloud project and resources for a fixed time
- Labs have a time limit and no pause feature. If you end the lab, you'll have to restart from the beginning.
- On the top left of your screen, click Start lab to begin
Enable APIs
/ 20
Set up Storage buckets, BigQuery dataset, and Pub/Sub topic
/ 20
Create process-invoices Cloud Function
/ 20
Create geocode-addresses Cloud Function
/ 20
Check pipeline has processed data
/ 20
The Document AI API is a document understanding solution that takes unstructured data, such as documents and emails, and makes the data easier to understand, analyze, and consume.
In this lab, you'll build a document processing pipeline to automatically analyze documents uploaded to Cloud Storage. The pipeline uses a Cloud Run function with a Document AI form processor to extract data and store it in BigQuery. If the form includes address fields, the address data is sent to a Pub/Sub topic. This triggers a second Cloud Run function, which uses the Geocoding API to add coordinates and writes the results to BigQuery.
This simple pipeline uses a general form processor to detect basic form data, like labeled address fields. For more complex documents, Document AI offers specialized parsers (beyond the scope of this lab) that extract detailed information even without explicit labels. For instance, the Invoice parser can identify address and supplier details from an unlabeled invoice by understanding common invoice layouts.
The overall architecture that you will create looks like the following:
This example architecture uses Cloud Run functions to implement a simple pipeline, but Cloud Run functions are not recommended for production environments as the Document AI API calls can exceed the timeouts supported by Cloud Run functions. Cloud Tasks are recommended for a more robust serverless solution.
In this lab, you learn how to:
You'll configure a Cloud Run function to:
Read these instructions. Labs are timed and you cannot pause them. The timer, which starts when you click Start Lab, shows how long Google Cloud resources are made available to you.
This hands-on lab lets you do the lab activities in a real cloud environment, not in a simulation or demo environment. It does so by giving you new, temporary credentials you use to sign in and access Google Cloud for the duration of the lab.
To complete this lab, you need:
Cloud Shell is a virtual machine that is loaded with development tools. It offers a persistent 5GB home directory and runs on the Google Cloud. Cloud Shell provides command-line access to your Google Cloud resources.
Click Activate Cloud Shell 
Click through the following windows:
When you are connected, you are already authenticated, and the project is set to your Project_ID,
gcloud is the command-line tool for Google Cloud. It comes pre-installed on Cloud Shell and supports tab-completion.
Output:
Output:
gcloud, in Google Cloud, refer to the gcloud CLI overview guide.
You must enable the APIs for Document AI, Cloud Run functions, Cloud Build, and Geocoding for this lab, then create the API key that is required by the Geocoding Cloud Run function.
Click Activate Cloud Shell
In Cloud Shell, enter the following commands to enable the APIs required by the lab:
In the console, in the Navigation menu (
Select Create credentials, then select API key from the dropdown menu.
The API key created dialog box displays your newly created key. An API key is a long string containing upper and lower case letters, numbers, and dashes. For example, a4db08b757294ea94c08f2df493465a1.
Click three dots under Actions then click Edit API key in the dialog box.
Select Restrict key in the API restrictions section to add API restrictions for your new API key.
Click Select APIs drop-down and in the filter box and type Geocoding API.
Select Geocoding API and click OK.
Click the Save button.
In this task, you copy the source files into your Cloud Shell. These files include the source code for the Cloud Run functions and the schemas for the BigQuery tables that you will create in the lab.
Create an instance of the generic form processor to use in the Document AI Platform using the Document AI Form Parser specialized parser. The generic form processor will process any type of document and extract all the text content it can identify in the document. It is not limited to printed text, it can handle handwritten text and text in any orientation, supports a number of languages, and understands how form data elements are related to each other so that you can extract key:value pairs for form fields that have text labels.
In the Google Cloud Console, in the search bar, type Document AI and click the product page result.
Click Explore Processors, and then click Form Parser to create a new processor.
Specify the processor name as form-processor and select the region US (United States) from the list.
Click Create to create your processor.
You will configure a Cloud Run function later in this lab with the processor ID and location of this processor so that the Cloud Run function will use this specific processor to process sample invoices.
In this section, you will prepare your environment by creating the Google Cloud resources that are required for your document processing pipeline.
Create input, output, and archive Cloud Storage buckets for your document processing pipeline.
Create a BigQuery dataset and the three output tables required for your data processing pipeline.
You can navigate to BigQuery in the Cloud Console and inspect the schemas for the tables in the invoice_parser_results dataset using the BigQuery SQL workspace.
Initialize the Pub/Sub topic used to trigger the Geocoding API data enrichment operations in the processing pipeline.
Create the two Cloud Run functions that your data processing pipeline uses to process invoices uploaded to Cloud Storage. These functions use the Document AI API to extract form data from the raw documents, then use the GeoCode API to retrieve geolocation data about the address information extracted from the documents.
You can examine the source code for the two Cloud Run functions using the Code Editor or any other editor of your choice. The Cloud Run functions are stored in the following folders in Cloud Shell:
scripts/cloud-functions/process-invoices
scripts/cloud-functions/geocode-addresses
The main Cloud Run function, process-invoices, is triggered when files are uploaded to the input files storage bucket you created earlier.
The function folder scripts/cloud-functions/process-invoices contains the two files that are used to create the process-invoices Cloud Run function.
The requirements.txt file specifies the Python libraries required by the function. This includes the Document AI client library as well as the other Google Cloud libraries required by the Python code to read the files from Cloud Storage, save data to BigQuery, and write messages to Pub/Sub that will trigger the remaining functions in the solution pipeline.
The main.py Python file contains the Cloud Run function code that creates the Document-AI, BigQuery, and Pub/Sub API clients and the following internal functions to process the documents:
write_to_bq - Writes dictionary object to the BigQuery table. Note you must ensure the schema is valid before calling this function.get_text - Maps form name and value text anchors to the scanned text in the document. This allows the function to identify specific forms elements, such as the Supplier name and Address, and extract the relevant value. A specialized Document AI processor provides that contextual information directly in the entities property.process_invoice - Uses the asynchronous Document-AI client API to read and process files from Cloud Storage as follows:
The process_invoices Cloud Run function only processes form data that has been detected with the following form field names:
input_file_nameaddresssupplierinvoice_numberpurchase_orderdatedue_datesubtotaltaxtotalThe other Cloud Run function, geocode-addresses, is triggered when a new message arrives on a Pub/Sub topic and it extracts its parameter data from the Pub/Sub message.
Create a Cloud Run function that uses a Document AI form processor to parse form documents that have been uploaded to a Cloud Storage bucket.
Create the Cloud Run function that accepts address data from a Pub/Sub message and uses the Geocoding API to precisely locate the address.
In this task, you finalize the configuration of the Cloud Run functions by editing the environment variables for each function to reflect your lab specific parameters via the Cloud Console.
Set the Cloud Run function environment variables for the process-invoices function.
Cloud Run functions and click the product page result.It will redirect to the Cloud Run console, click on Go to Cloud Run functions 1st gen to see the deployed functions process-invoices and geocode-addresses.
us or eu. This parameter must be lowercase.PROCESSOR_ID, PARSER_LOCATION, and GCP_PROJECT values again for your invoice processor.Set the Cloud Run function environment variables for the GeoCode data enrichment function.
Upload test data to Cloud Storage and monitor the progress of the pipeline as the documents are processed and the extracted data is enhanced.
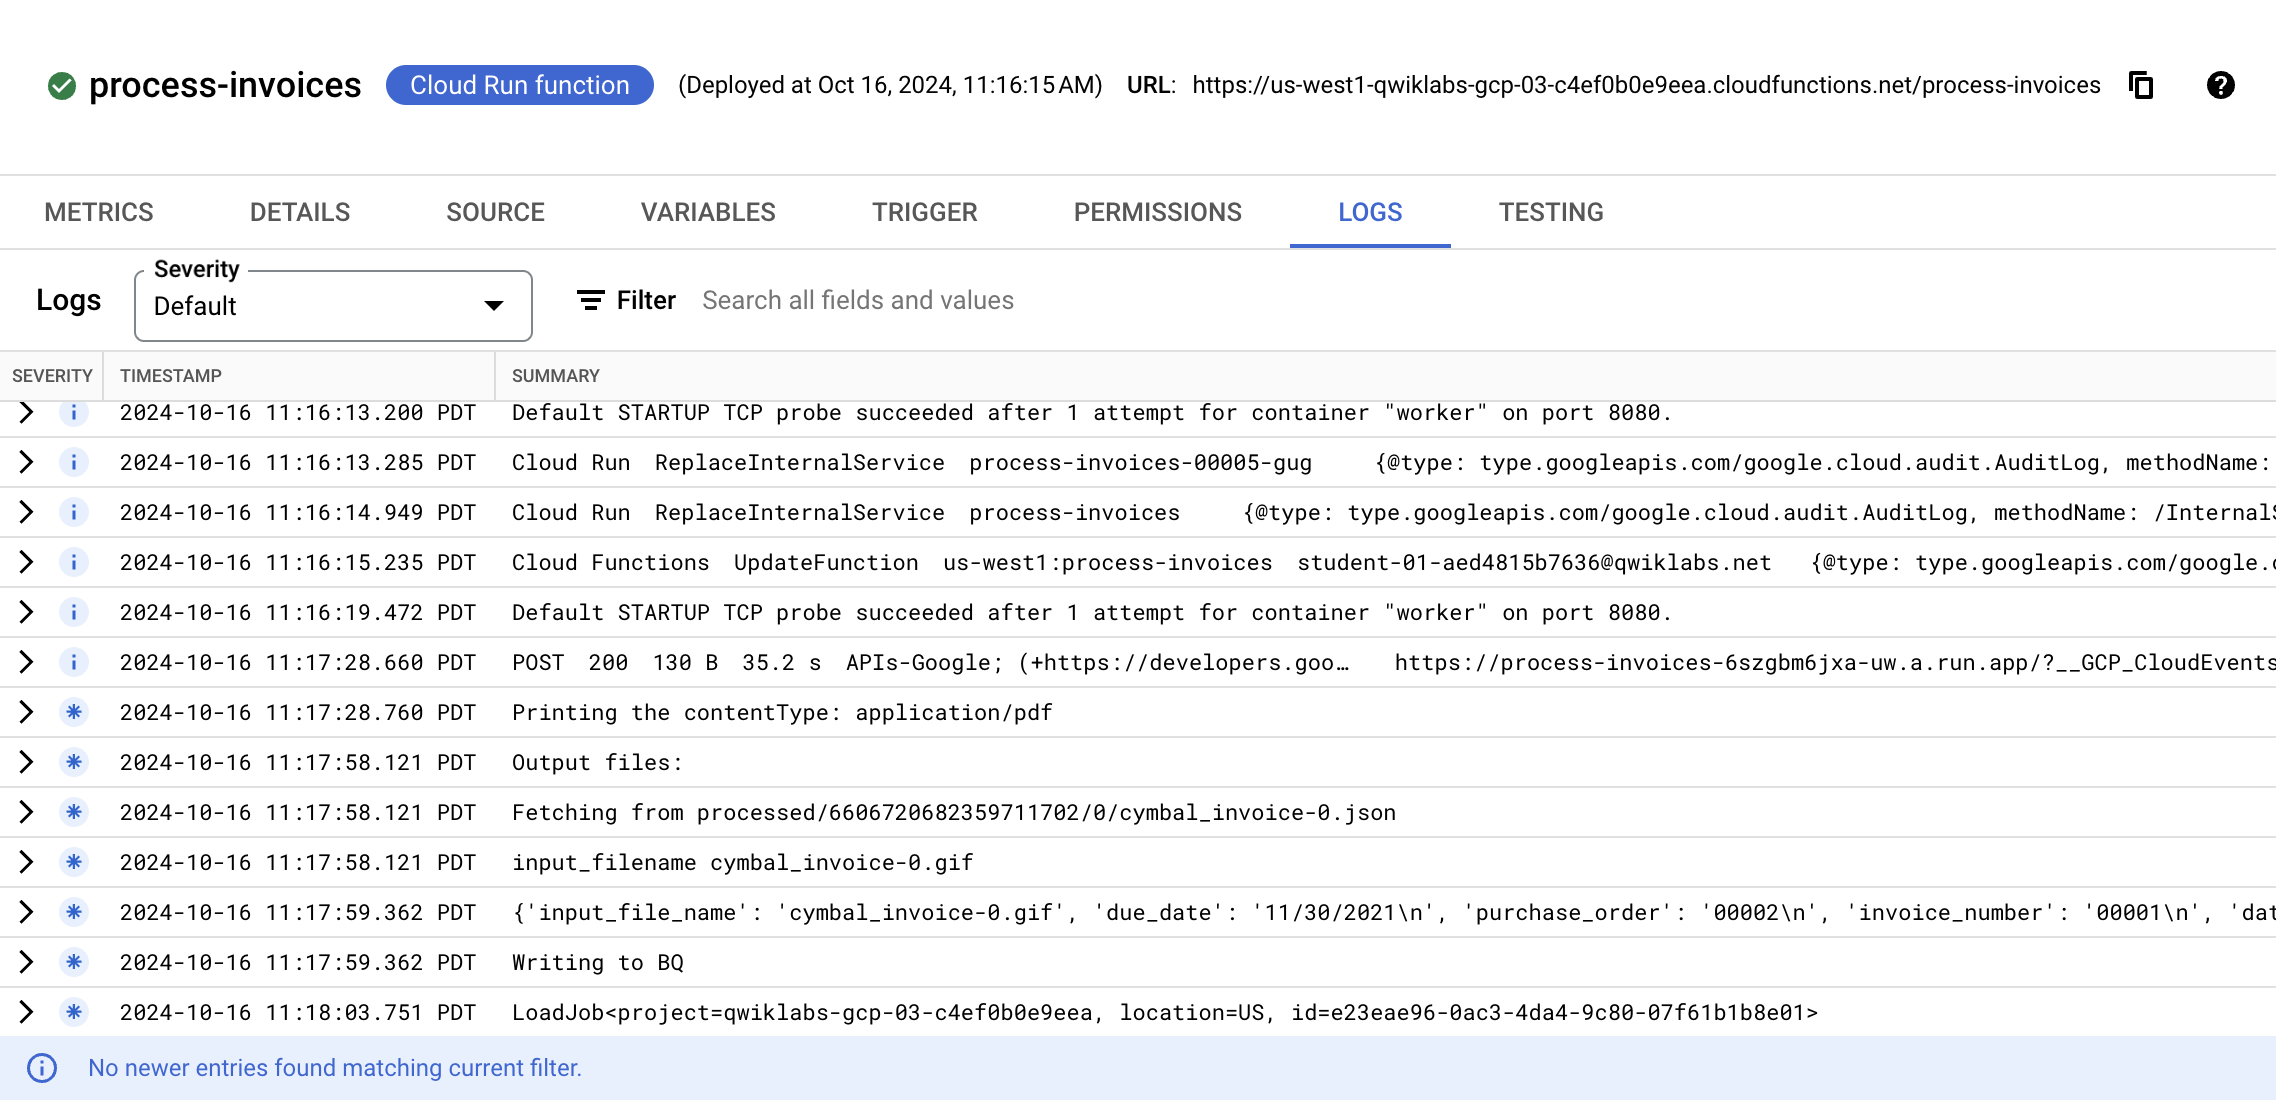
process-invoices Cloud Run function:Cloud Run functions and click the product page result.You will see events related to the creation of the function and the updates made to configure the environment variables followed by events showing details about the file being processed, and the data detected by Document AI.
Watch the events until you see a final event indicating that the function execution finished with a LoadJob. If errors are reported double check that the parameters set in the .env.yaml file in the previous section are correct. In particular make sure the Processor ID, location, and Project ID are valid. The event list does not automatically refresh.
At the end of the processing, your BigQuery tables will be populated with the Document AI extracted entities as well as enriched data provided by the Geocoding API if the Document AI Processor has detected address data in the uploaded document.
The Welcome to BigQuery in the Cloud Console message box opens. This message box provides a link to the quickstart guide and the release notes.
The BigQuery console opens.
Expand your Project ID in the Explorer.
Expand invoice_parser_results.
Select doc_ai_extracted_entities and click Preview.
You can see the form information extracted from the invoices by the invoice processor, and you can see that address information and the supplier name has been detected.
You can see the formatted address, latitude, and longitude for each invoice that has been processed that contained address data that Document AI was able to extract.
You've successfully used the Document AI API and other Google Cloud services to build an end-to-end invoice processing pipeline. In this lab, you enabled the Document AI API, deployed Cloud Run functions that use the Document AI, BigQuery, Cloud Storage, and Pub/Sub APIs, and configured a Cloud Run function to trigger when documents are uploaded to Cloud Storage. You also configured a Cloud Run function to use the Document AI client library for Python and to trigger when a Pub/Sub message was created.
...helps you make the most of Google Cloud technologies. Our classes include technical skills and best practices to help you get up to speed quickly and continue your learning journey. We offer fundamental to advanced level training, with on-demand, live, and virtual options to suit your busy schedule. Certifications help you validate and prove your skill and expertise in Google Cloud technologies.
Manual Last Updated August 26, 2025
Lab Last Tested July 29, 2025
Copyright 2025 Google LLC. All rights reserved. Google and the Google logo are trademarks of Google LLC. All other company and product names may be trademarks of the respective companies with which they are associated.


This content is not currently available
We will notify you via email when it becomes available

Great!
We will contact you via email if it becomes available

One lab at a time
Confirm to end all existing labs and start this one