In this lab, you provision a Linux virtual machine in a private network to act as a database server. You also create a virtual machine that you can use as a bastion host to connect to the database server as an administrator. You configure the database server for remote connections and add a user account. You then install the MySQL-MariaDB client software to connect to the database server from a client machine.
Objectives
In this lab, you learn how to perform the following tasks:
Create client and server VMs.
Administer your database server.
Connect to the database from a client.
Setup and requirements
In this task, you use Qwiklabs and perform initialization steps for your lab.
For each lab, you get a new Google Cloud project and set of resources for a fixed time at no cost.
Sign in to Qwiklabs using an incognito window.
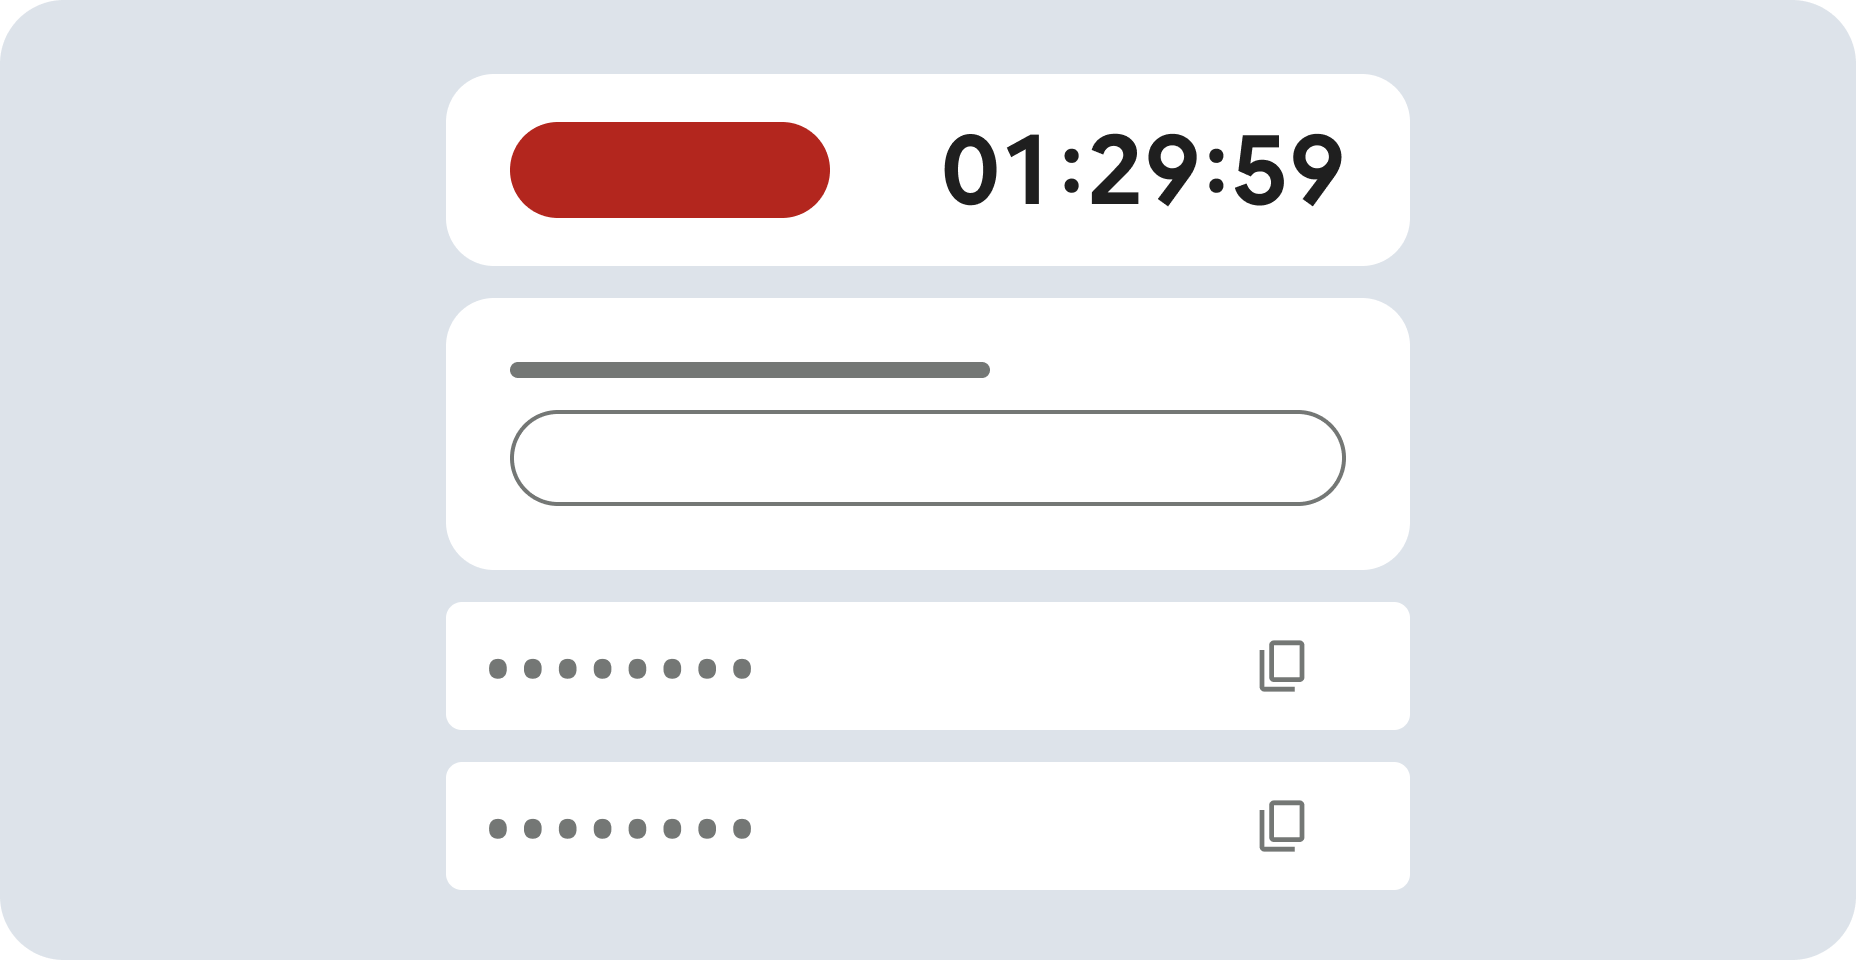
Note the lab's access time (for example, 1:15:00), and make sure you can finish within that time.
There is no pause feature. You can restart if needed, but you have to start at the beginning.
When ready, click Start lab.
Note your lab credentials (Username and Password). You will use them to sign in to the Google Cloud Console.
Click Open Google Console.
Click Use another account and copy/paste credentials for this lab into the prompts.
If you use other credentials, you'll receive errors or incur charges.
Accept the terms and skip the recovery resource page.
Task 1. Create client and server VMs
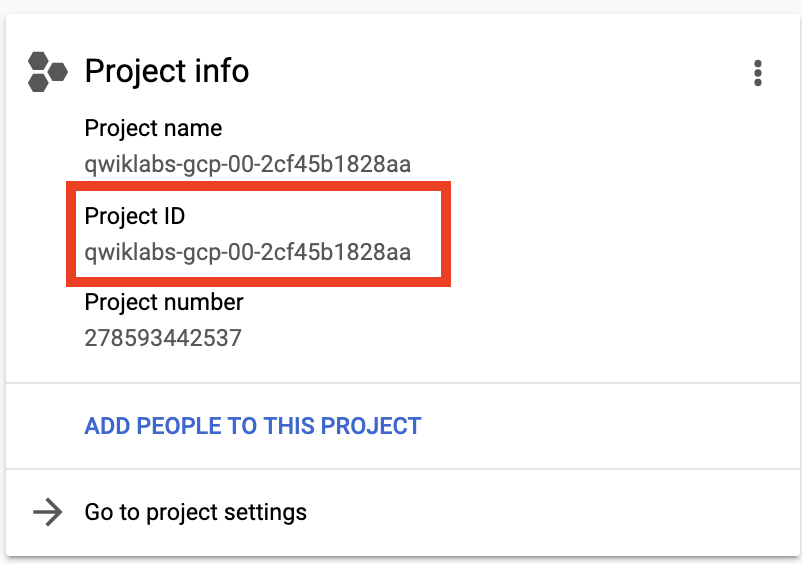
Open a new web browser window and navigate to the Google Cloud Console (console.cloud.google.com). Use the project selector to choose the first project with a leading name of 'qwiklabs-gcp.'
On the Navigation menu (), click Cloud overview.
In the Project info section, find your Project ID and copy and paste it into a text file. You will need it later.
Click the Activate Cloud Shell () icon in the upper right of the Console. The Cloud Shell terminal will open in a pane at the bottom of the window.
Activate the Identity-Aware Proxy API which will allow you to connect to all of the Virtual Machines created within this project without configuring SSH keys. Enter the following command in the Cloud Shell:
gcloud services enable iap.googleapis.com
To clone a GitHub repository that includes a completed version of the previous lab, enter the following command:
cd ~/training-data-analyst/courses/db-migration/terraform-clients-servers/
Type ls and you see this folder has the Terraform files completed from the last lab.
Click Open Editor, and then from the training-data-analyst/courses/db-migration/terraform-clients-servers/ folder, open the terraform.tfvars file.
Change the values in the terraform.tfvars file as noted below.
Item
Value
project_id
gcp_region_1
gcp_zone_1
Create a Debian Linux machine in the private network. Add a file named vm-mysql-server.tf, and paste the following Terraform code into it:
# Create a MySQL Server in Private VPC
resource "google_compute_instance" "mysql-server" {
name = "mysql-server-${random_id.instance_id.hex}"
machine_type = "f1-micro"
zone = var.gcp_zone_1
tags = ["allow-ssh", "allow-mysql"]
boot_disk {
initialize_params {
image = "debian-cloud/debian-11"
}
}
network_interface {
network = google_compute_network.private-vpc.name
subnetwork = google_compute_subnetwork.private-subnet_1.name
# access_config { }
}
}
output "mysql-server" {
value = google_compute_instance.mysql-server.name
}
output "mysql-server-external-ip" {
value = "NONE"
}
output "mysql-server-internal-ip" {
value = google_compute_instance.mysql-server.network_interface.0.network_ip
}
Create a machine in the public network that you can use to administer that server. Add a file named vm-mysql-client.tf, and paste the following Terraform code into it:
# Create MySQL Client in Public VPC
resource "google_compute_instance" "mysql-client" {
name = "mysql-client-${random_id.instance_id.hex}"
machine_type = "f1-micro"
zone = var.gcp_zone_1
tags = ["allow-ssh"]
boot_disk {
initialize_params {
image = "debian-cloud/debian-11"
}
}
network_interface {
network = google_compute_network.public-vpc.name
subnetwork = google_compute_subnetwork.public-subnet_1.name
access_config { }
}
}
output "mysql-client" {
value = google_compute_instance.mysql-client.name
}
output "mysql-client-external-ip" {
value = google_compute_instance.mysql-client.network_interface.0.access_config.0.nat_ip
}
output "mysql-client-internal-ip" {
value = google_compute_instance.mysql-client.network_interface.0.network_ip
}
Create a firewall rule to allow communication to MySQL Server from the public network. Open the vpc-firewall-rules-private.tf file, and add the following firewall rule to the end:
# allow MySQL only from public subnet
resource "google_compute_firewall" "private-allow-mysql" {
name = "${google_compute_network.private-vpc.name}-allow-mysql"
network = google_compute_network.private-vpc.name
allow {
protocol = "tcp"
ports = ["3306"]
}
source_ranges = [
"${var.subnet_cidr_public}"
]
target_tags = ["allow-mysql"]
}
To initialize Terraform and create the plan, return to the Cloud Shell terminal and enter the following commands:
terraform init
terraform plan
To create the resources, run the following command:
terraform apply -auto-approve
Click Check my progress to verify the objective.
Create client and server VMs
Task 2. Administer your database server
When the Terraform process completes, on the Navigation menu (), click Compute Engine. Multiple machines should be listed.
Find the mysql-server- machine, and make note of its internal IP address (it is likely 10.2.2.2 or 10.2.2.3).
Click SSH for the mysql-server- machine to connect to that machine.
Note: At this point, you need to install MySQL on the server. However, because the server has no external IP address, it has no access to the internet, so you can't run the command to install MySQL. You fix that by adding a NAT using the Google Cloud NAT service.
Execute the following command to see that it doesn't work; it eventually fails when trying to access the internet:
sudo apt install wget
The message returned in the terminal will appear as follows:
Could not connect to debian.map...
Type CTRL+C to end the command.
Return to the Cloud Shell Code Editor, and in the training-data-analyst/courses/db-migration/terraform-clients-servers folder, add a file called cloud-nat.tf, and then add the following Terraform code to that file:
Return to the Navigation menu (), click Compute Engine. Find the mysql-server- machine, and make note of its internal IP address (it is likely 10.2.2.2 or 10.2.2.3).
To connect to your database, use the following command (replace SERVERIP with the IP address you just verified):
mysql -h SERVERIP -u dbops -p'password'
Enter "\s" at the MariaDB prompt.
Details will be returned for the Database server.
Type exit to exit the MySQL client.
At this point, there's no database so there's nothing else to do, but you have a complete solution in place. Your database server is in a secure network with no public access. You have a Linux machine in the public network that can be used to administer the database and connect to the machine using the MySQL-MariaDB client software.
Click Check my progress to verify the objective.
Connect to the database from a client
Close your SSH session, and then return to the Cloud Shell terminal.
To delete everything you created earlier in the lab, enter the following command:
terraform destroy -auto-approve
Congratulations! You have provisioned a Linux virtual machine in a private network to act as a database server. You also created a virtual machine that you can use as a bastion host to connect to the database server as an administrator. You configured the database server for remote connections and added a user account. You then installed the MySQL client software to connect to the database server from a client machine.
End your lab
When you have completed your lab, click End Lab. Google Cloud Skills Boost removes the resources you’ve used and cleans the account for you.
You will be given an opportunity to rate the lab experience. Select the applicable number of stars, type a comment, and then click Submit.
The number of stars indicates the following:
1 star = Very dissatisfied
2 stars = Dissatisfied
3 stars = Neutral
4 stars = Satisfied
5 stars = Very satisfied
You can close the dialog box if you don't want to provide feedback.
For feedback, suggestions, or corrections, please use the Support tab.
Copyright 2022 Google LLC All rights reserved. Google and the Google logo are trademarks of Google LLC. All other company and product names may be trademarks of the respective companies with which they are associated.
In this lab, you will provision a Linux virtual machine in a private network to act as a database server. You will also create a virtual machine that you can use as a bastion host to connect to the database server as an administrator. You will configure the database server for remote connections and add a user account. You will then install the MySQL client software to connect to the database server from a client machine.