
Before you begin
- Labs create a Google Cloud project and resources for a fixed time
- Labs have a time limit and no pause feature. If you end the lab, you'll have to restart from the beginning.
- On the top left of your screen, click Start lab to begin
Creating an instance of AI Platform Pipelines
/ 10
Build the image and push it to your project's Container Registry
/ 10
Manually trigger CI/CD pipeline run with Cloud Build
/ 20
Create a Cloud Build trigger
/ 10
Trigger the build
/ 20
In this lab, you will walk through authoring a Cloud Build CI/CD workflow that automatically builds and deploys the same TFX pipeline from lab-02.ipynb. You will also integrate your workflow with GitHub by setting up a trigger that starts the workflow when a new tag is applied to the GitHub repo hosting the pipeline's code.
For each lab, you get a new Google Cloud project and set of resources for a fixed time at no cost.
Sign in to Qwiklabs using an incognito window.
Note the lab's access time (for example, 1:15:00), and make sure you can finish within that time.
There is no pause feature. You can restart if needed, but you have to start at the beginning.
When ready, click Start lab.
Note your lab credentials (Username and Password). You will use them to sign in to the Google Cloud Console.
Click Open Google Console.
Click Use another account and copy/paste credentials for this lab into the prompts.
If you use other credentials, you'll receive errors or incur charges.
Accept the terms and skip the recovery resource page.
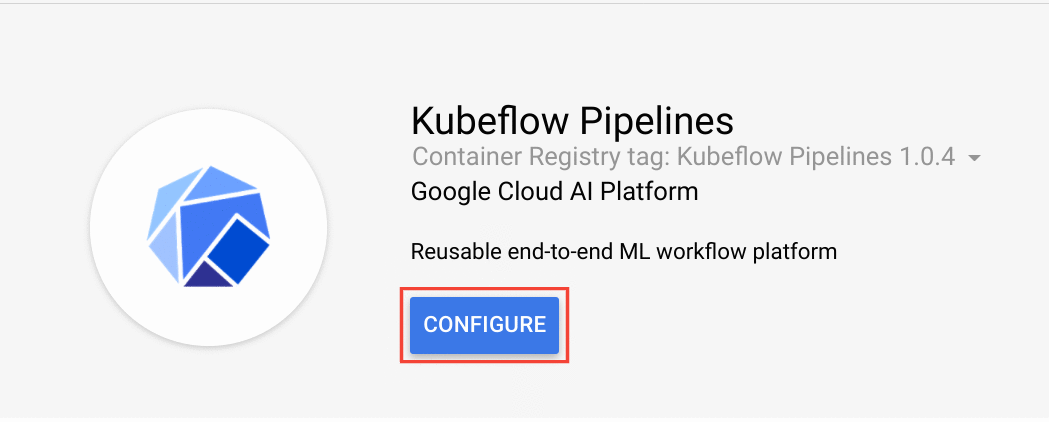
In this task, you deploy Kubeflow Pipelines as a Kuberenetes App, which are solutions with simple click to deploy to Google Kubernetes Engine and that have the flexibility to deploy to Kubernetes clusters on-premises or in third-party clouds. You will see Kubeflow Pipelines integrated into your Google Cloud environment as AI Platform Pipelines. If interested, learn more about Kubeflow Pipelines in the Introduction documentation during installation steps.
In the Google Cloud Console, enter AI Platform in the top search bar. Click on the result for AI Platform under Marketplace.
Click on the Go To AI Platform.
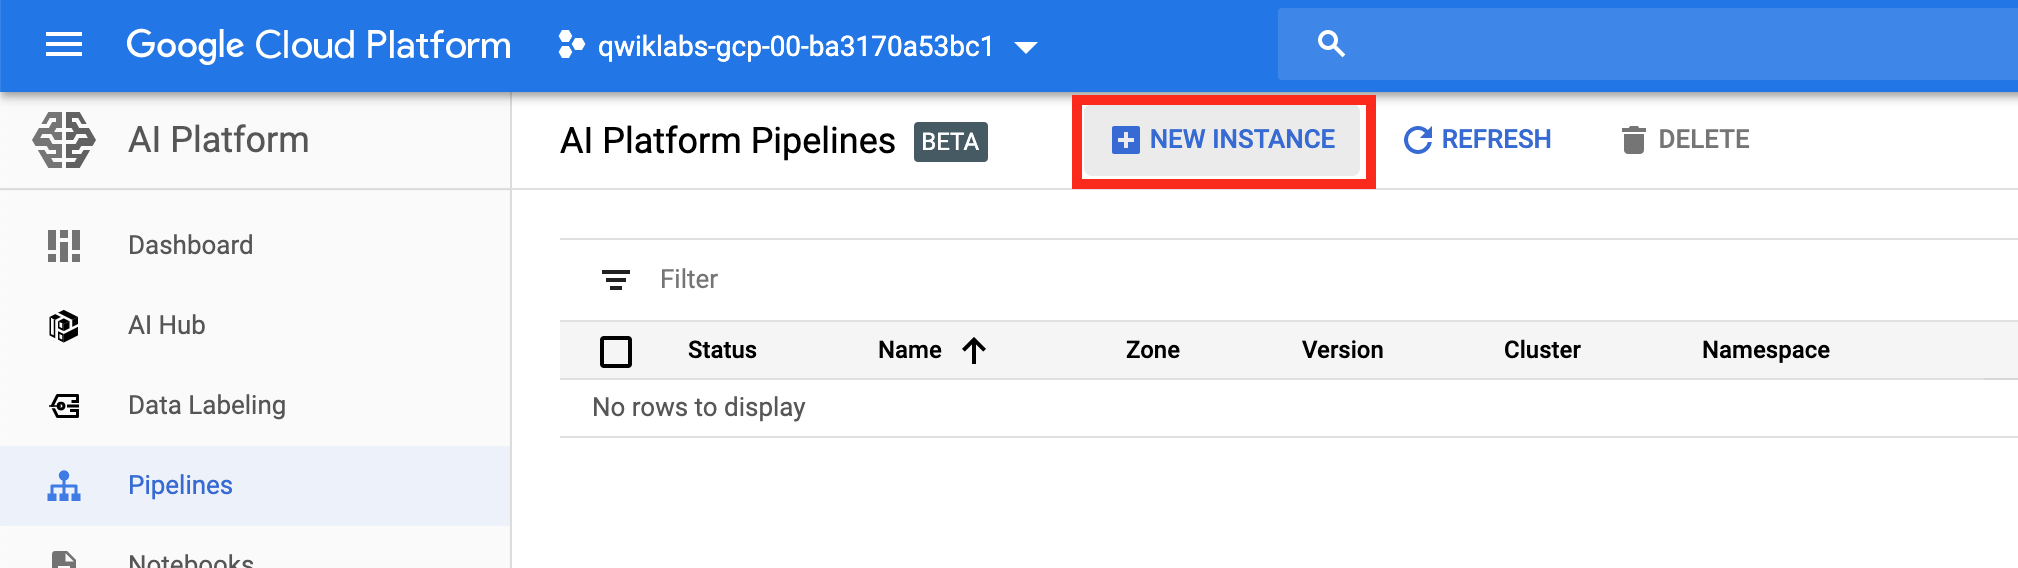
Navigate to AI Platform > Pipelines.
Then click New Instance.
Scroll to the bottom of the page, accept the marketplace terms, and click Deploy. You will see the individual services of KFP deployed to your GKE cluster. Wait for the deployment to finish before proceeding to the next task.
In Cloud Shell, run the following to configure kubectl command line access
Click Check my progress to verify the objective.
To launch AI Platform Notebooks:
Click on the Navigation Menu and navigate to AI Platform, then to Workbench.
You should see tfx-on-googlecloud notebook preprovisioned for you. If not, wait a few minutes and refresh the page.
Click Open JupyterLab. A JupyterLab window will open in a new tab.
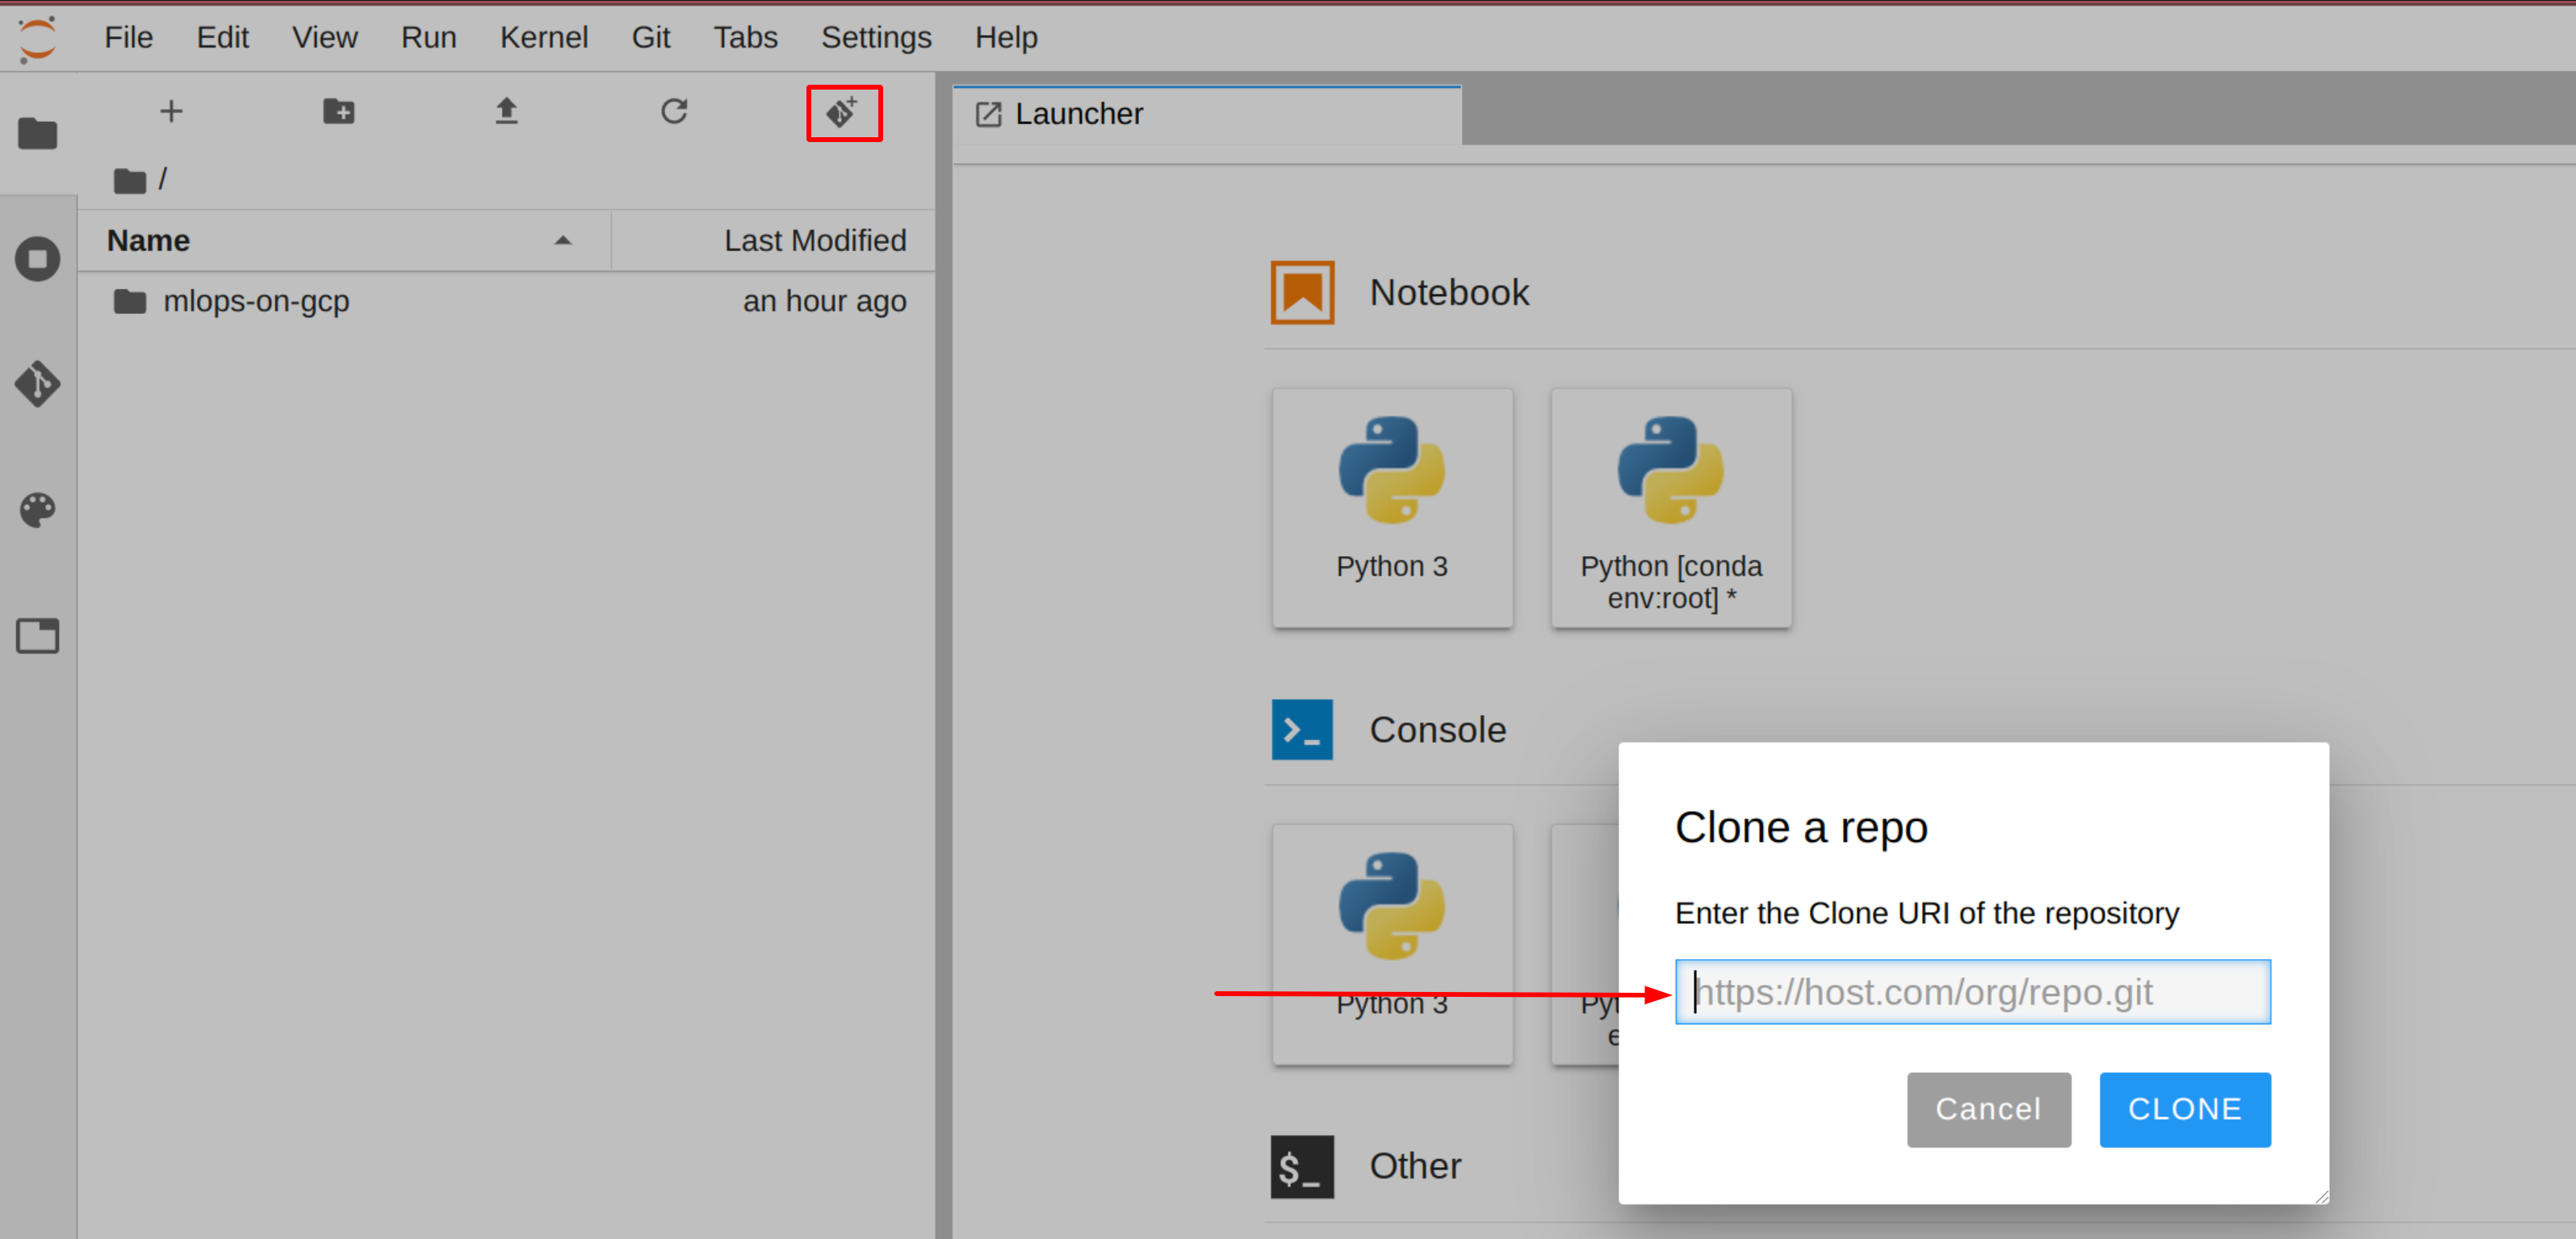
To clone the mlops-on-gcp notebook in your JupyterLab instance:
In JupyterLab, click the Terminal icon to open a new terminal.
At the command-line prompt, type in the following command and press Enter:
Confirm that you have cloned the repository by double clicking on the mlops-on-gcp directory and ensuring that you can see its contents. The files for all the Jupyter notebook-based labs throughout this course are available in this directory.
Now, in AI Platform Notebooks, navigate to mlops-on-gcp/workshops/tfx-caip-tf23/lab-03-tfx-cicd/labs and open lab-03.ipynb.
Clear all the cells in the notebook (look for the Clear button on the notebook toolbar) and then Run the cells one by one.
When prompted, come back to these instructions to check your progress.
If you need more help, you may take a look at the complete solution by navigating to mlops-on-gcp/workshops/tfx-caip-tf23/lab-03-tfx-cicd/solutions open lab-03.ipynb.
Click Check my progress to verify the objective.
Click Check my progress to verify the objective.
Click Check my progress to verify the objective.
Click Check my progress to verify the objective.
In this lab, you walked through authoring a Cloud Build CI/CD workflow that automatically builds and deploys a TFX pipeline. You also integrated your TFX workflow with GitHub by setting up a Cloud Build trigger. In the next lab, you will walk through inspection of TFX metadata and pipeline artifacts created during TFX pipeline runs.
When you have completed your lab, click End Lab. Qwiklabs removes the resources you’ve used and cleans the account for you.
You will be given an opportunity to rate the lab experience. Select the applicable number of stars, type a comment, and then click Submit.
The number of stars indicates the following:
You can close the dialog box if you don't want to provide feedback.
For feedback, suggestions, or corrections, please use the Support tab.
Copyright 2022 Google LLC All rights reserved. Google and the Google logo are trademarks of Google LLC. All other company and product names may be trademarks of the respective companies with which they are associated.


This content is not currently available
We will notify you via email when it becomes available

Great!
We will contact you via email if it becomes available

One lab at a time
Confirm to end all existing labs and start this one