arrow_back

Training with Pre-built ML Models using Cloud Vision API and AutoML

登录 加入
访问 700 多个实验和课程

Training with Pre-built ML Models using Cloud Vision API and AutoML

实验 1 小时 universal_currency_alt 5 个积分 show_chart 入门级
info 此实验可能会提供 AI 工具来支持您学习。
访问 700 多个实验和课程

Overview

Vertex AI AutoML helps developers with limited ML expertise train high quality image recognition models. Once you upload images to the AutoML UI, you can train a model that will be immediately available on Google Cloud for generating predictions via an easy to use REST API.

In this lab, you upload images to Cloud Storage and use them to train a custom model to recognize different types of clouds (cumulus, cumulonimbus, etc.).

What you'll learn

In this lab, you do the following:

  • Uploading a labeled dataset to Cloud Storage and connecting it to AutoML with a CSV label file.
  • Training a model with AutoML.
  • Generating predictions on a trained model.

Setup and requirements

Before you click the Start Lab button

Read these instructions. Labs are timed and you cannot pause them. The timer, which starts when you click Start Lab, shows how long Google Cloud resources will be made available to you.

This hands-on lab lets you do the lab activities yourself in a real cloud environment, not in a simulation or demo environment. It does so by giving you new, temporary credentials that you use to sign in and access Google Cloud for the duration of the lab.

What you need

To complete this lab, you need:

  • Access to a standard internet browser (Chrome browser recommended).
  • Time to complete the lab.
Note: If you have a personal Google Cloud account or project, do not use it for this lab. Note: If you are using a Pixelbook, open an Incognito window to run this lab.

Log in to Google Cloud Console

  1. Using the browser tab or window you are using for this lab session, copy the Username from the Connection Details panel and click the Open Google Console button.
Note: If you are asked to choose an account, click Use another account.
  1. Paste in the Username, and then the Password as prompted.
  2. Click Next.
  3. Accept the terms and conditions.

Since this is a temporary account, which will last only as long as this lab:

  • Do not add recovery options
  • Do not sign up for free trials
  1. Once the console opens, view the list of services by clicking the Navigation menu (Navigation menu icon) at the top-left.

Navigation menu

Activate Cloud Shell

Cloud Shell is a virtual machine that contains development tools. It offers a persistent 5-GB home directory and runs on Google Cloud. Cloud Shell provides command-line access to your Google Cloud resources. gcloud is the command-line tool for Google Cloud. It comes pre-installed on Cloud Shell and supports tab completion.

  1. Click the Activate Cloud Shell button (Activate Cloud Shell icon) at the top right of the console.

  2. Click Continue.
    It takes a few moments to provision and connect to the environment. When you are connected, you are also authenticated, and the project is set to your PROJECT_ID.

Sample commands

  • List the active account name:
gcloud auth list

(Output)

Credentialed accounts: - <myaccount>@<mydomain>.com (active)

(Example output)

Credentialed accounts: - google1623327_student@qwiklabs.net
  • List the project ID:
gcloud config list project

(Output)

[core] project = <project_ID>

(Example output)

[core] project = qwiklabs-gcp-44776a13dea667a6 Note: Full documentation of gcloud is available in the gcloud CLI overview guide.

Task 1. Prepare for AutoML

Create storage bucket

  1. Now create a storage bucket by running the following:
gcloud storage buckets create gs://$GOOGLE_CLOUD_PROJECT-vcm \ -c standard \ -l us-central1
  1. In the Google Cloud console, open the Navigation menu and click on Cloud Storage to see it.

Click Check my progress to verify the objective.

Create a Cloud Storage Bucket

Task 2. Upload training images to Cloud Storage

In order to train a model to classify images of clouds, you need to provide labelled training data so the model can develop an understanding of the image features associated with different types of clouds. In this example your model will learn to classify three different types of clouds: cirrus, cumulus, and cumulonimbus. To use AutoML you need to put your training images in Cloud Storage.

  1. Before adding the cloud images, create an environment variable with the name of your bucket.

Run the following command in Cloud Shell:

export BUCKET=$GOOGLE_CLOUD_PROJECT-vcm

The training images are publicly available in a Cloud Storage bucket.

  1. Use the gcloud storage command line utility for Cloud Storage to copy the training images into your bucket:
gcloud storage cp -r gs://spls/gsp223/images/* gs://${BUCKET}
  1. When the images finish copying, click the Refresh button at the top of the Storage browser, then click on your bucket name. You should see 3 folders of photos for each of the 3 different cloud types to be classified.

If you click on the individual image files in each folder you can see the photos you'll be using to train your model for each type of cloud.

Task 3. Create a dataset

Now that your training data is in Cloud Storage, you need a way for AutoML to access it. You'll create a CSV file where each row contains a URL to a training image and the associated label for that image. This CSV file has been created for you; you just need to update it with your bucket name.

  1. Run the following command to copy the file to your Cloud Shell instance:
gcloud storage cp gs://spls/gsp223/data.csv .
  1. Then update the CSV with the files in your project:
sed -i -e "s/placeholder/${BUCKET}/g" ./data.csv
  1. Now upload this file to your Cloud Storage bucket:
gcloud storage cp ./data.csv gs://${BUCKET}
  1. Once that command completes, click the Refresh button at the top of the Storage browser. Confirm that you see the data.csv file in your bucket.

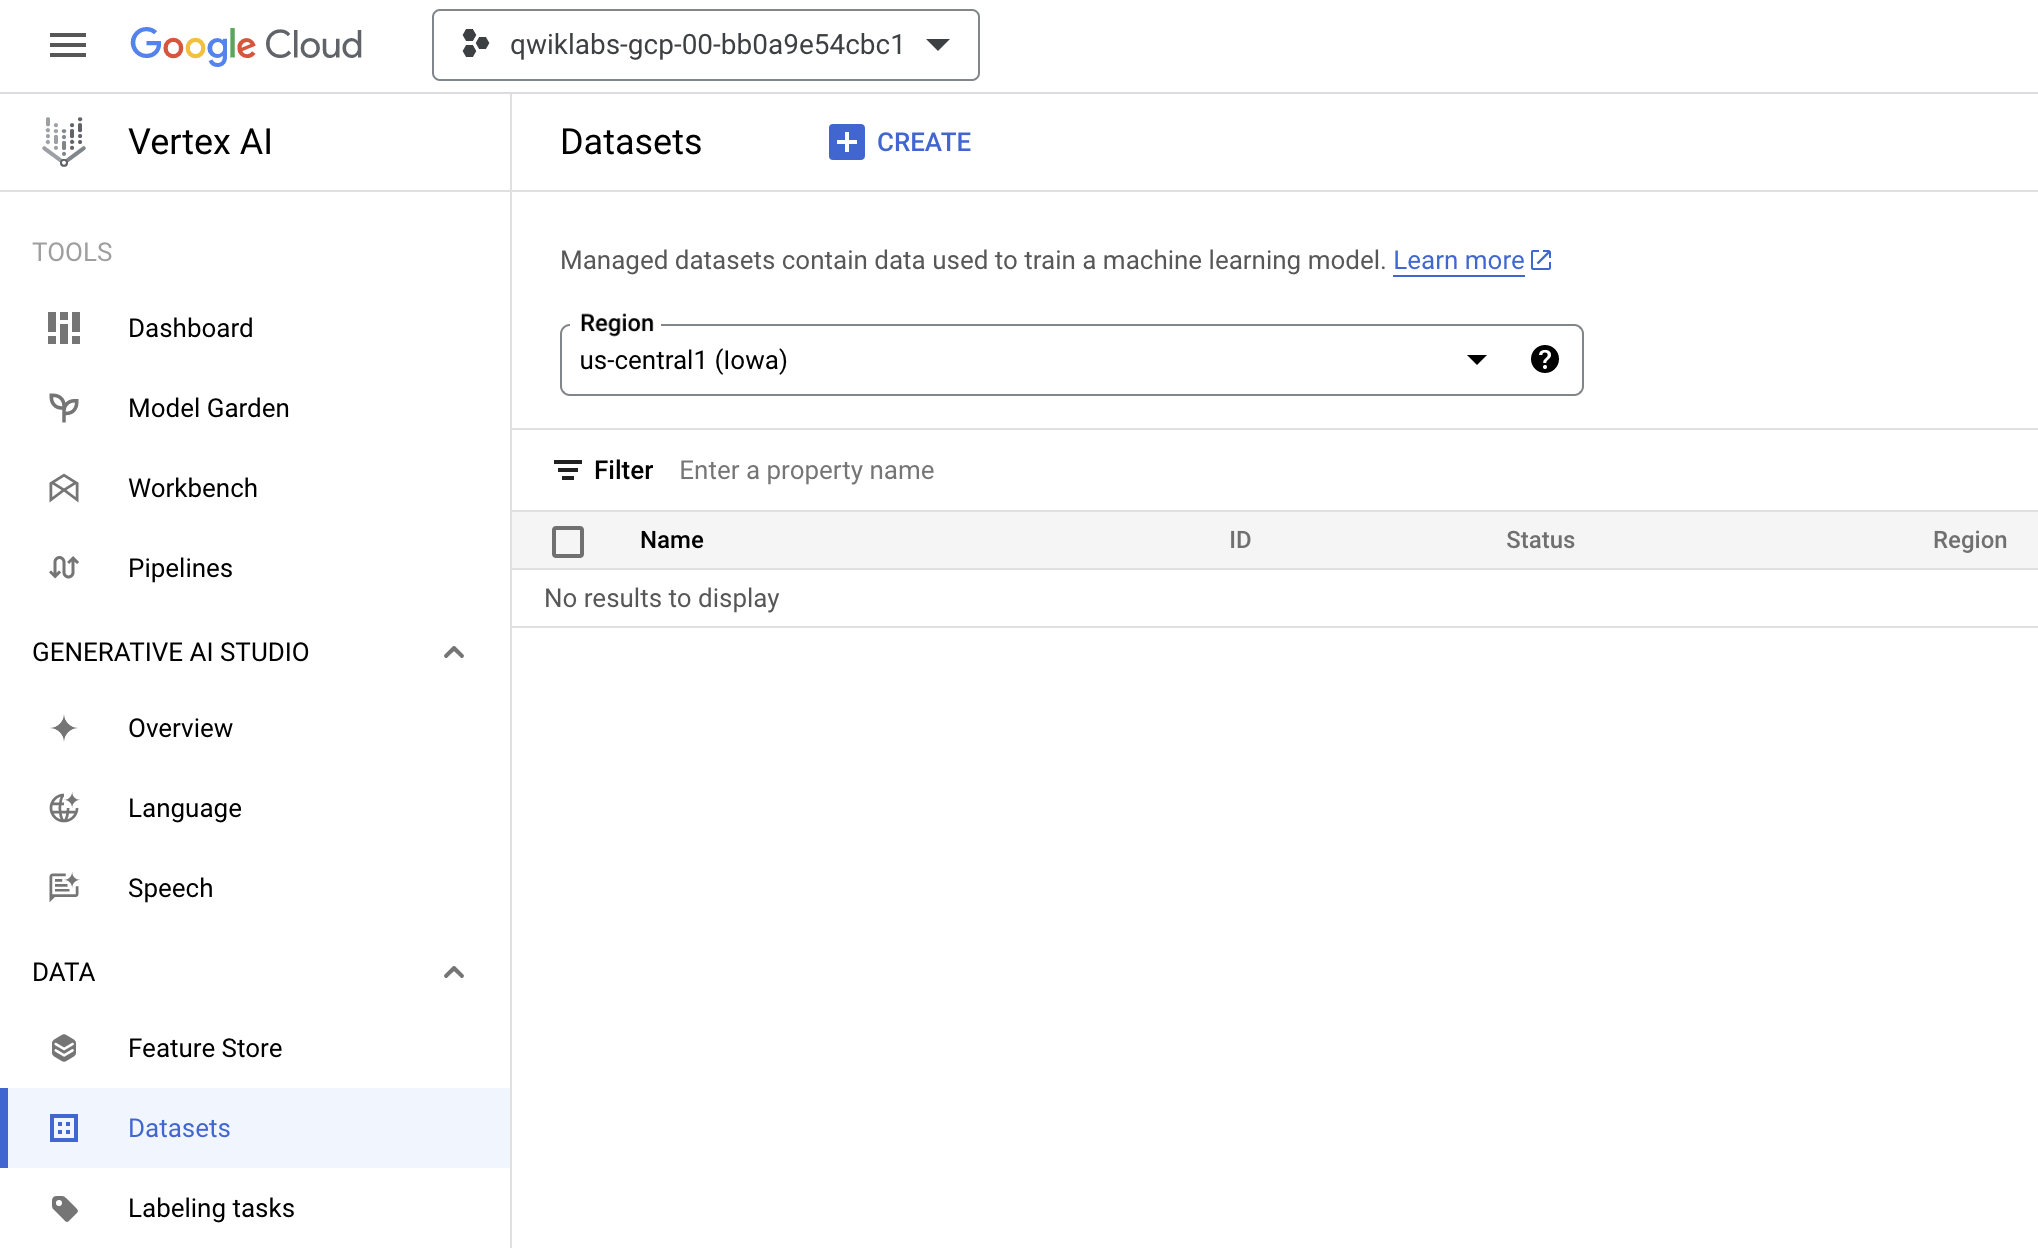
  2. Open the Vertex AI Dataset tab. Your page should now resemble the following:

Google Cloud Console, Datasets page

  1. At the top of the console, click + CREATE.

  2. Type clouds for the Dataset name.

  3. Select Image classification (Single-label).

Note: In your own projects, you may want to use multi-class classification.
  1. Click Create.

  2. Choose Select import files from Cloud Storage and add the file name to the URL for the file you just uploaded - your-bucket-name/data.csv

An easy way to get this link is to go back to the Cloud Console, click on the data.csv file and then go to the URI field.

  1. Click Continue.

It will take 2 - 5 minutes for your images to import. Once the import has completed, you'll be brought to a page with all the images in your dataset.

Click Check my progress to verify the objective.

Create a Dataset

Task 4. Inspect images

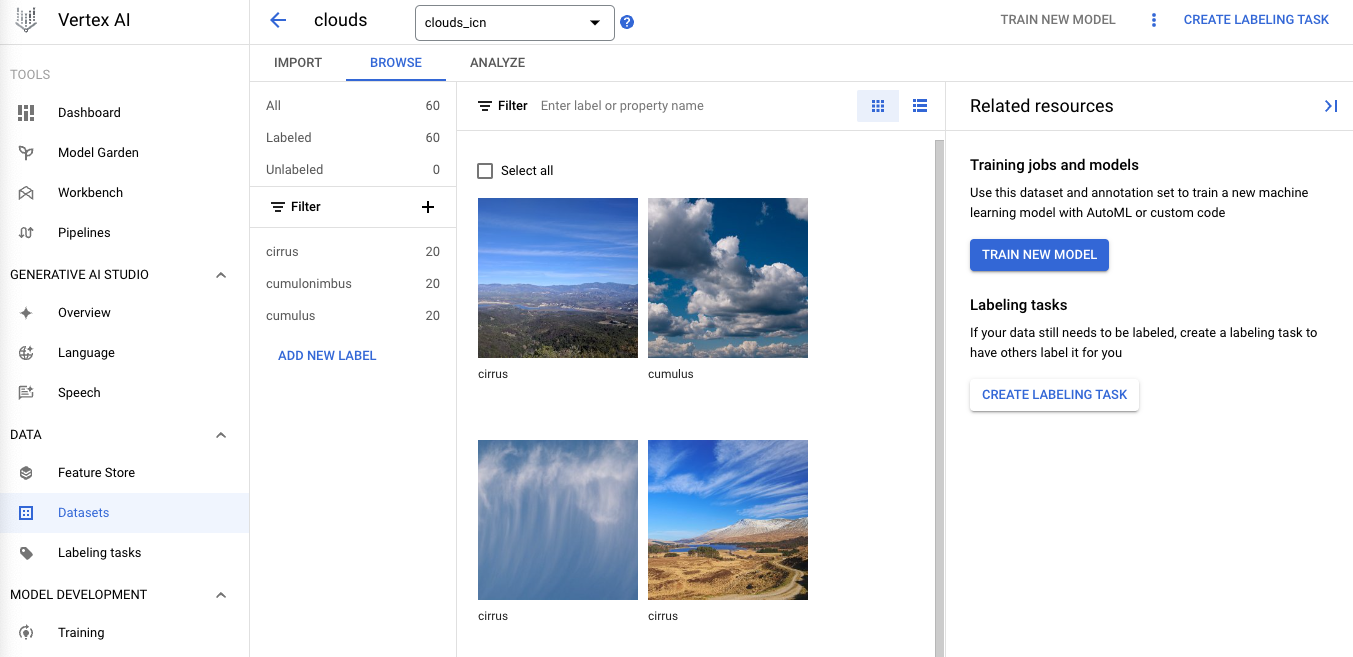
After the import completes, you will be redirected to Browse tab to see the images you uploaded.

Image tiles on the Images tabbed page

Try filtering by different labels in the left menu (i.e. click cumulus) to review the training images:

Note: If you were building a production model, you'd want at least 100 images per label to ensure high accuracy. This is just a demo so only 20 images of each type of cloud were used so the model could train quickly.

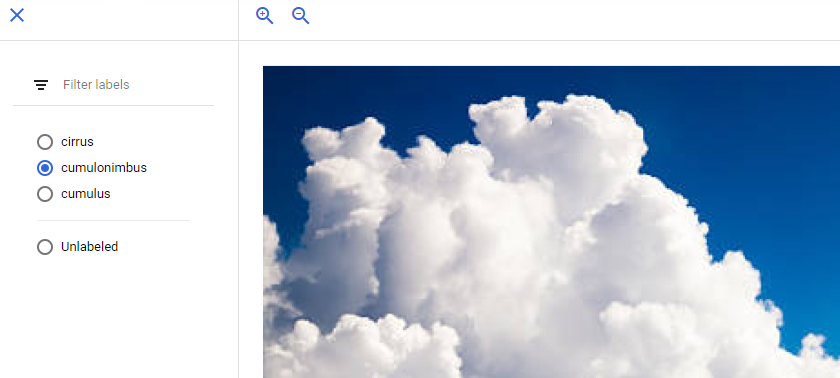
If any images are labeled incorrectly you can click on the image to switch the label:

Image 12 of 50

Note: If you are working with a dataset that isn't already labeled, AutoML provides an in-house human labeling service .

Task 5. Train your model

You're ready to start training your model! AutoML handles this for you automatically, without requiring you to write any of the model code.

  1. To train your clouds model, click TRAIN NEW MODEL.

  2. On the Training method tab, click Continue.

  3. On the Model details tab, click Continue.

  4. On the Training options tab, click Continue.

  5. On the Explainability tab, click Continue.

  6. On the Compute and pricing tab, set the node hours to 8.

Note: At this point you would click Start Training. However, as training can take up to 120 minutes to complete, move onto the next task where you use a pre-trained model.
  1. Click Cancel and move onto the next task.

Task 6. Generate predictions

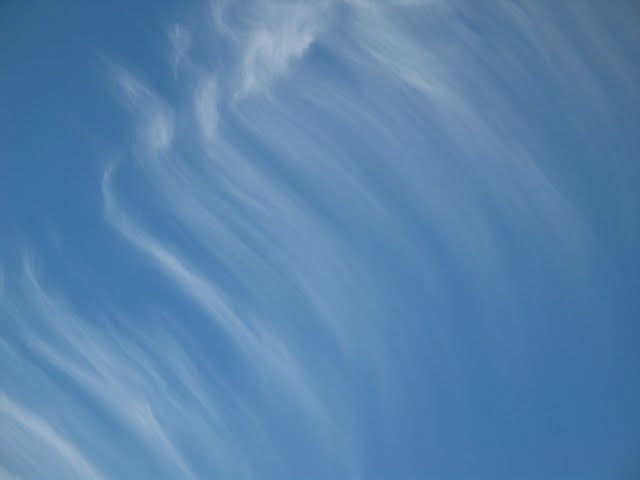
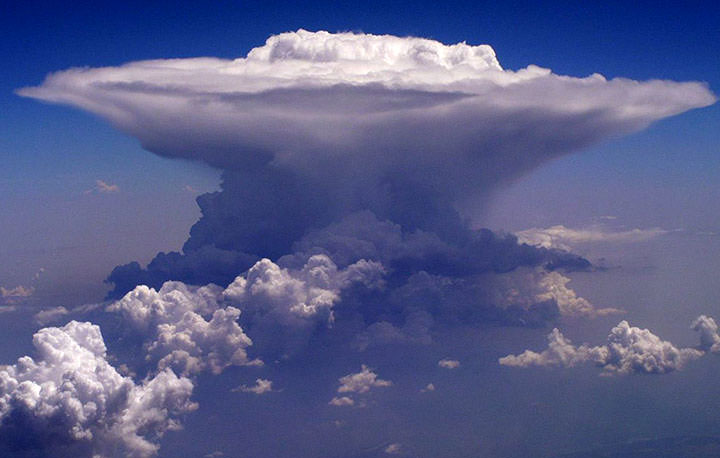
There are a few ways to generate predictions. In this lab, you'll use the UI to upload images. You'll see how your model does classifying these two images (the first is a cirrus cloud, the second is a cumulonimbus).

  1. Return to the Cloudshell terminal.

  2. Download these images to your local machine.

gcloud storage cp gs://spls/gsp223/examples/* .
  1. The example files contain Base64 encoded images of clouds. Below is a modified version of the CLOUD1-JSON file.
{ "instances": [{ "content": "/9j/4AAQSkZJRgABAQAAAQABAAD2wCEAAUDBA0PDQ0NDQ0NDQ0NDQ0NDQ0 Q0ODQ0NDRUNDhERExMTDQ0WGBYSGBASExIBBQUFCAcIDwkJDxUVDxUVFRUV RUVFRUVFRUVFRUVFRUVFRUVFRUVFRUVFRUVFRUVFRUVFf/AABEIAeACgAMB aAAwDAQACEQMRAD8A+bzIcyW{{{{CONTENT REMOVED}}}aQDRJlsFBNCVq TqyIrhaQDRJlsFBNCVqjTqyIrhaQDRJlsFBNCVqjTqyIrhaQDRdkslFDpL9 tUVQXCuAAAsJoKCiYkSp//9k=" }], "parameters": { "confidenceThreshold": 0.5, "maxPredictions": 5 } }
  1. Copy the Endpoint value for the pre-deployed AutoML model to an environment variable.
ENDPOINT=$(gcloud run services describe automl-service --platform managed --region us-central1 --format 'value(status.url)')
  1. Enter the following command to request a prediction:
curl -X POST -H "Content-Type: application/json" $ENDPOINT/v1 -d "@${INPUT_DATA_FILE}" | jq The above call will ask AutoML for a prediction. However there is no input data specified, so the request will fail. The 400 HTTP error code indicates the expected data is not present.

Expected Output:

{ "error": { "code": 400, "message": "Empty instances.", "status": "INVALID_ARGUMENT" } }

Pop Quiz

Test your understanding of AutoML by completing the short quiz on the topics covered in this lab.

Use the knowledge you have gained in the lab to generate predictions.

Cloud1-JSON Image

Check if the model can predict the type of Cloud in an image:

  1. Set CLOUD1-JSON as the input file.
INPUT_DATA_FILE=CLOUD1-JSON
  1. Enter the following command to request a prediction:
curl -X POST -H "Content-Type: application/json" $ENDPOINT/v1 -d "@${INPUT_DATA_FILE}" | jq
  1. The returned message will confirm that this is a cirrus type of cloud.
"displayNames": [ "cirrus" ]
  1. Try another prediction.

Cloud2-JSON Image

Lets check if our model can predict the type of Cloud in the image:

  1. Set CLOUD2-JSON as the input file.
INPUT_DATA_FILE=CLOUD2-JSON
  1. Enter the following command to request a prediction:
curl -X POST -H "Content-Type: application/json" $ENDPOINT/v1 -d "@${INPUT_DATA_FILE}" | jq
  1. The returned message will confirm that this is a cumulonimbus type of cloud.
"displayNames": [ "cumulonimbus" ]

Congratulations!

You've learned how to train your own custom machine learning model and generate predictions on it through the web UI. Now you've got what it takes to train a model on your own image dataset.

What was covered

  • Uploading training images to Cloud Storage and creating a CSV for AutoML Vision to find these images.
  • Reviewing labels and training a model in the AutoML Vision UI.
  • Generating predictions on new cloud images.

Next steps / learn more

End your lab

When you have completed your lab, click End Lab. Qwiklabs removes the resources you’ve used and cleans the account for you.

You will be given an opportunity to rate the lab experience. Select the applicable number of stars, type a comment, and then click Submit.

The number of stars indicates the following:

  • 1 star = Very dissatisfied
  • 2 stars = Dissatisfied
  • 3 stars = Neutral
  • 4 stars = Satisfied
  • 5 stars = Very satisfied

You can close the dialog box if you don't want to provide feedback.

For feedback, suggestions, or corrections, please use the Support tab.

准备工作

  1. 实验会创建一个 Google Cloud 项目和一些资源,供您使用限定的一段时间
  2. 实验有时间限制,并且没有暂停功能。如果您中途结束实验,则必须重新开始。
  3. 在屏幕左上角,点击开始实验即可开始

使用无痕浏览模式

  1. 复制系统为实验提供的用户名密码
  2. 在无痕浏览模式下,点击打开控制台

登录控制台

  1. 使用您的实验凭证登录。使用其他凭证可能会导致错误或产生费用。
  2. 接受条款,并跳过恢复资源页面
  3. 除非您已完成此实验或想要重新开始,否则请勿点击结束实验,因为点击后系统会清除您的工作并移除该项目

此内容目前不可用

一旦可用,我们会通过电子邮件告知您

太好了!

一旦可用,我们会通过电子邮件告知您

一次一个实验

确认结束所有现有实验并开始此实验

使用无痕浏览模式运行实验

请使用无痕模式或无痕式浏览器窗口运行此实验。这可以避免您的个人账号与学生账号之间发生冲突,这种冲突可能导致您的个人账号产生额外费用。