


准备工作
- 实验会创建一个 Google Cloud 项目和一些资源,供您使用限定的一段时间
- 实验有时间限制,并且没有暂停功能。如果您中途结束实验,则必须重新开始。
- 在屏幕左上角,点击开始实验即可开始
Lab Completion
/ 10
Flutter is Google's UI toolkit for building beautiful, natively compiled applications for mobile, web, and desktop from a single codebase. Flutter works with existing code, is used by developers and organizations around the world, and is free and open source.
In this lab, you will create a Flutter app using generated template code. The basic Flutter interface provides a simple example to get started programming in Flutter.
Based on the content, it is recommended to have some familiarity with:
Read these instructions. Labs are timed and you cannot pause them. The timer, which starts when you click Start Lab, shows how long Google Cloud resources are made available to you.
This hands-on lab lets you do the lab activities in a real cloud environment, not in a simulation or demo environment. It does so by giving you new, temporary credentials you use to sign in and access Google Cloud for the duration of the lab.
To complete this lab, you need:
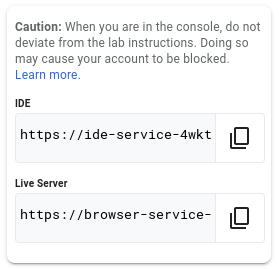
In this lab, we will use a custom editor that includes the Flutter and Dart extensions. From the initial Qwiklabs panel:
Note:
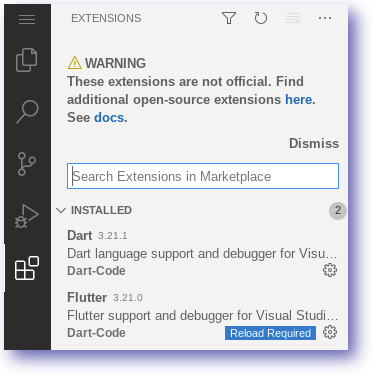
Code Server Editor:Flutter extensions have been installed within the editor.
In the editor select the extensions icon:
Note:
In this section create a Flutter Web application called startup_namer.
The startup_namer directory and template code have now been created.
In this section edit the Flutter Web application.
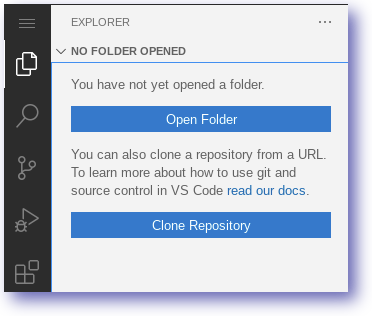
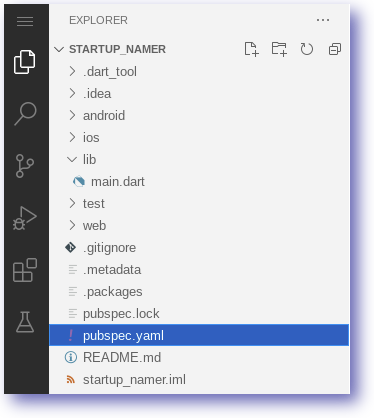
Use the editor to open the startup_namer directory created in the previous step.
From the main panel select the Explorer Icon:
Select the Open Folder option.
Open the startup_namer folder:
lib/main.dart and pubspec.yaml files.At this point it is worth pointing out some information about the editor:
In this section run the Flutter Web application from the command line.
startup_namer.Copy the Live Server from the Qwiklabs panel.
Paste the address into a new browser tab.
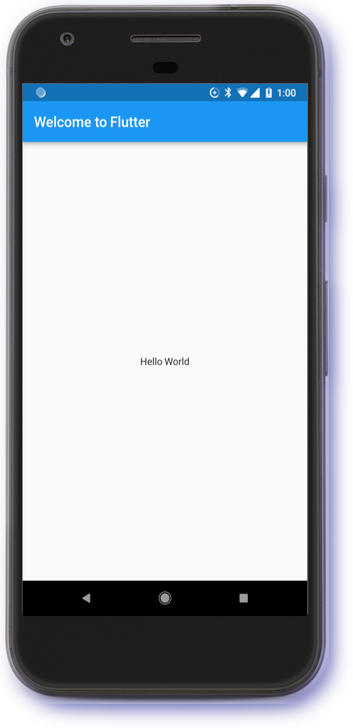
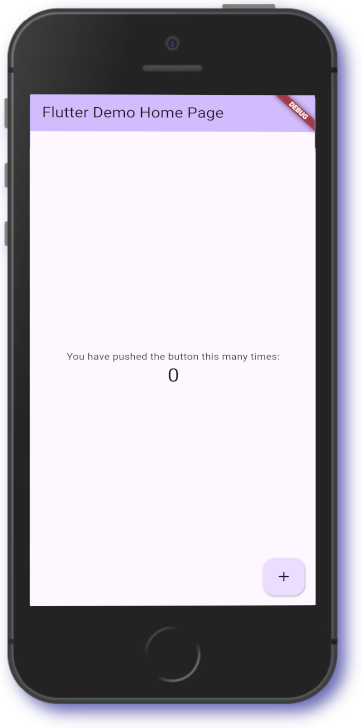
The browser will render the web application:
Feel free to interact with the running application.
Flutter supports Hot reload which means changes can be made to the application dynamically.
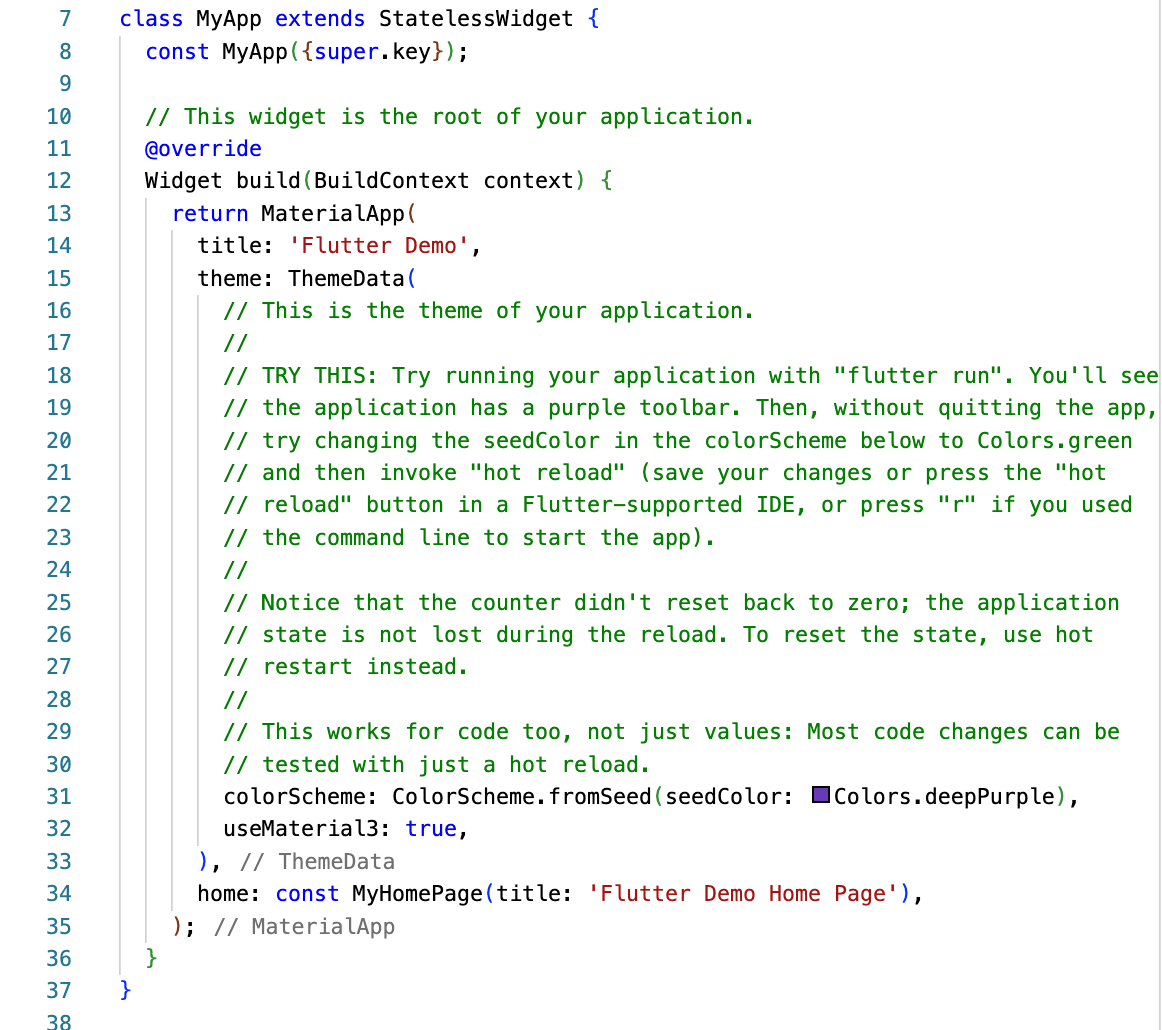
In this section we use the Hot reload function to change the Title.
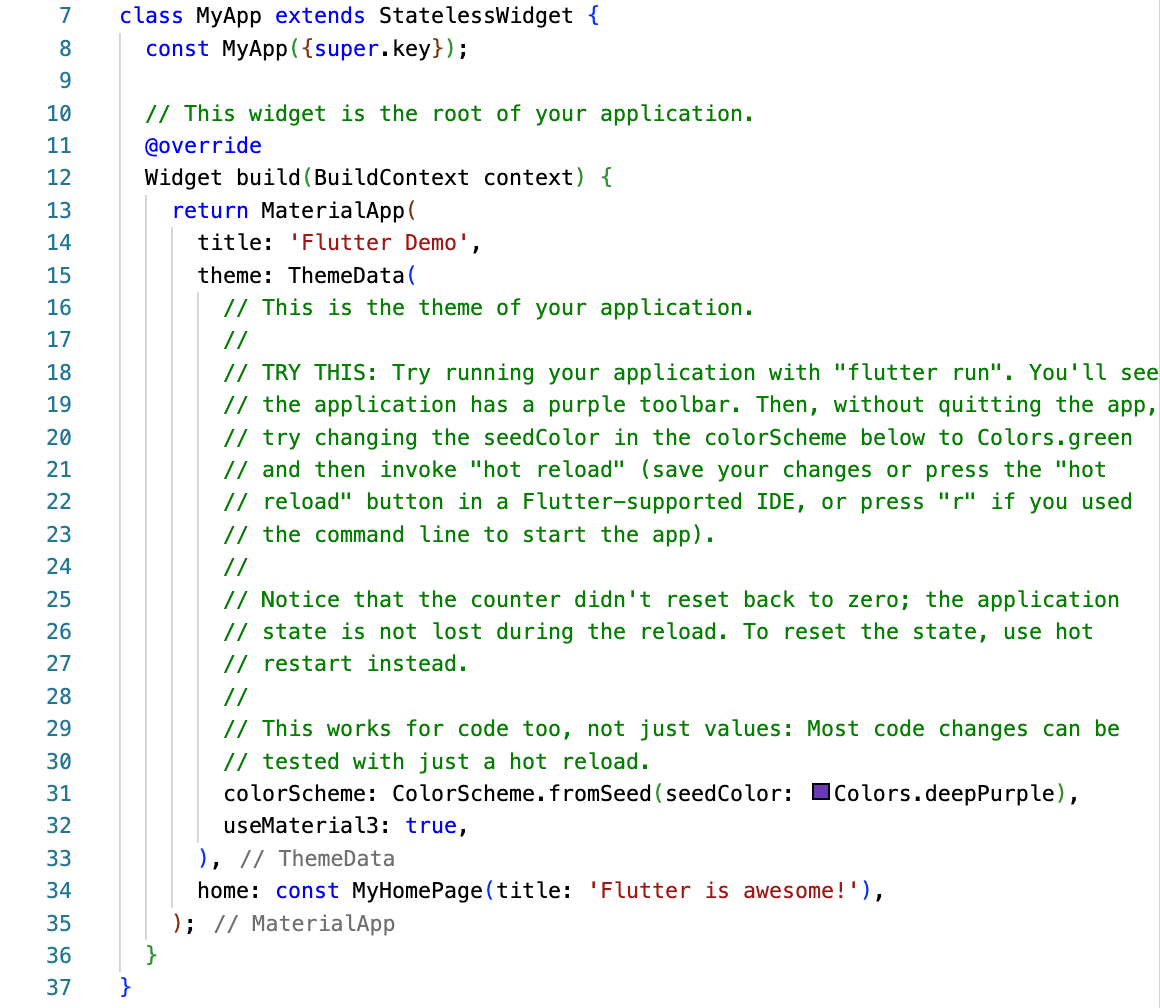
lib/main.dart.class MyApp and find the Title field Flutter Demo Home Page.title value on line 34 to the following:Save the editor changes made i.e. CTRL+S.
The lib/main.dart code should now look similar to below:
Switch to the Live Server browser tab.
Press CTRL+R to reload the page.
Awesome work getting started with Flutter.
Click Check my progress to verify the objective.
You have successfully completed the lab and demonstrated your knowledge of Flutter. Over the course of this lab, you have performed the following tasks:
...helps you make the most of Google Cloud technologies. Our classes include technical skills and best practices to help you get up to speed quickly and continue your learning journey. We offer fundamental to advanced level training, with on-demand, live, and virtual options to suit your busy schedule. Certifications help you validate and prove your skill and expertise in Google Cloud technologies.
Manual last updated October 30, 2024
Lab last tested October 30, 2024
Copyright 2025 Google LLC. All rights reserved. Google and the Google logo are trademarks of Google LLC. All other company and product names may be trademarks of the respective companies with which they are associated.


此内容目前不可用
一旦可用,我们会通过电子邮件告知您

太好了!
一旦可用,我们会通过电子邮件告知您

一次一个实验
确认结束所有现有实验并开始此实验