

Before you begin
- Labs create a Google Cloud project and resources for a fixed time
- Labs have a time limit and no pause feature. If you end the lab, you'll have to restart from the beginning.
- On the top left of your screen, click Start lab to begin
Create the AI Notebook instance
/ 20
Gather Audio Files
/ 20
Perform baseline test
/ 15
Getting Started With Adaptation
/ 15
Tune Adaptation Results
/ 15
Evaluate key phrases with both clean and noisy audio
/ 15
Automated Speech Recognition (ASR), also known as machine transcription or Speech-to-Text, uses machine learning to turn audio containing speech into text.
Machine learning systems rarely achieve 100% accuracy. The Google Speech Adaptation API, a feature within Speech-to-Text, is a method to enhance accuracy by providing context and hints. This is useful for recognizing specific words or phrases that might otherwise be misrecognized or have a lower probability of correct identification.
In this lab, you further improve the results of using Speech-to-Text on a provided dataset.
Before starting this lab, it’s recommended you complete or are familiar with the concepts covered in Measuring Speech-to-Text Accuracy, which are speech quality and measuring accuracy.
In this lab, you learn about the following:
Read these instructions. Labs are timed and you cannot pause them. The timer, which starts when you click Start Lab, shows how long Google Cloud resources are made available to you.
This hands-on lab lets you do the lab activities in a real cloud environment, not in a simulation or demo environment. It does so by giving you new, temporary credentials you use to sign in and access Google Cloud for the duration of the lab.
To complete this lab, you need:
Click the Start Lab button. If you need to pay for the lab, a dialog opens for you to select your payment method. On the left is the Lab Details pane with the following:
Click Open Google Cloud console (or right-click and select Open Link in Incognito Window if you are running the Chrome browser).
The lab spins up resources, and then opens another tab that shows the Sign in page.
Tip: Arrange the tabs in separate windows, side-by-side.
If necessary, copy the Username below and paste it into the Sign in dialog.
You can also find the Username in the Lab Details pane.
Click Next.
Copy the Password below and paste it into the Welcome dialog.
You can also find the Password in the Lab Details pane.
Click Next.
Click through the subsequent pages:
After a few moments, the Google Cloud console opens in this tab.

Speech-to-Text lets you transcribe audio input as well as measure the accuracy of the resulting transcription.
There are many ways to improve the accuracy and lower the word error rate (WER). In this lab you consider the following three:
Customize the model to your domain by providing contextual information.
Example: You are creating a bot that allows people to order pizza. You might increase the probability that words like pepperoni, olives, and mozzarella are recognized.
Tweak weights to address specific word / phrase issues.
Example: Proper nouns, rare words, or made up words are unlikely to be transcribed correctly initially. Adding bias towards them can fix individual terms.
Use context to bias towards specific types of information or words.
Example: You have an Interactive Voice Routing/Response (IVR) telephone system and have just asked someone for their order number. You can bias specifically towards an alphanumeric entry.
When evaluating quality, look at where the system makes errors. If you think any of the above three types of context could help improve accuracy you can use the Speech Adaptation API available in the Cloud Speech-to-Text API.
Speech-to-Text has tools that let you provide contextual information to increase accuracy of data. The Speech Adaptation API lets you pass phrases and associated weights directly to the Speech-to-Text API.
Phrases can be changed with every request, which allows for quick iteration as well as on the fly adaptation. All you do is include the terms in the request itself as part of the recognition config:
This type of biasing is better than other methods, such as custom language models or complex grammars. It's easier to set up, doesn’t require special training or deployment, and is included free when you use the Cloud Speech-to-Text API.
Although Speech-to-Text makes it easy to bias the system, you still have to figure out the right terms to send to the API. Consider the following when deciding what terms to include with biasing.
What am I doing with this transcript? Is there a downstream system that's sensitive to particular words or phrases?
These words or phrases should be biased towards since getting them correct is very important.
Are there rare words or proper nouns?
These words or phrases may not be predicted correctly since they occur infrequently and should be biased towards.
What contextual info can I use? Do you know what words somebody might say or what they said in the past?
These can be biased towards to help increase accuracy even on commonly occurring words if you are sure they will be present.
Do you have a “strong” or “weak” context?
You can bias heavily with “strong” context if you are sure the user is about to mention some specific words.
You should bias less if you have “weak” context meaning you know what words will occur but not exactly sure where or when.
This lab has curated and created a focused dataset based on public domain books and audio from the Librispeech project. All the code you need to measure and improve the accuracy of using Speech-to-Text on this dataset is provided. In this task, you learn how to set up and use this code.
In the Google Cloud console, from the Navigation menu (
Click Enable All Recommended APIs.
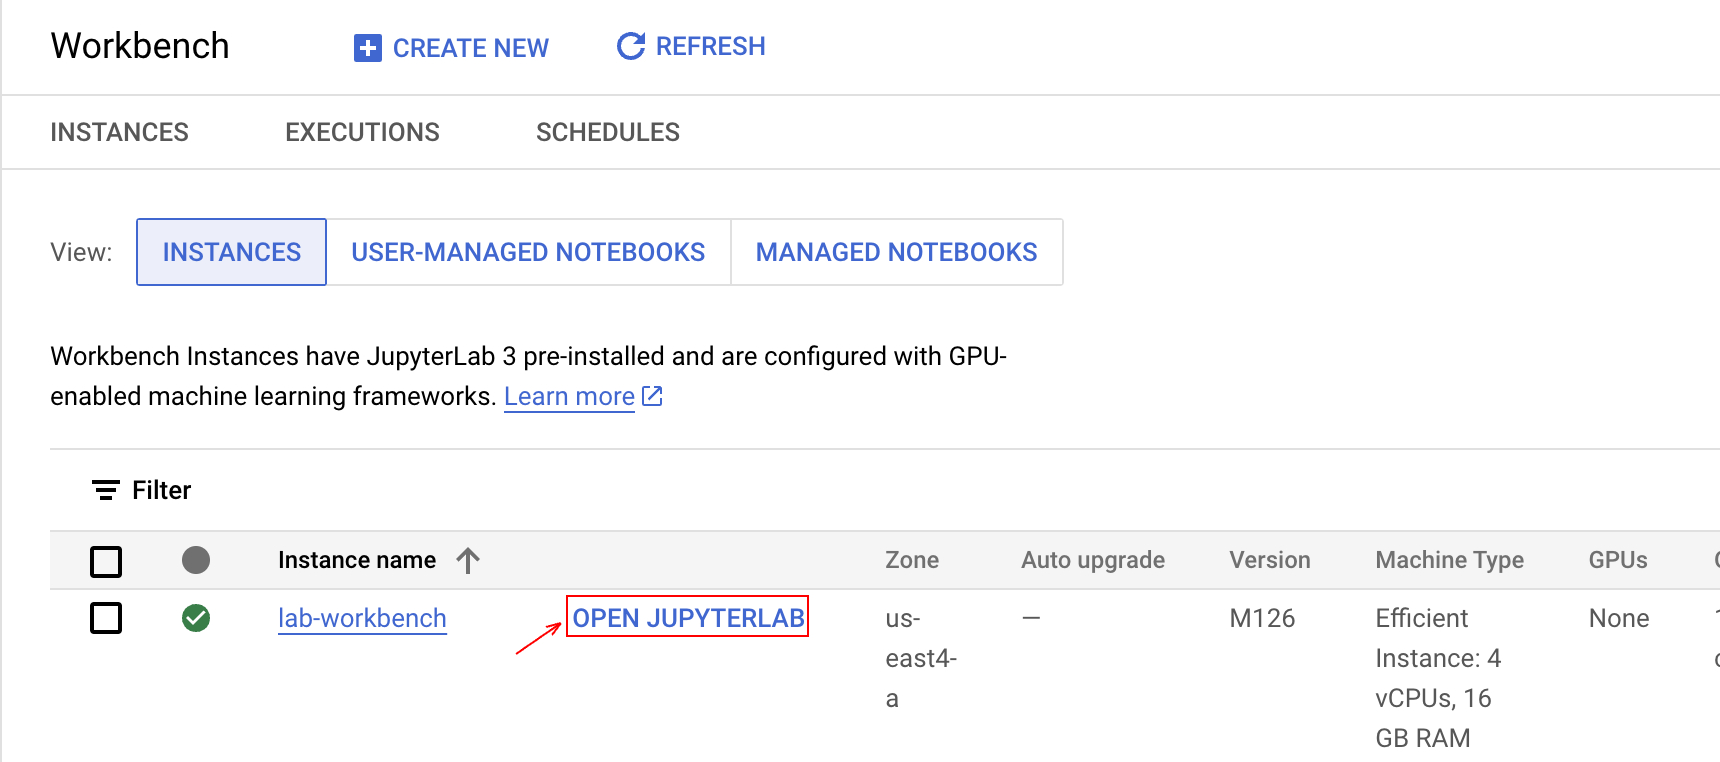
On the left-hand side, click Workbench.
At the top of the Workbench page, ensure you are in the Instances view.
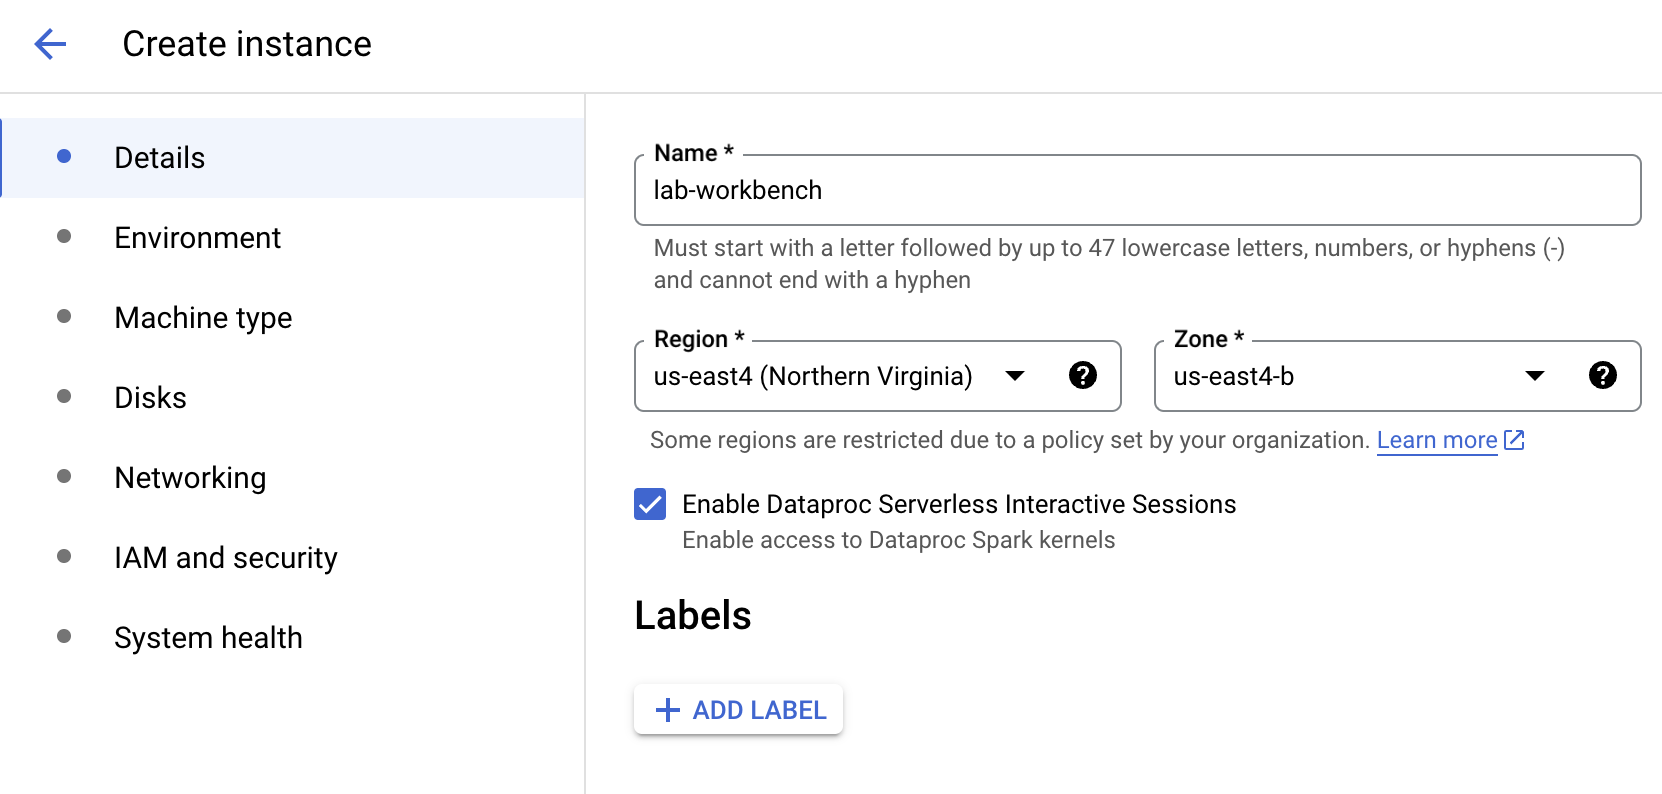
Click 
Configure the Instance:
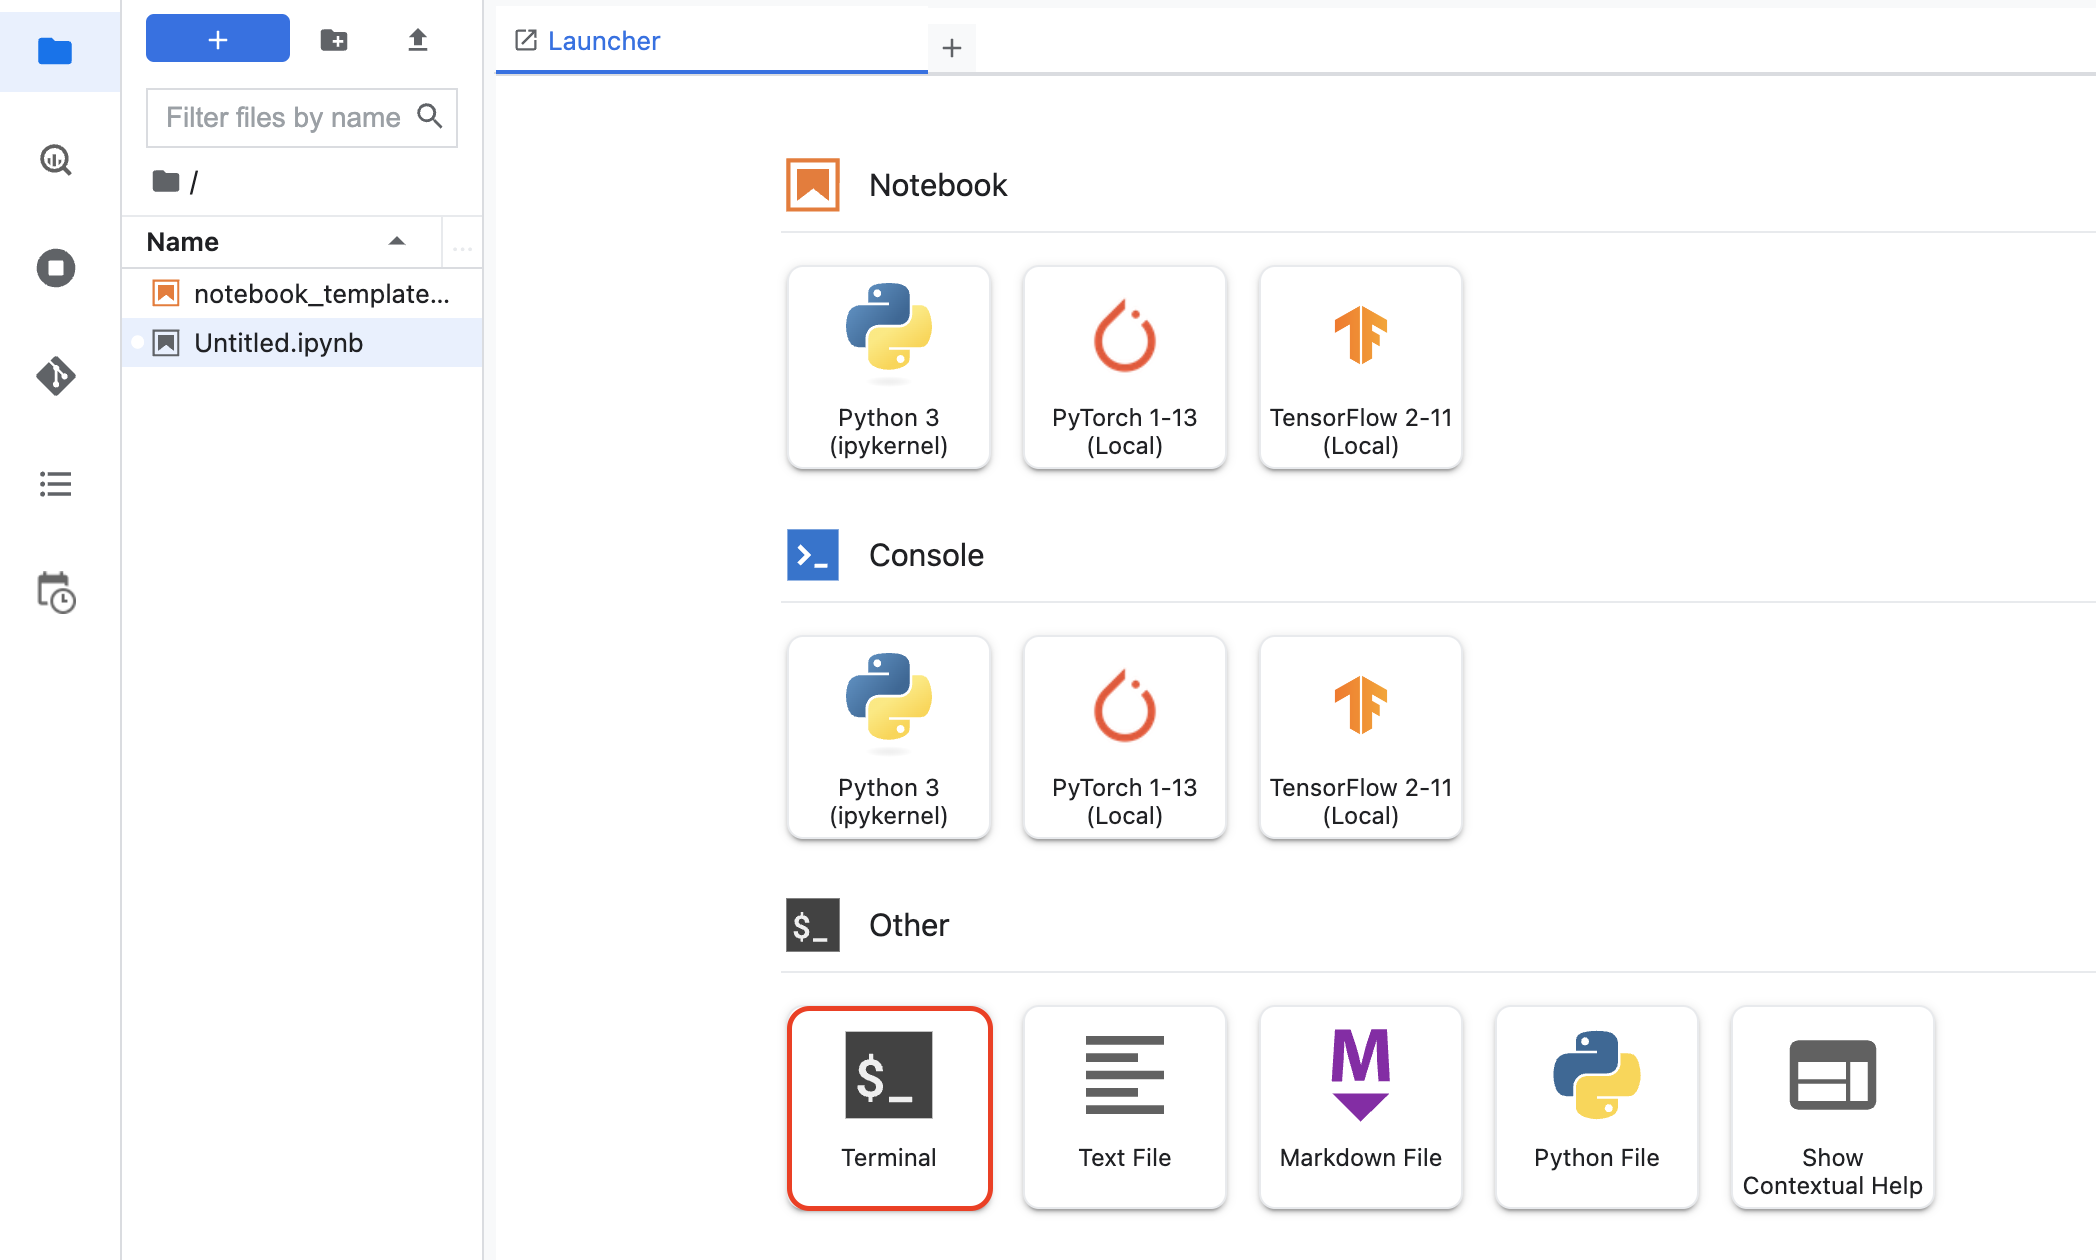
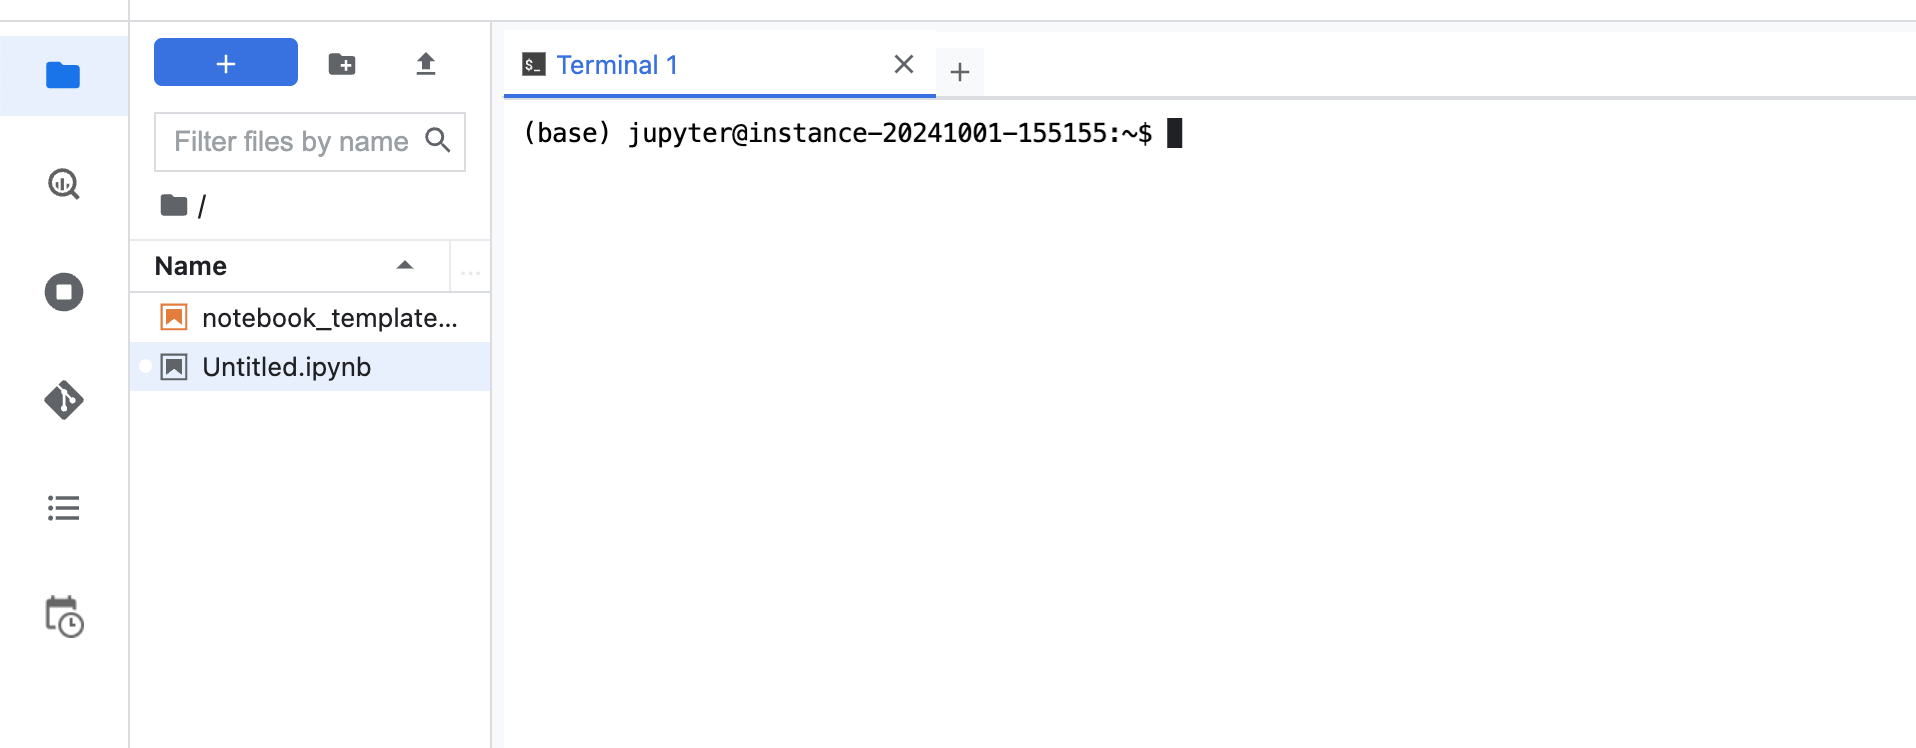
Your terminal window will open in a new tab. You can now run commands in the terminal to interact with your Workbench instance.
Perform the following tasks to Play Audio Files in an Incognito Window:
It should be something like:
Now continue to the notebook.
Click Check my progress to verify the objective.
In the following sections, you run through the notebook cells to see how to measure the quality and accuracy of Automated Speech Recognition (ASR) systems.
recognize_all method. You use this method to iterate and tune each test and observe the effect on recognition quality. Run the notebook cells (up to the Getting Started section) to gather audio files and define the recognize_all method.Click Check my progress to verify the objective.
Click Check my progress to verify the objective.
recognize_all method. Run the Getting Started With Adaptation section of the notebook.Click Check my progress to verify the objective.
Click Check my progress to verify the objective.
Click Check my progress to verify the objective.
You successfully measured and improved the accuracy of Speech-to-Text on a real dataset. You learned how to talk about and compare accuracy metrics and how to approach measuring accuracy. You successfully set up Python tools for performing automated speech recognition and measuring accuracy.
You are now ready to try these tools on your own data and put what you have learned into practice.
Manual Last Updated September 3, 2025
Manual Last Tested September 10, 2025
Copyright 2025 Google LLC. All rights reserved. Google and the Google logo are trademarks of Google LLC. All other company and product names may be trademarks of the respective companies with which they are associated.


This content is not currently available
We will notify you via email when it becomes available

Great!
We will contact you via email if it becomes available

One lab at a time
Confirm to end all existing labs and start this one