

准备工作
- 实验会创建一个 Google Cloud 项目和一些资源,供您使用限定的一段时间
- 实验有时间限制,并且没有暂停功能。如果您中途结束实验,则必须重新开始。
- 在屏幕左上角,点击开始实验即可开始
Explore a pre-built app
/ 30
Generate an app prototype from a template and modify it
/ 35
Build an app using a text prompt
/ 35
In this lab, you will learn how to rapidly prototype applications in Google AI Studio. Explore pre-built AI applications, learn to create your own from templates, use and refine text prompts, and discover how to manage and share your creations. For this lab, you will take on the role of a Solutions Developer at a hackathon, where your goal is to quickly build and share several proof-of-concept AI applications under a time limit.
In this lab, you learn how to:
Read these instructions. Labs are timed and you cannot pause them. The timer, which starts when you click Start Lab, shows how long Google Cloud resources are made available to you.
This hands-on lab lets you do the lab activities in a real cloud environment, not in a simulation or demo environment. It does so by giving you new, temporary credentials you use to sign in and access Google Cloud for the duration of the lab.
To complete this lab, you need:
Click Start Lab. The lab panel will display the temporary credentials for this lab.
Open Google AI Studio in an Incognito window. The Google sign-in page will appear.
Copy the Username below and paste it into the Email field, then click Next.
Copy the Password below and paste it into the Enter your password field, then click Next.
Accept any on-screen terms and conditions to proceed.
You are now logged into Google AI Studio using your temporary student account.
As a hackathon developer, your first step is to quickly survey the landscape to see what building blocks and examples are available. You'll start by exploring a pre-built chatbot app.
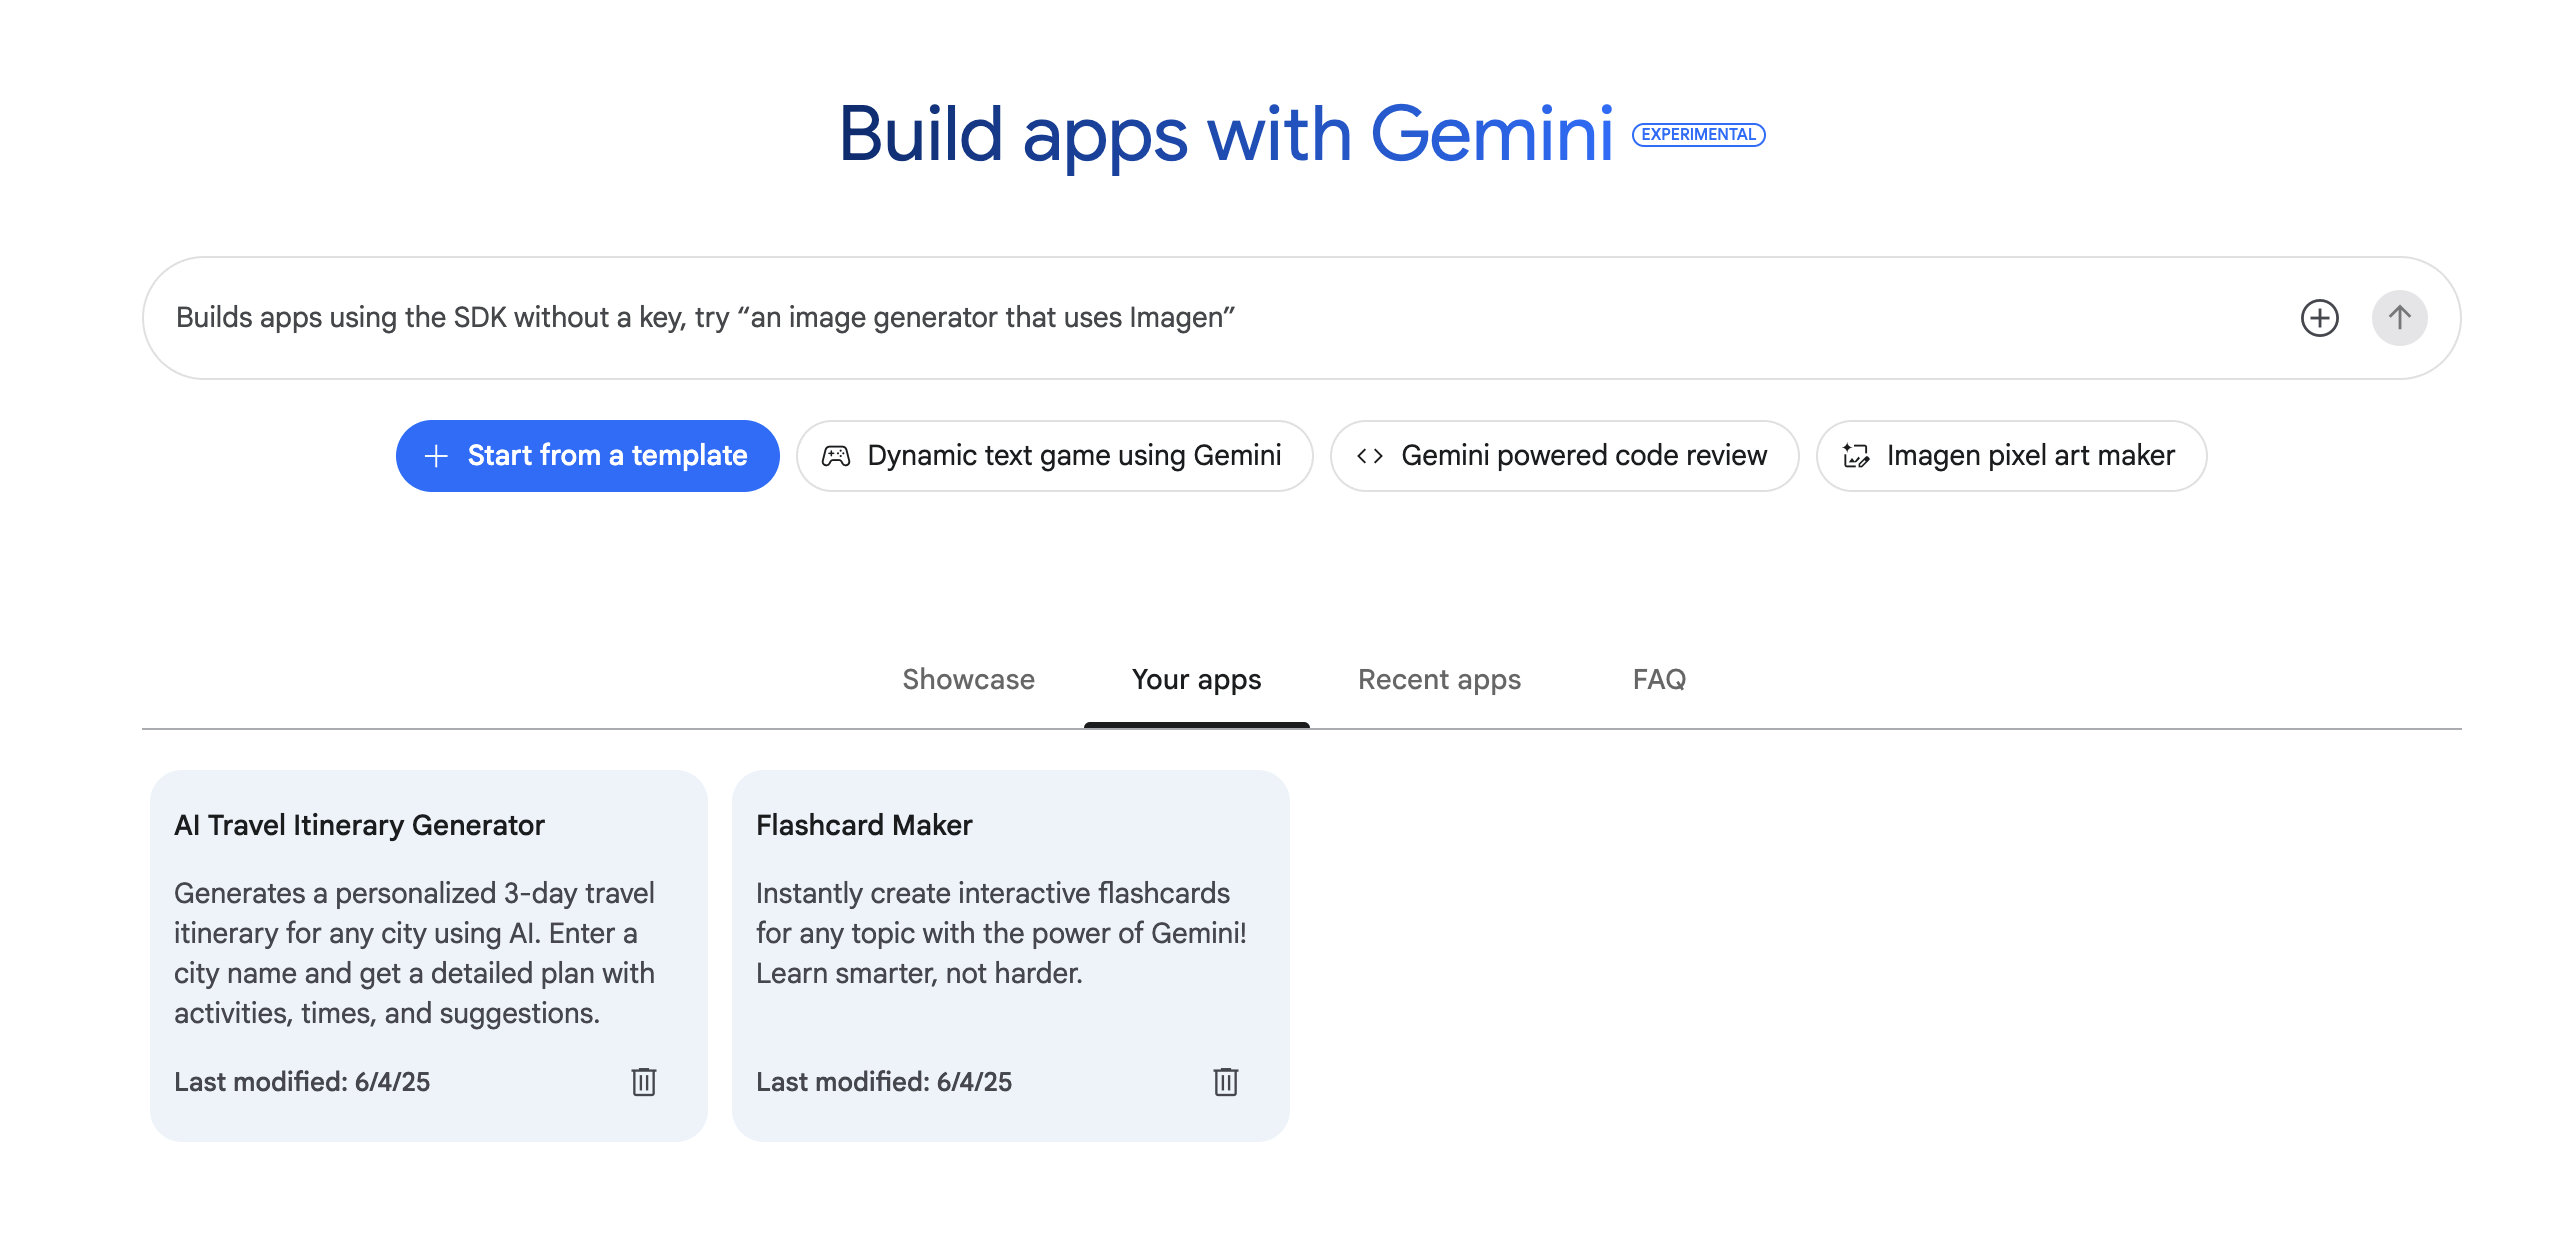
In the left navigation menu, click Build.
The Showcase tab displays a gallery of pre-built application templates. Scroll through to view the available options.
Find the ChatterBots app and click on it.
student-XX-YYYY@qwiklabs.net) and grant any necessary permissions to continue.
Click on Allow to provide the request access to Microphone.
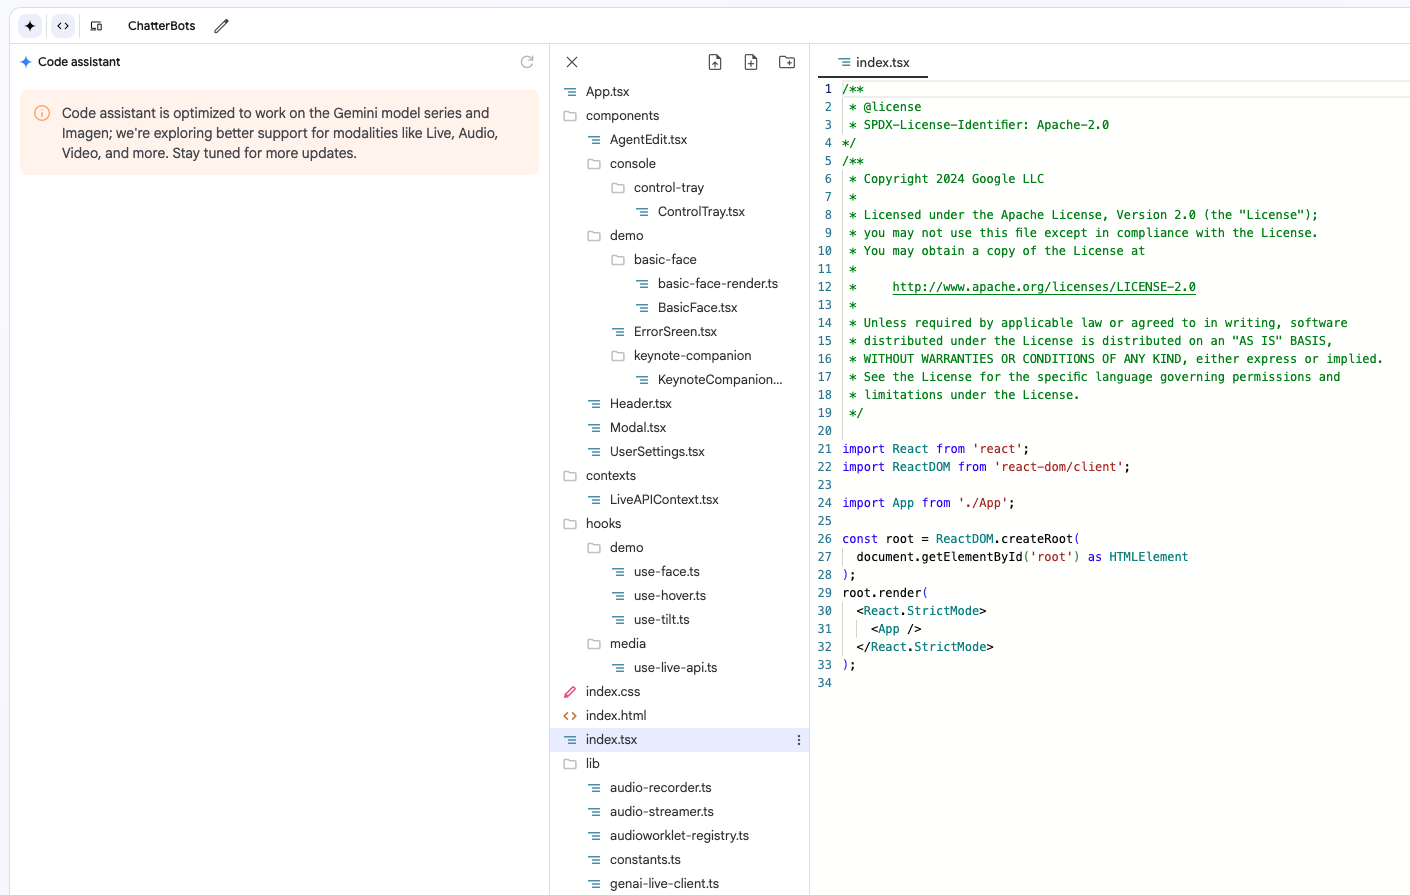
The app will open in the IDE view. Take a moment to familiarize yourself with the interface: the Code assistant is on the left, the code editor/file viewer is in the center, and a live Preview of the running chatbot is on the right.
Preview the app, explore the ChatterBot presets, and create your own ChatterBot based on the characteristics you define.
Explore the code that was generated. In the code editor, click the Show file tree view button to see the code structure. Click on a file like App.tsx to view the main application code, or a file within the components folder to see how a specific UI element is built.
Next, you've decided a simple flashcard utility would be useful for your hackathon project. You'll generate one from a template and then use the Code Assistant to quickly change its appearance to match your project's branding.
Click the Google AI Studio logo in the top-left corner to return to the home page.
In the left navigation menu, click Build.
Find and click on the Flashcard Maker template to generate the application.
In the Preview pane on the right, interact with the default flashcards to see how they function.
Type Large Language Models into the input field and click Generate Flashcards to generate a topic-specific set.
Now, direct your attention to the Code assistant input field at the bottom left. Type the following command to change the app's style and logic:
Press Enter. Observe as the assistant modifies the application code in the editor.
Once the code is updated, test both changes in the Preview pane. Confirm the flashcards are light green and that you can only flip over one card at a time.
Next, you'll add another feature. In the Code assistant input field, type the following new command:
Press Enter and watch as the assistant adds a new button to the UI and modifies the code to include the new logic.
Finally, test the new feature in the Preview pane. Click the new add 5 more button and confirm that five additional, unique flashcards are added to your set.
Click the Save icon on the top right of the toolbar. Name the application Flashcard Maker and click Save.
Click Check my progress to verify the objective.
Now for the main event of the hackathon: building your core feature from scratch. You'll build a travel itinerary planner by describing it in plain English. You'll specifically ask the model to create a UI that can display structured data cleanly.
Navigate back to the Build page gallery.
In the main text prompt bar at the top of the page, enter the following detailed request:
Press Enter and wait for the Code assistant to generate the complete application.
Once the app appears, test its functionality in the Preview pane. In the city input field, type Rome and click the app's Generate button.
Observe the output. The app should display a structured 3-day itinerary for Rome, demonstrating that the AI successfully created a data-driven UI from your text prompt.
(Optional) Use the Code assistant to modify any parts of the application you can think of!
Your prototype for the travel planner is working! The final step in the hackathon is to save your progress and share the project with your team.
When prompted, enter AI Travel Itinerary Generator as the name and click Save. Your app is now saved to the "Your apps" section of the Build page.
Next, click the Download icon from the same toolbar. A ZIP file containing the complete source code for your application will be downloaded to your computer.
Finally, explore the path to making your app live. Click the Deploy to Cloud Run button.
Click the Google AI Studio logo in the top-left corner to return to the home page.
In the left navigation menu, click Build.
Click the Your apps tab to view the prototypes you've modified and built. You should see the two applications: Flashcard Maker and AI Travel Itinerary Generator.
Congratulations! You've successfully used Google AI Studio to rapidly explore, adapt, and create functional application prototypes from scratch. You learned how to leverage pre-built templates, modify code with natural language, and generate a complete data-driven application from a single text prompt. You are now well-equipped to bring your own AI-powered ideas to life.
...helps you make the most of Google Cloud technologies. Our classes include technical skills and best practices to help you get up to speed quickly and continue your learning journey. We offer fundamental to advanced level training, with on-demand, live, and virtual options to suit your busy schedule. Certifications help you validate and prove your skill and expertise in Google Cloud technologies.
Manual Last Updated June 23, 2025
Lab Last Tested June 23, 2025
Copyright 2025 Google LLC. All rights reserved. Google and the Google logo are trademarks of Google LLC. All other company and product names may be trademarks of the respective companies with which they are associated.


此内容目前不可用
一旦可用,我们会通过电子邮件告知您

太好了!
一旦可用,我们会通过电子邮件告知您

一次一个实验
确认结束所有现有实验并开始此实验